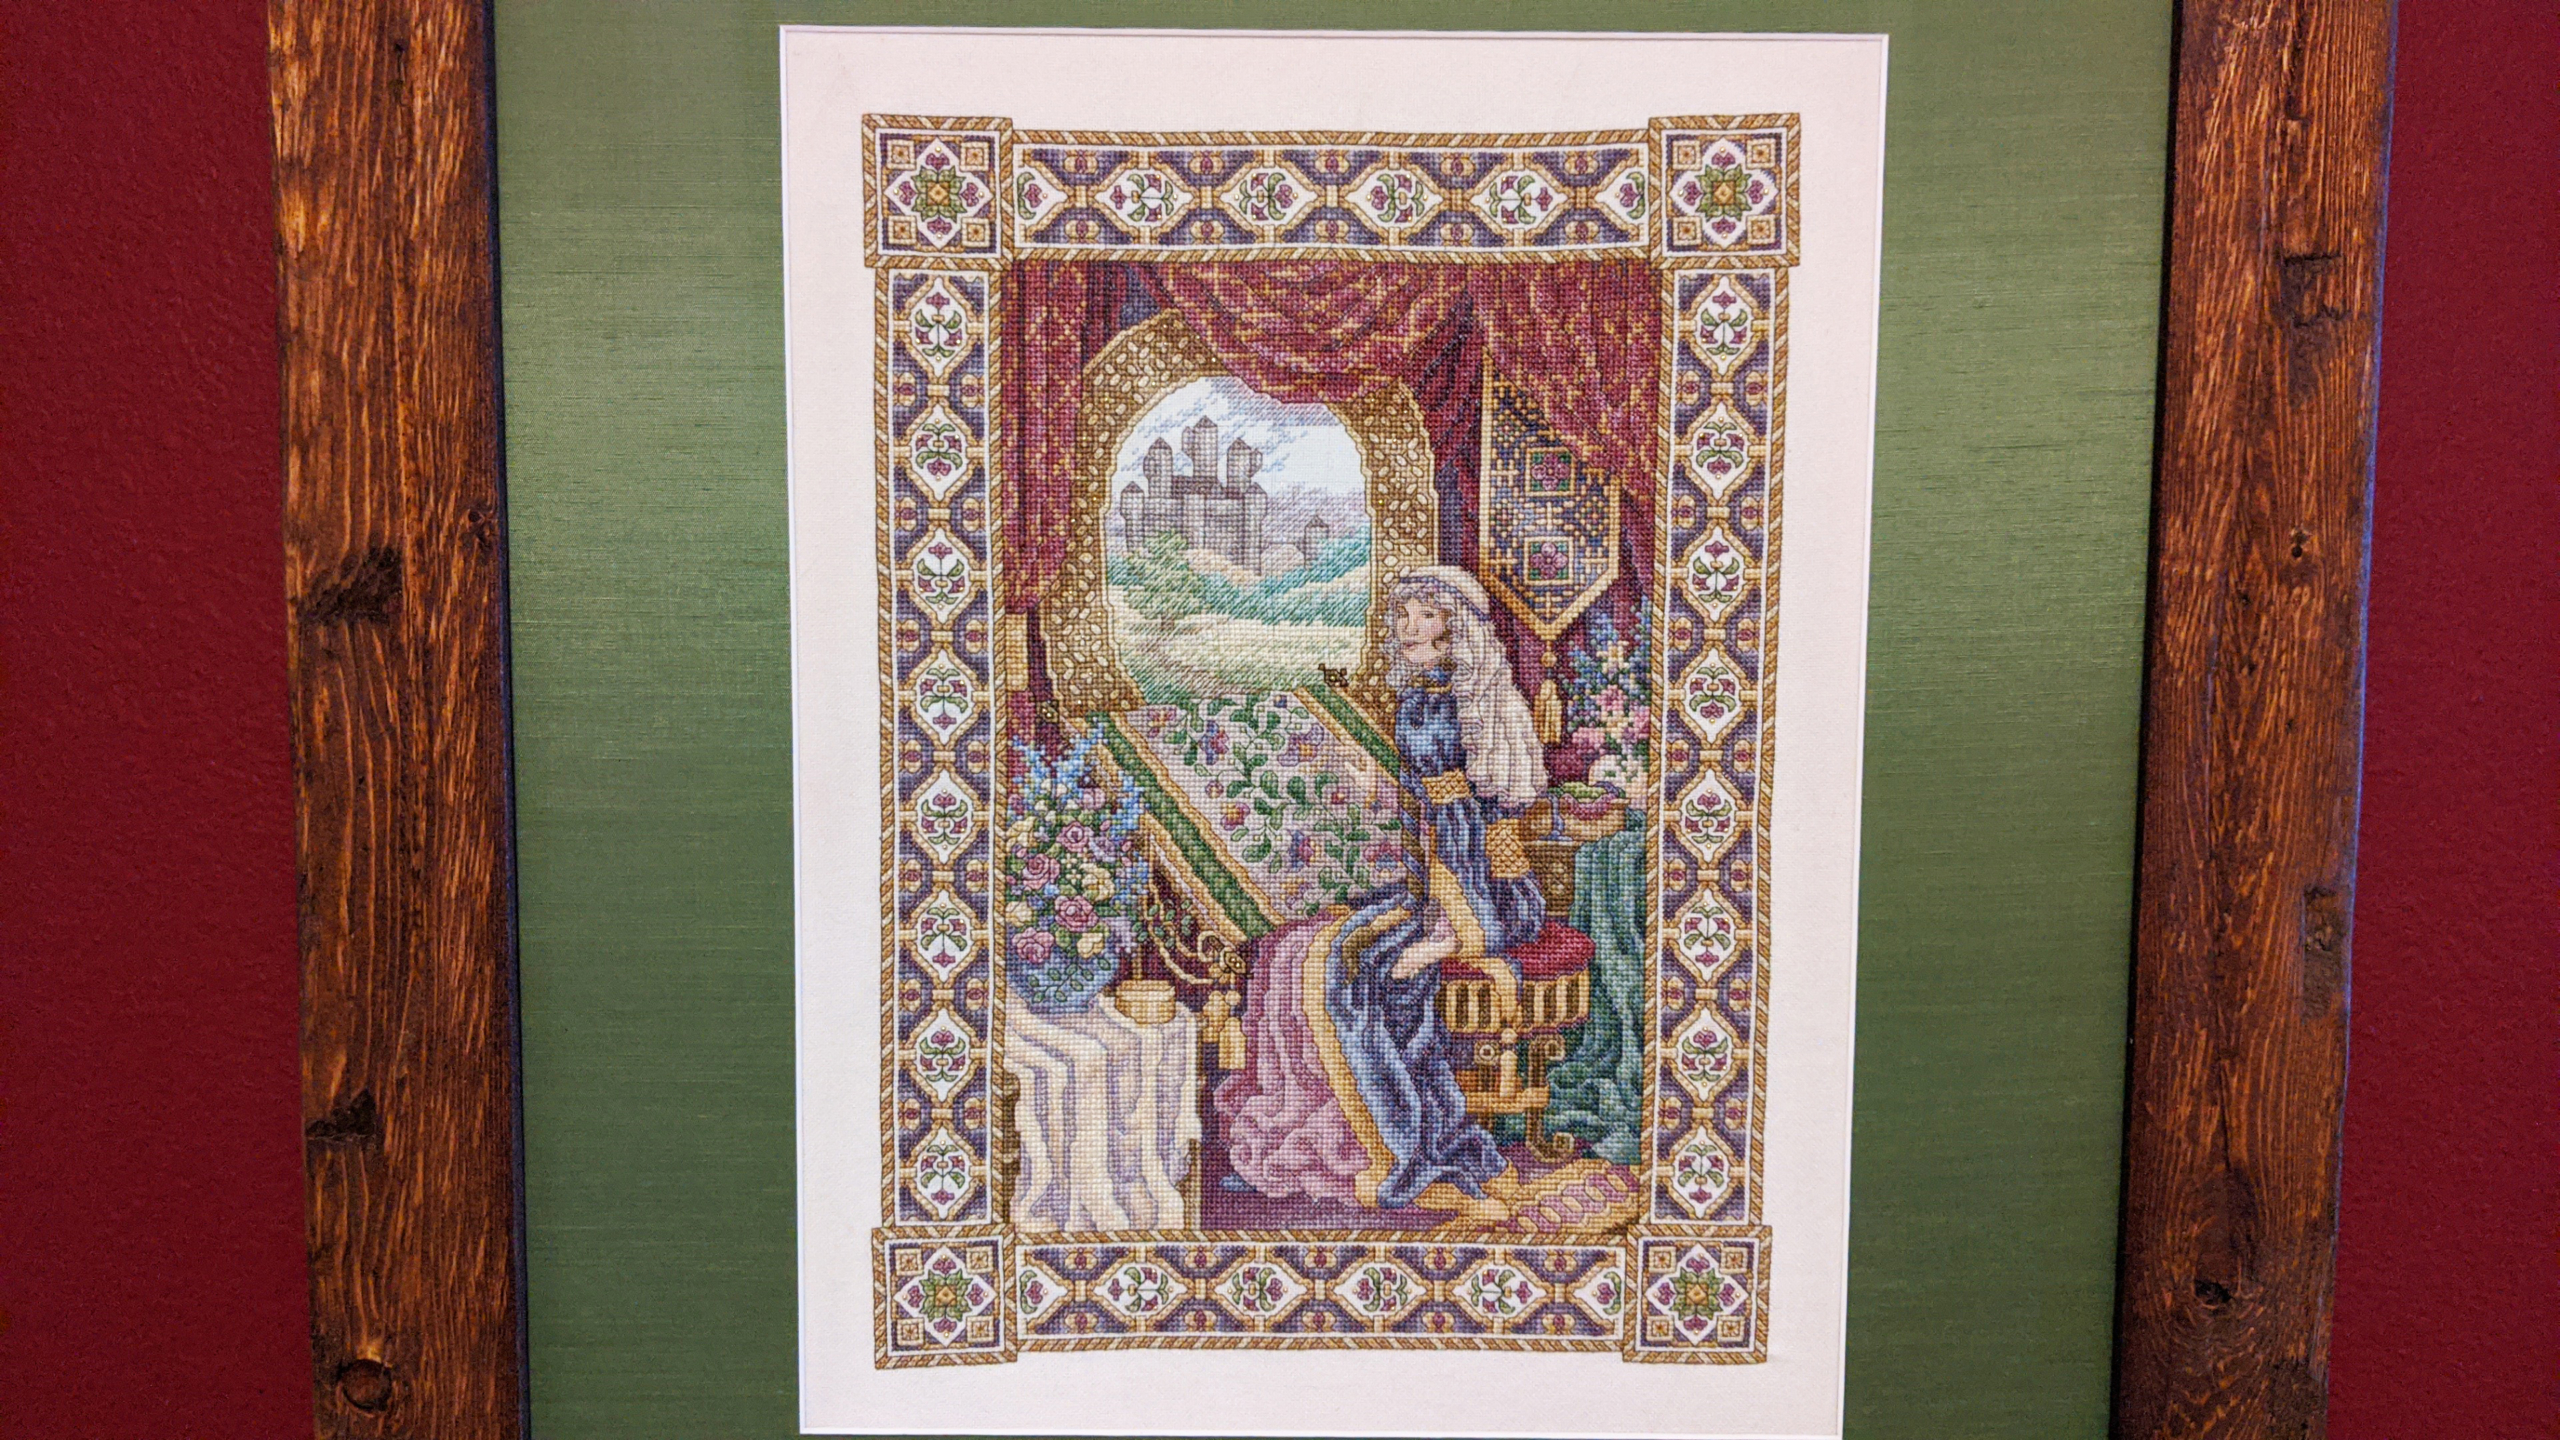
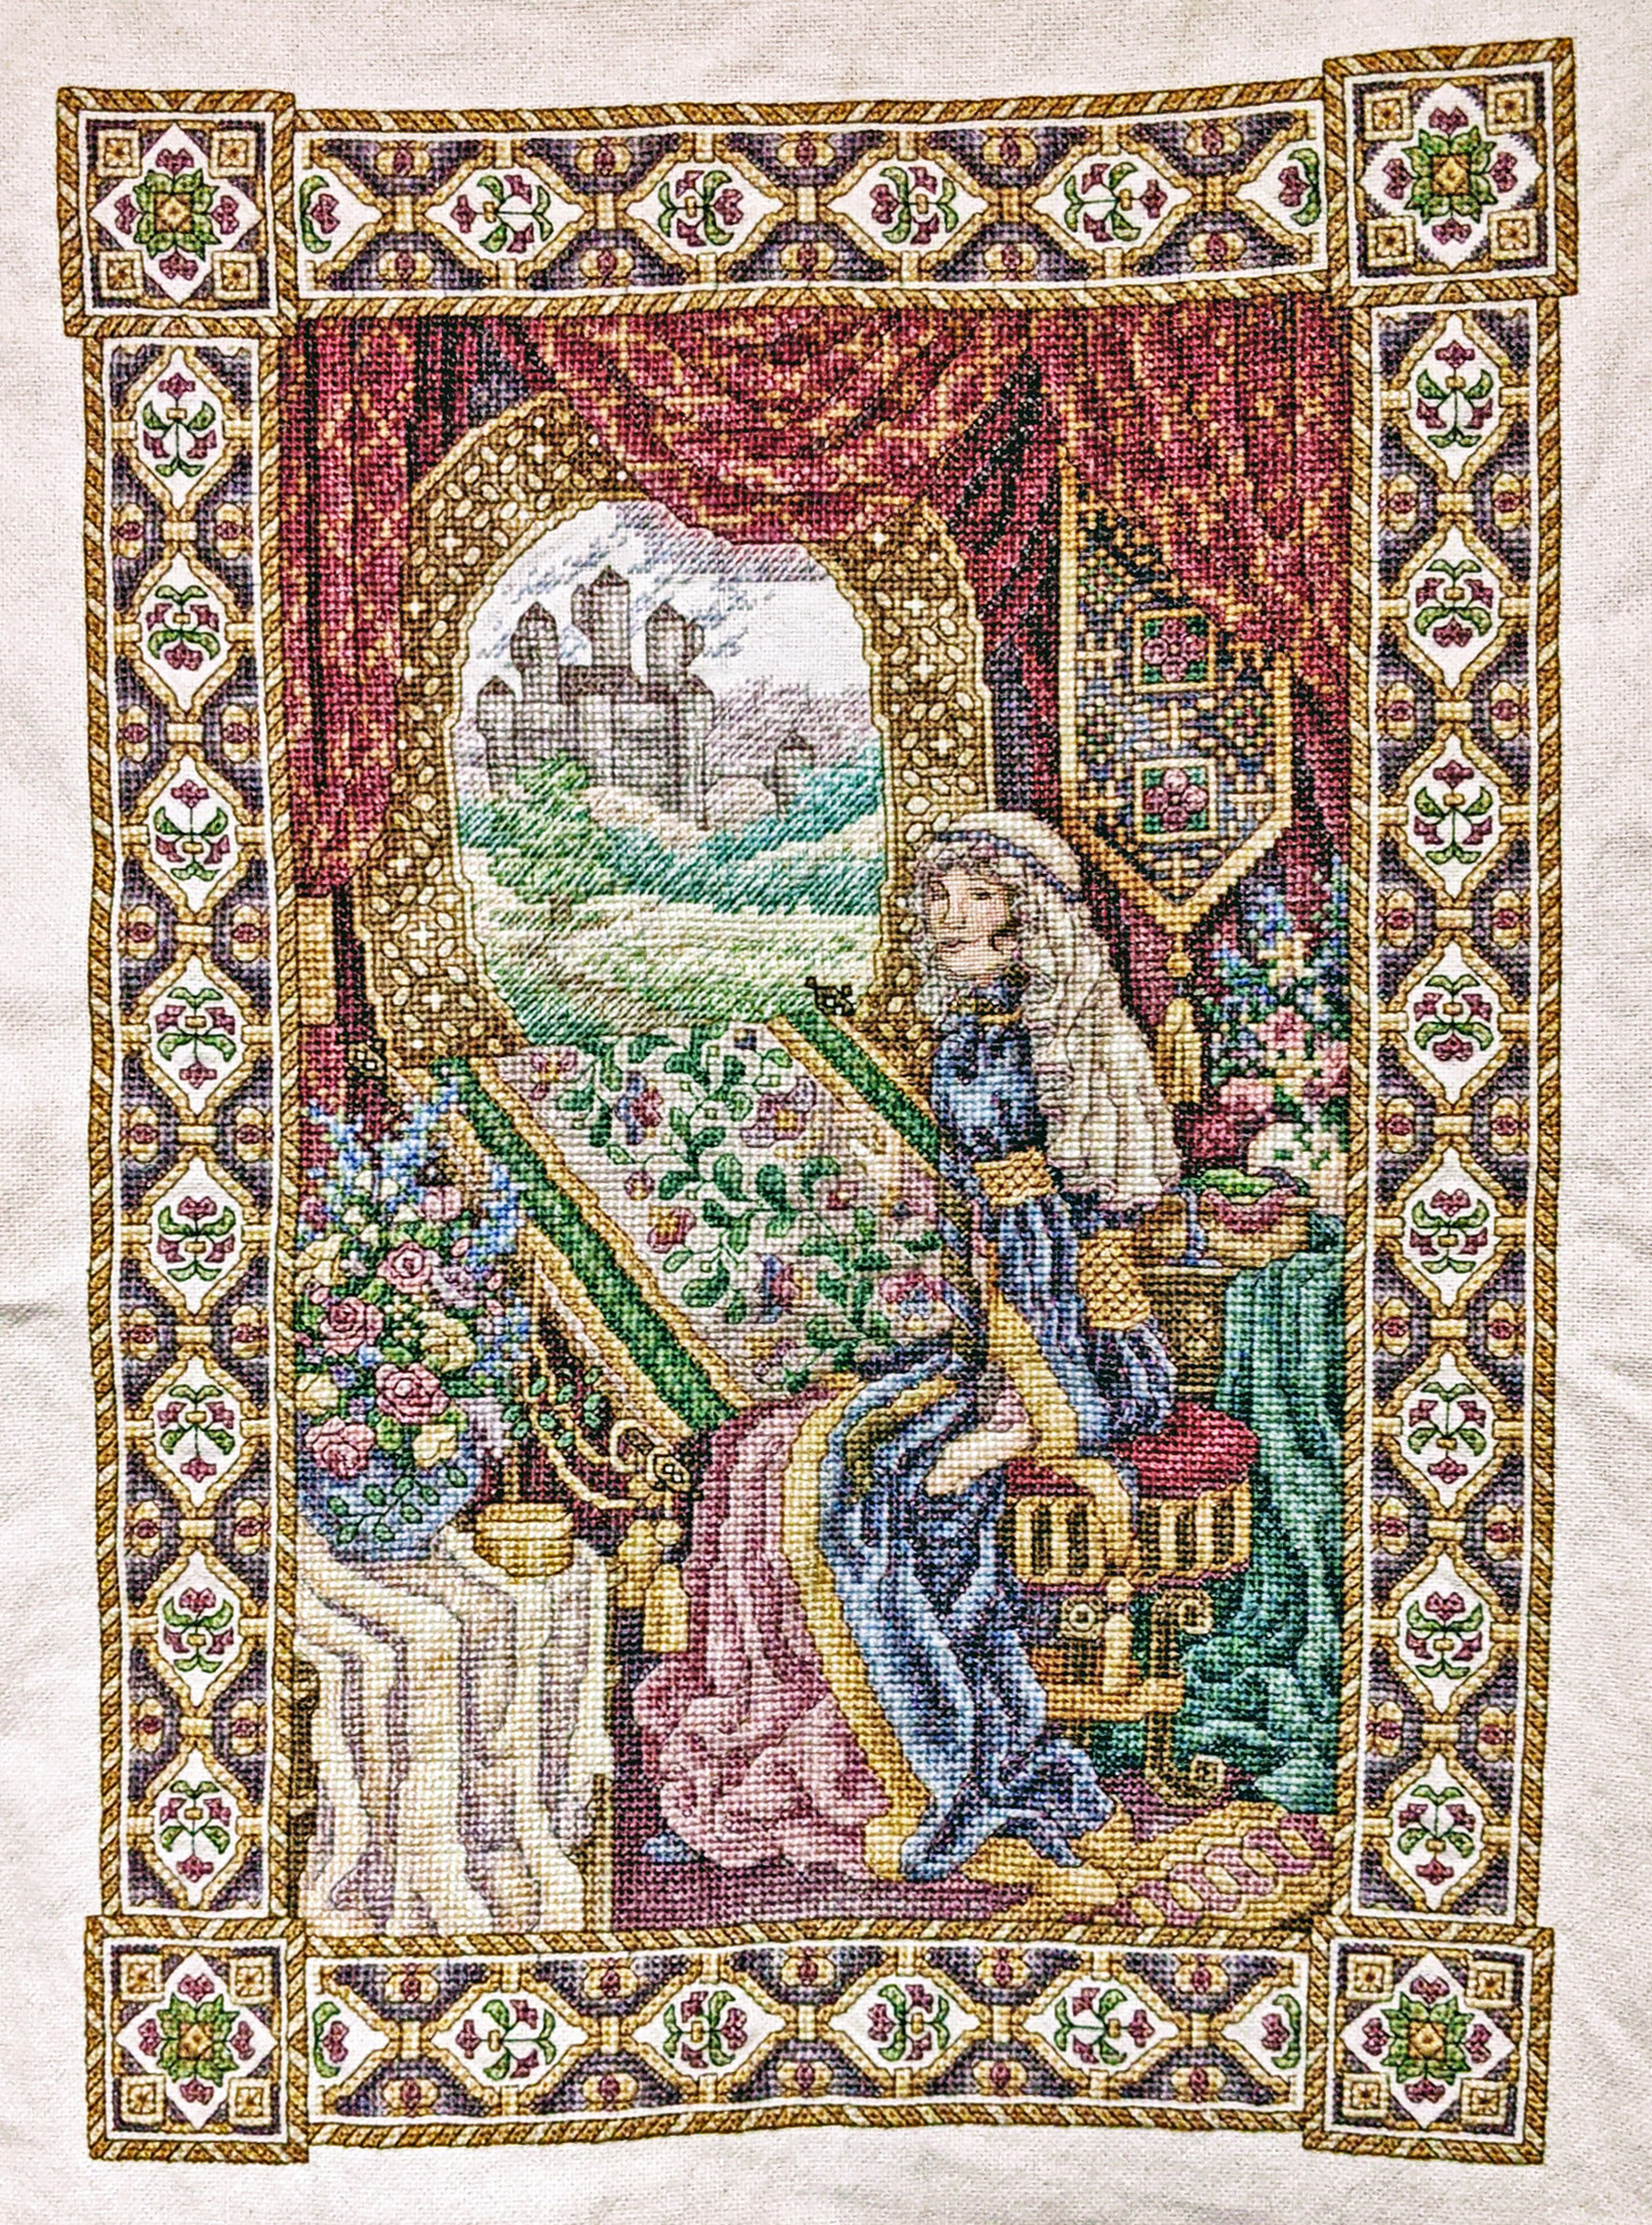
I started this project when I was 19. I remember sitting on the lawn at Carroll College in Helena, Montana, and starting that first stitch up in the top left corner in DMC 420. The Lady of Shalott is a Teresa Wentzler pattern that came out in the late 1990s, and I’ve now finally finished it at the age of 41. The original myth is about Elaine, the Lady of Shalott, a fairy who fell in love with Lancelot and died while floating on a boat down the river to Camelot. It’s a frequently explored myth in Romantic literature, and this version is from Alfred, Lord Tennyson’s poem.
This piece captures the moment just before she looks out to Camelot and her mirror cracks, signalling the end of her life in captivity and her doomed pursuit of Lancelot.
But in her web she still delights
To weave the mirror’s magic sights,
For often thro’ the silent nights
A funeral, with plumes and lights
And music, came from Camelot:
Or when the moon was overhead
Came two young lovers lately wed;
‘I am half sick of shadows,’ said
The Lady of Shalott.
This was quite a quarantine finish!
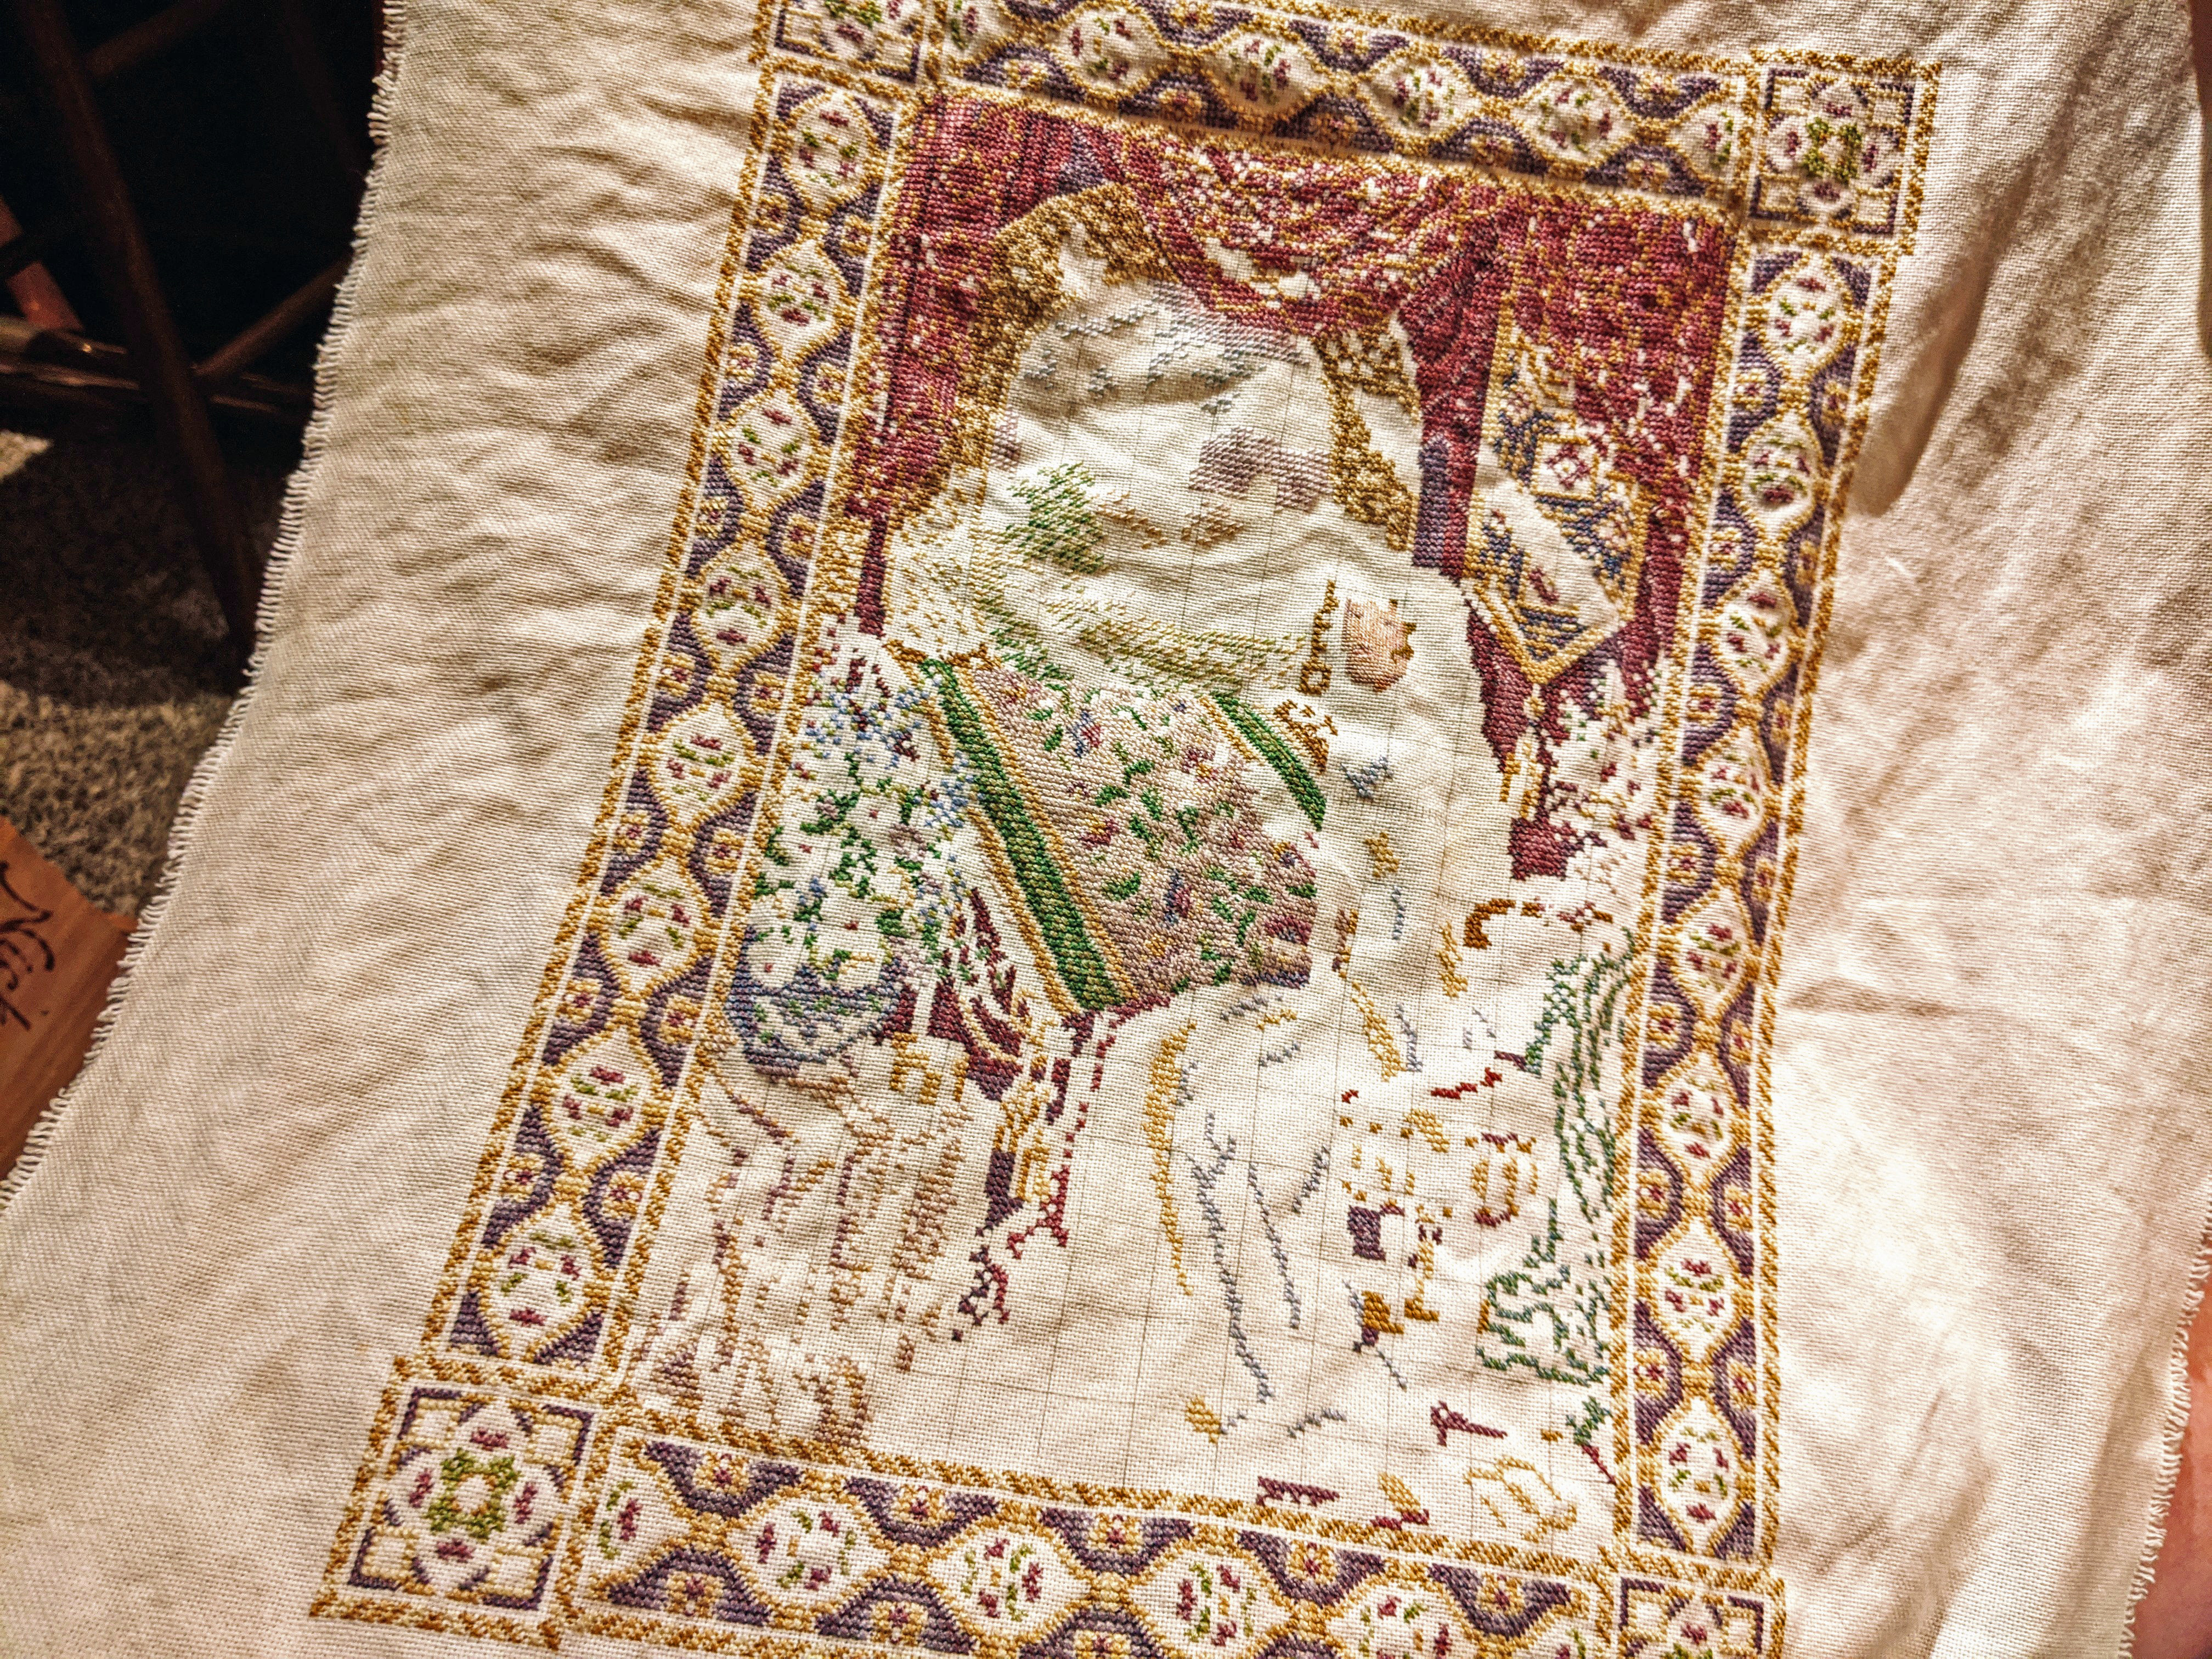
I think I was so motivated to finish this during the pandemic because I thought it was beyond ironic that I was embroidering a woman who was embroidering because she wasn’t allowed to leave her home or dream of going other places.
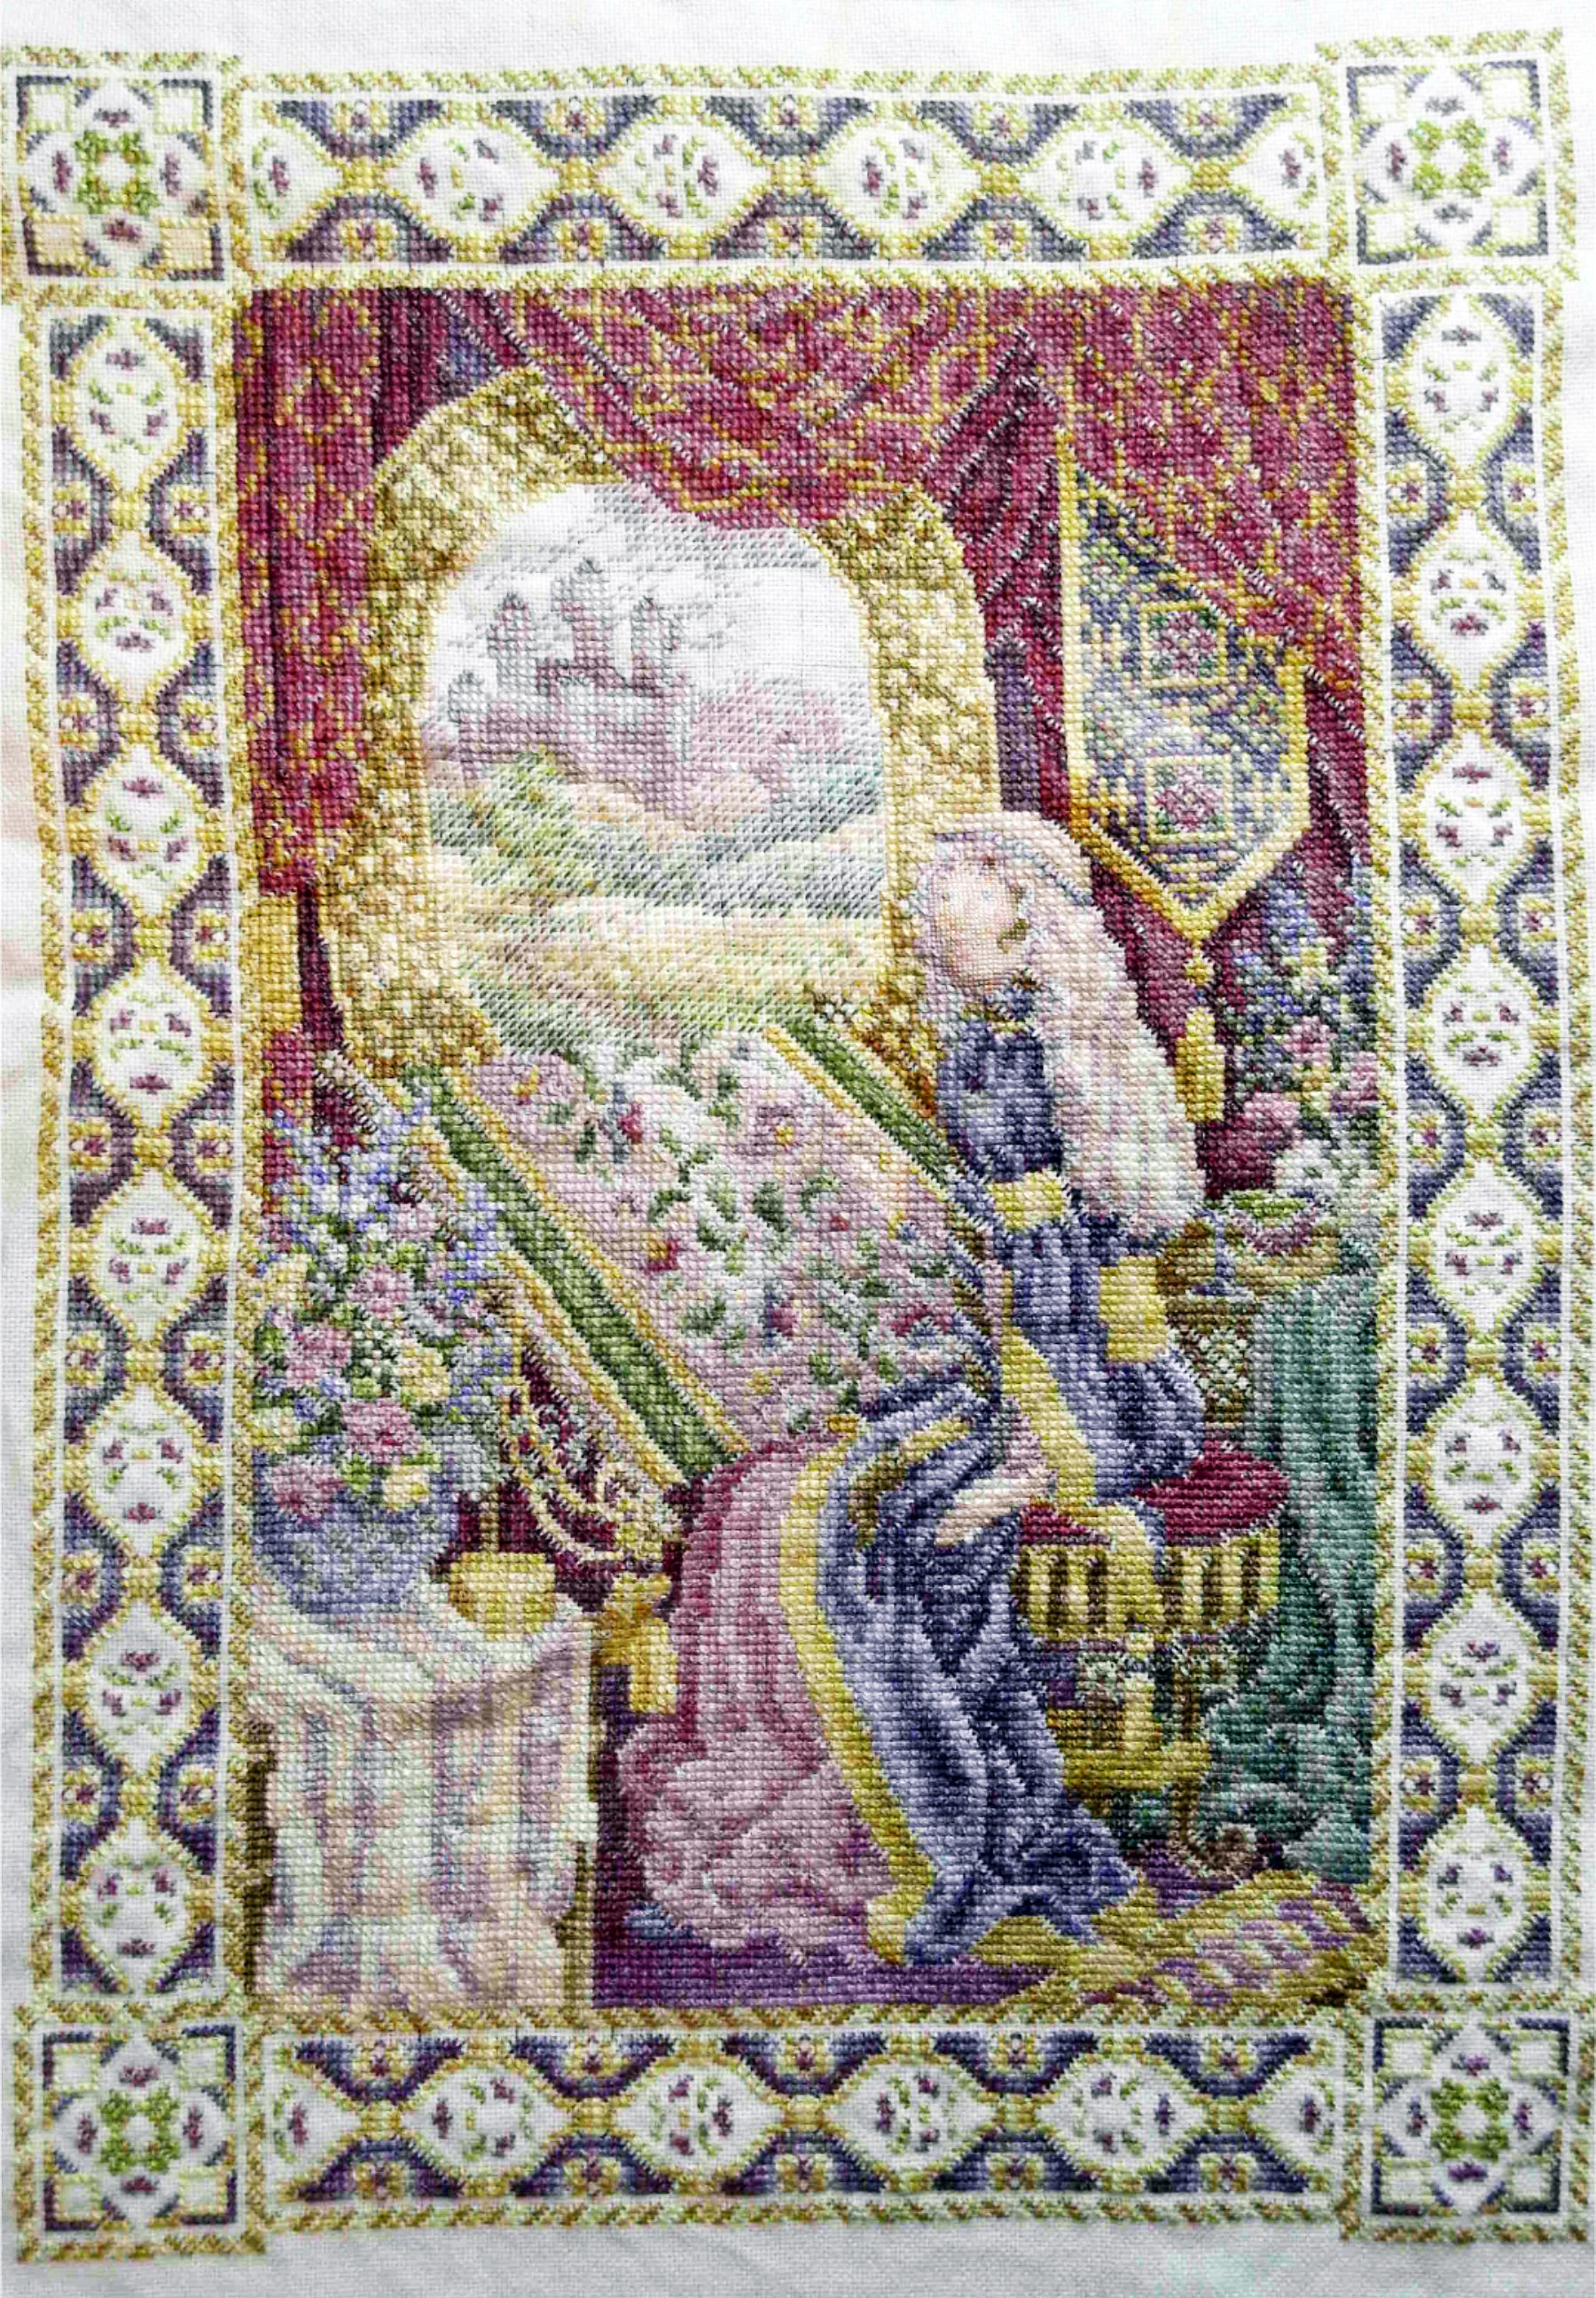
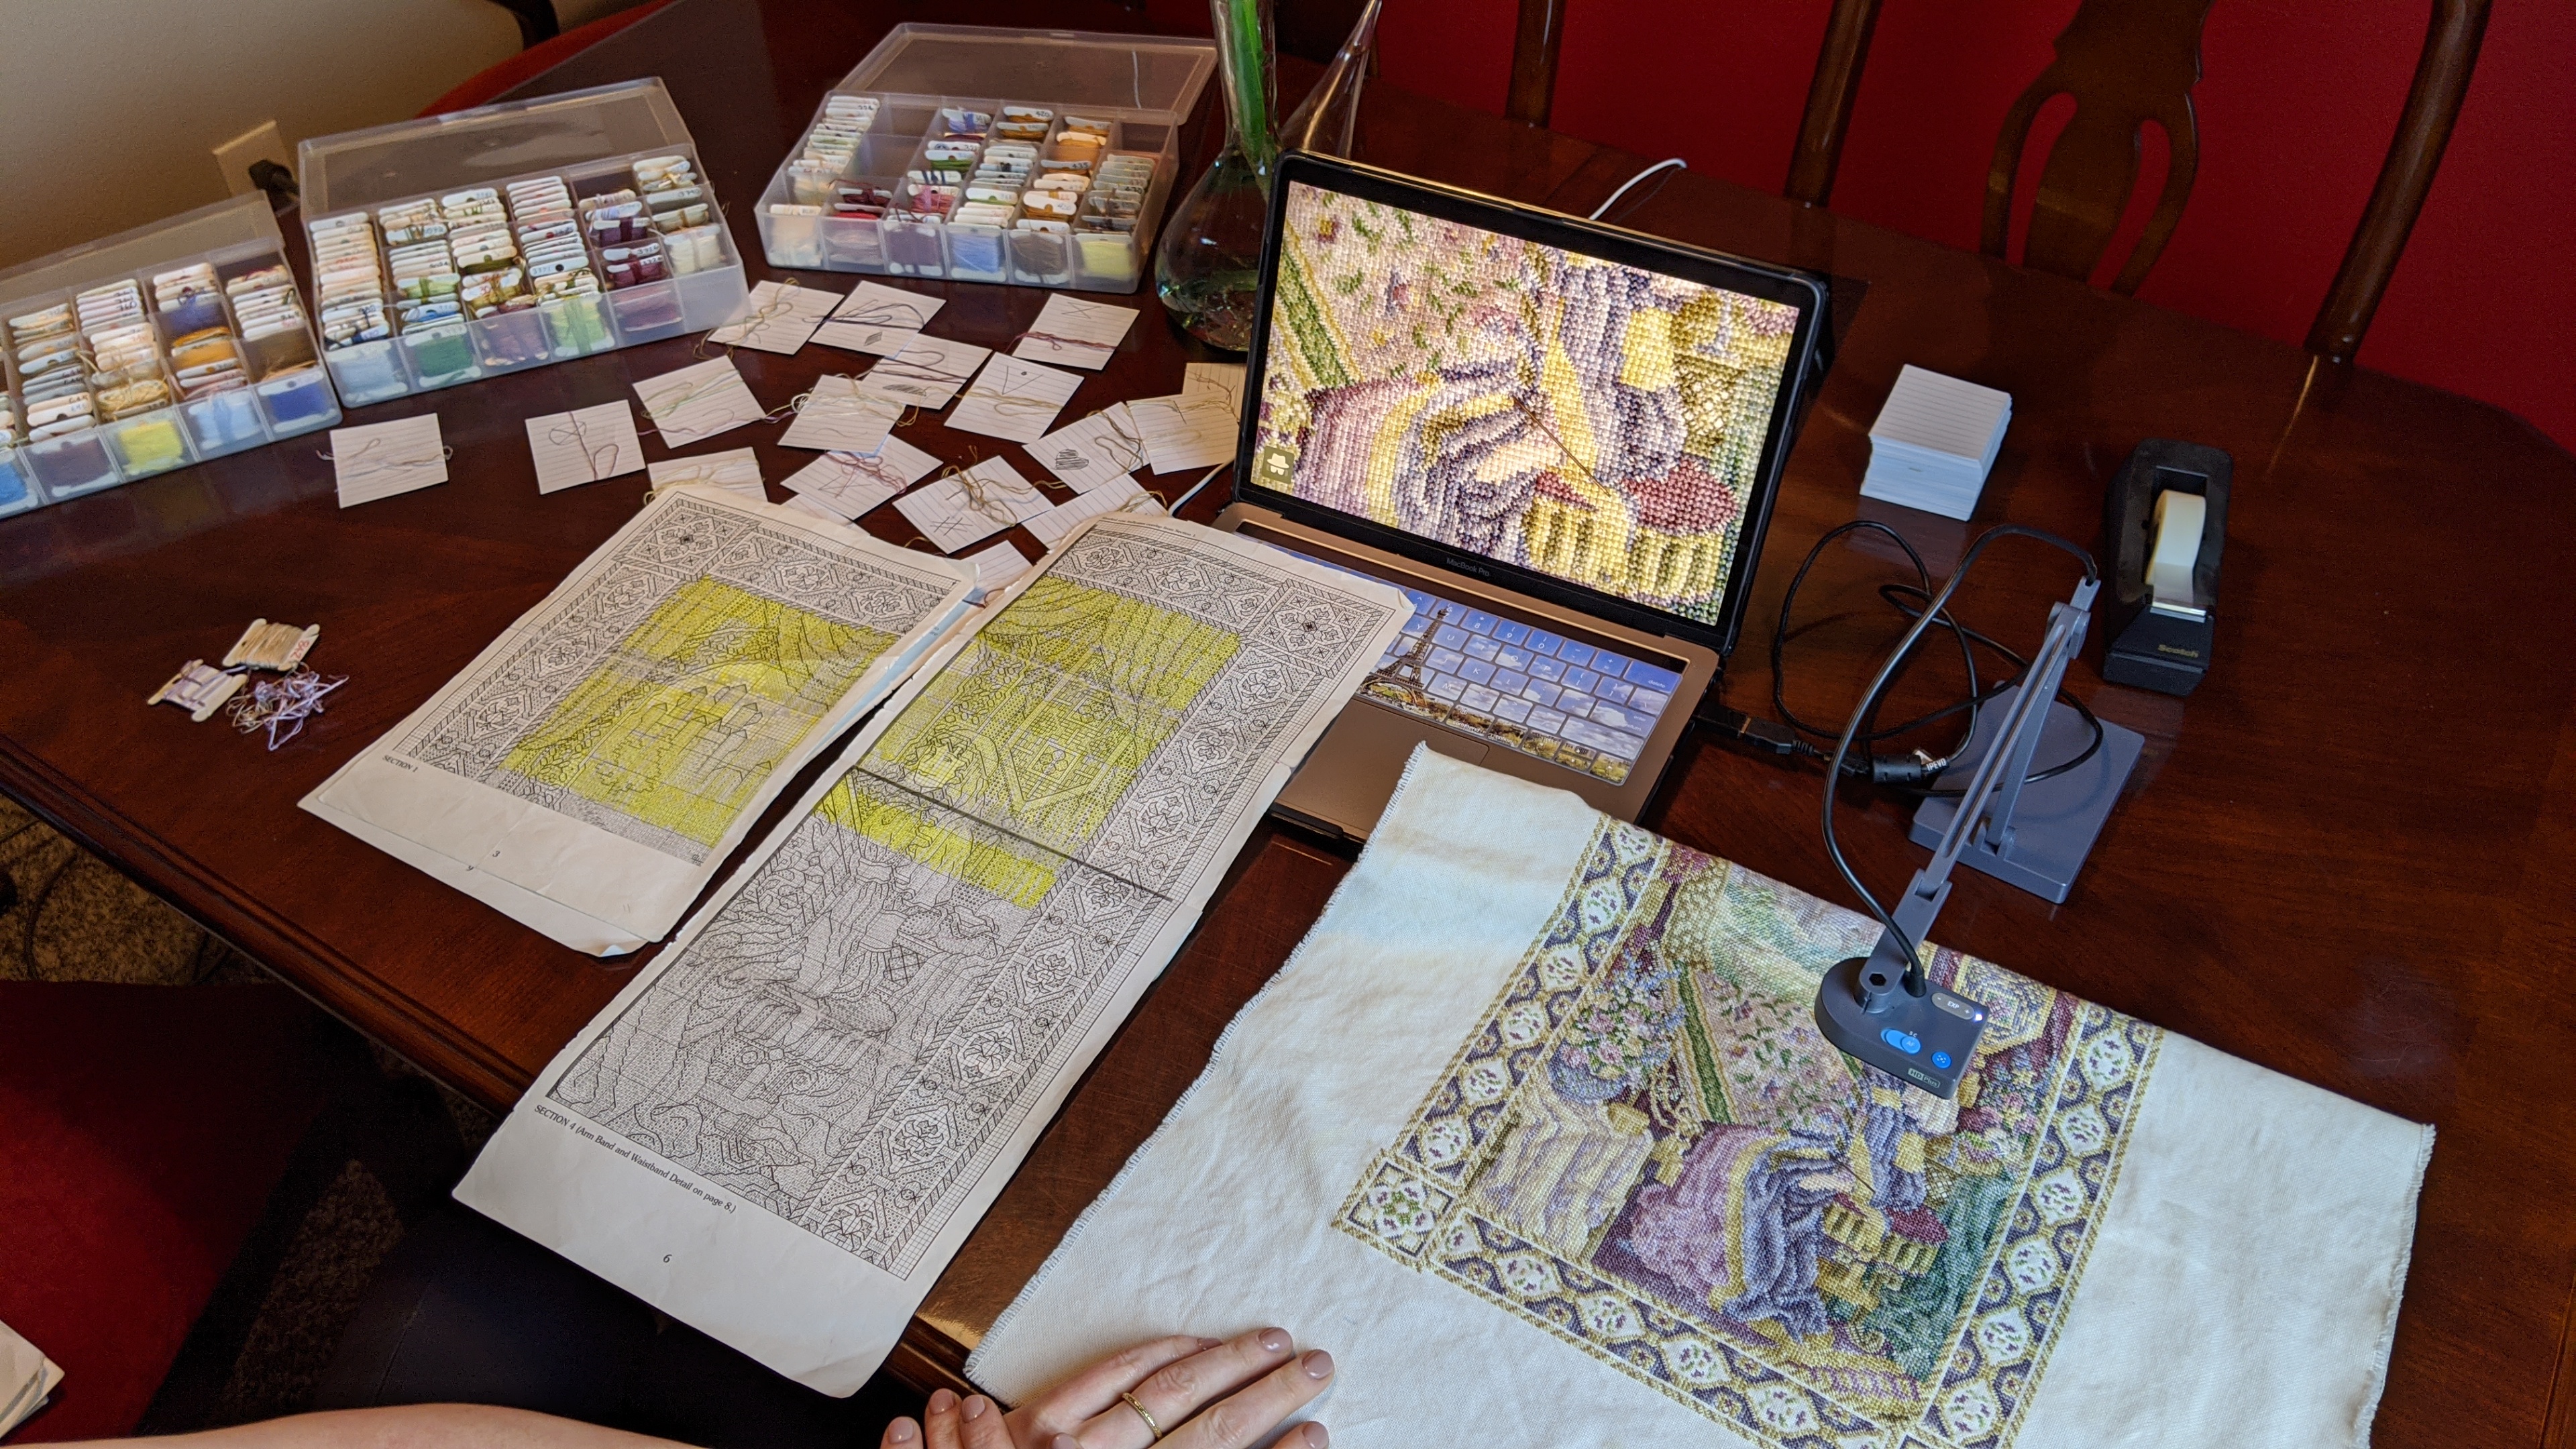
After completing much of the cross stitching, I had to go through it with a forensic magnifier to check each 10×10 section for missing stitches. I basically lost a weekend doing this! Not that I noticed; we’re still in a pandemic.
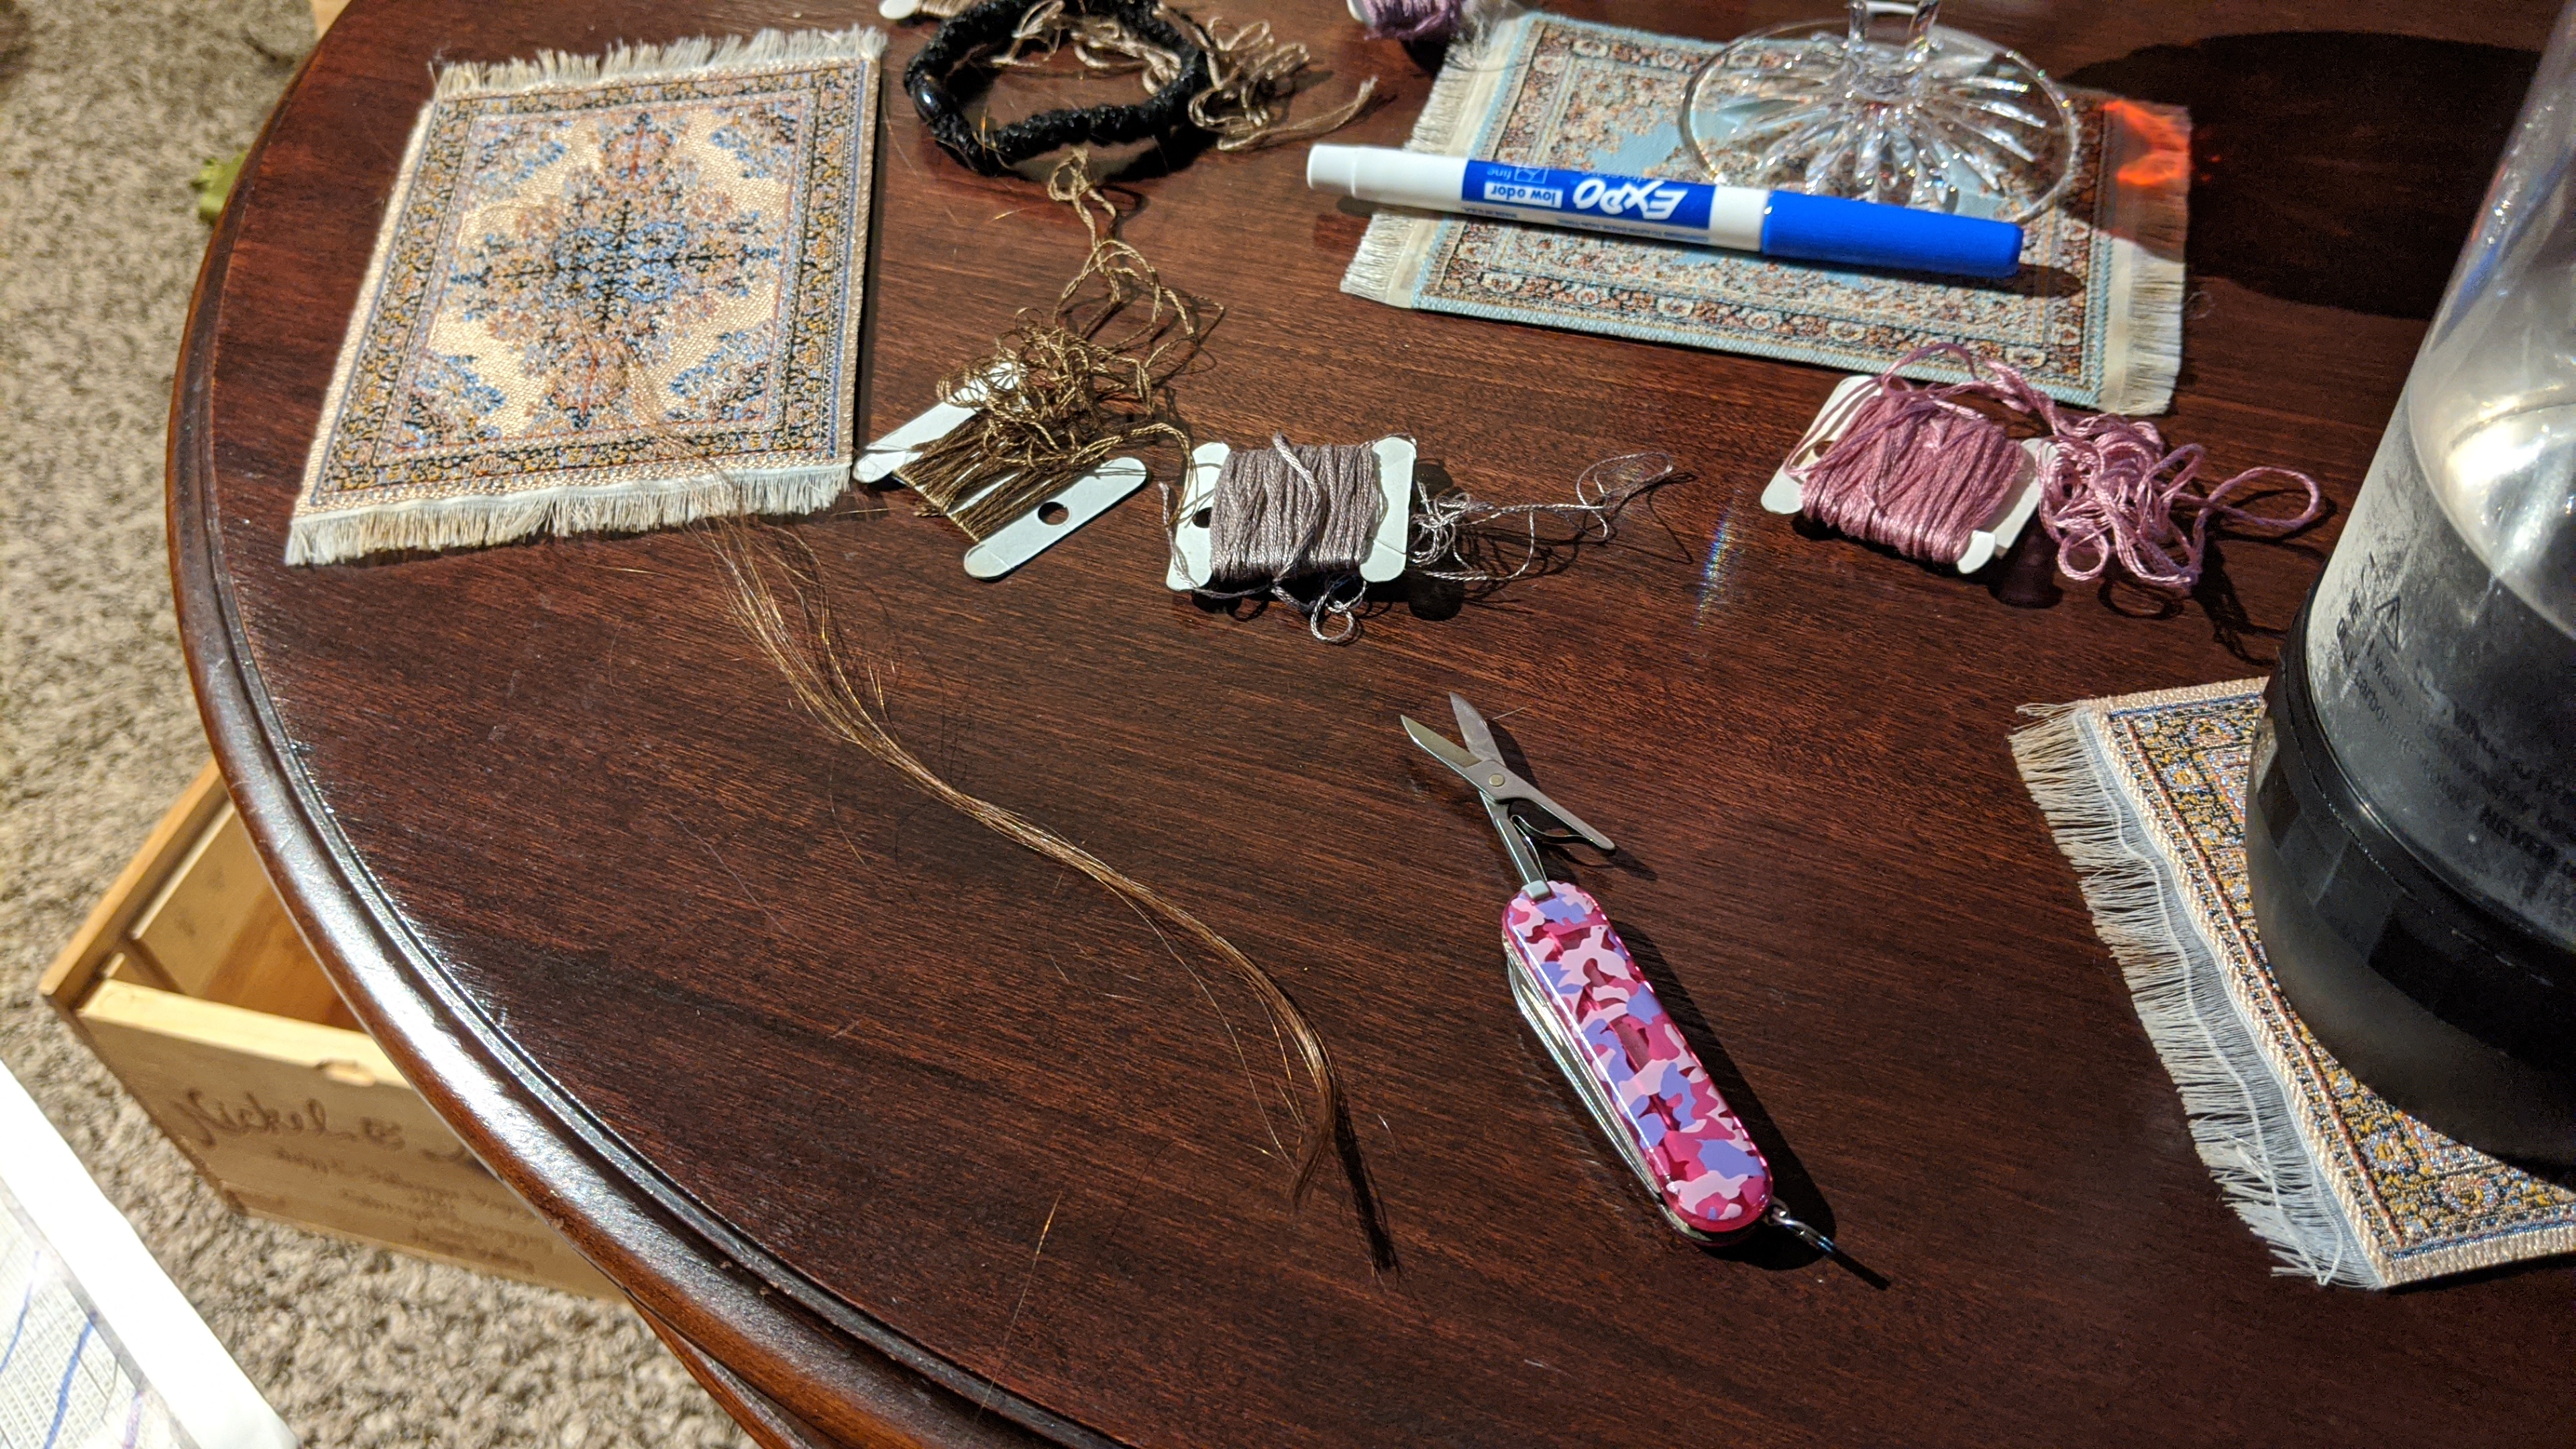
I put a lot of myself into this project. Given the Victorian origins of Tennyson and the Romantic poets who loved the Chrêtien de Troyes version of the Arthurian romances, I thought it might be nice to literally put myself into this project. So, Elaine’s hair is mixed with a tiny lock of mine, like a Victorian funeral wreath.
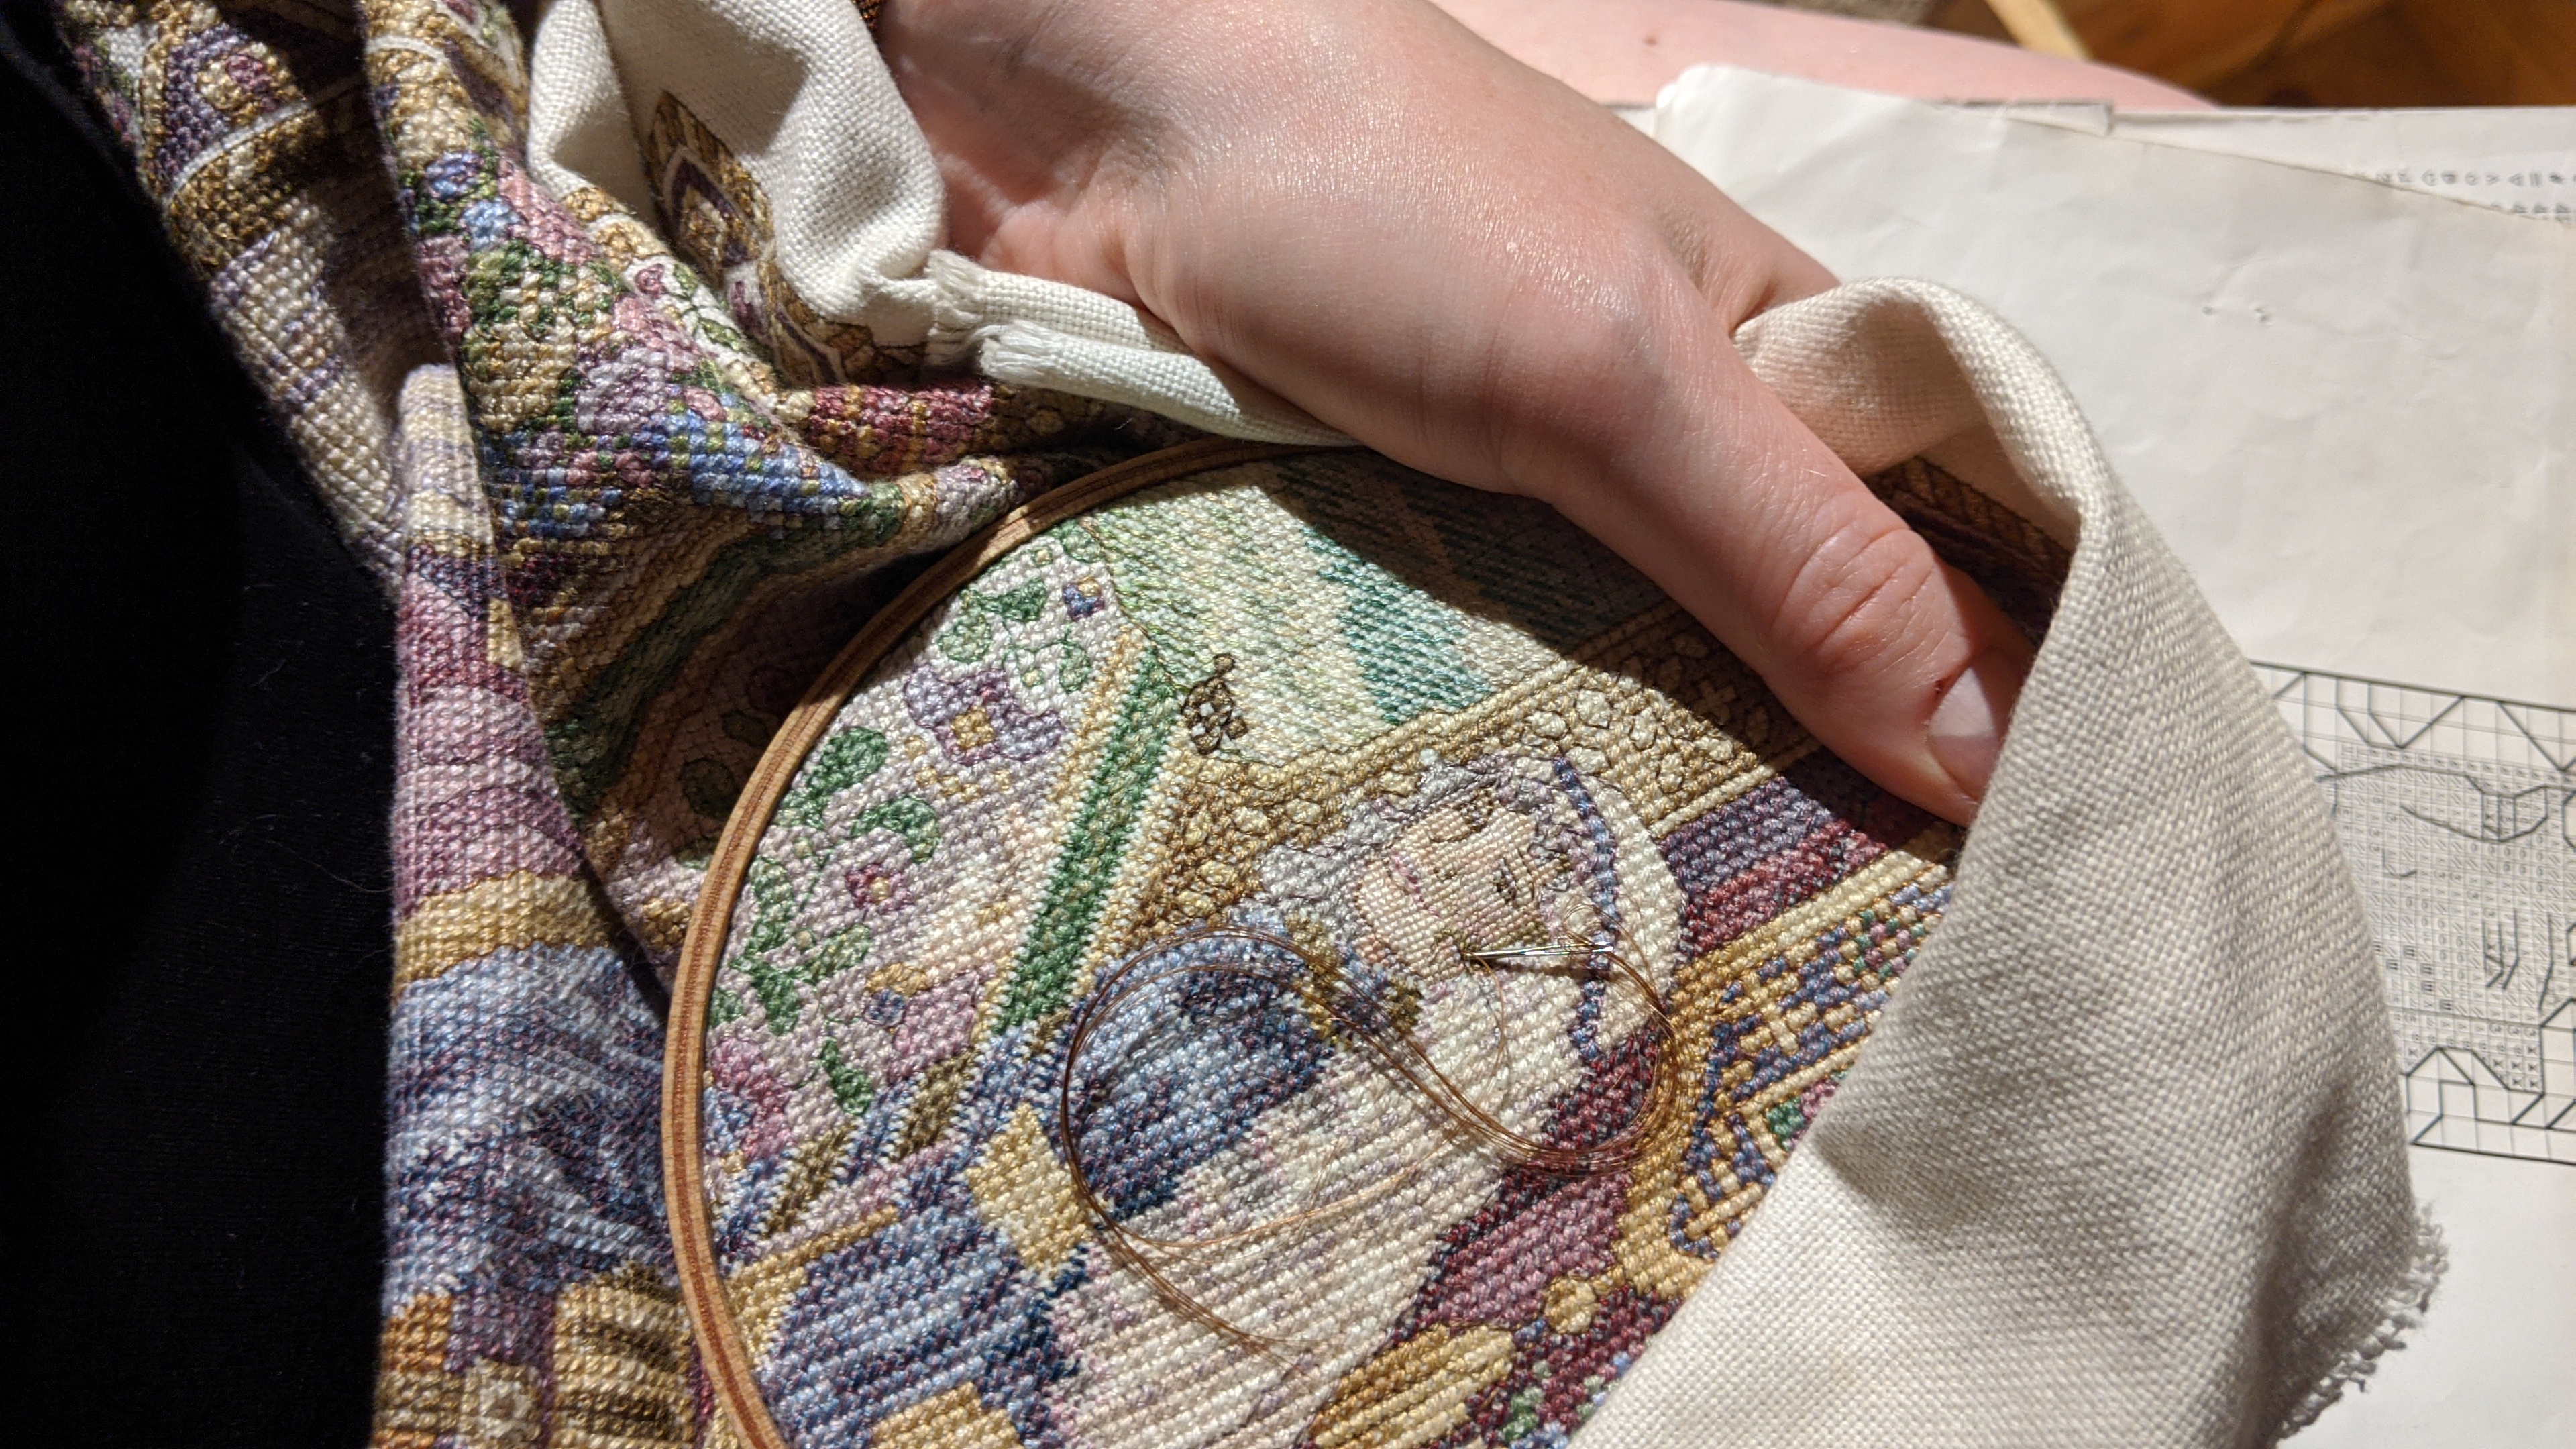
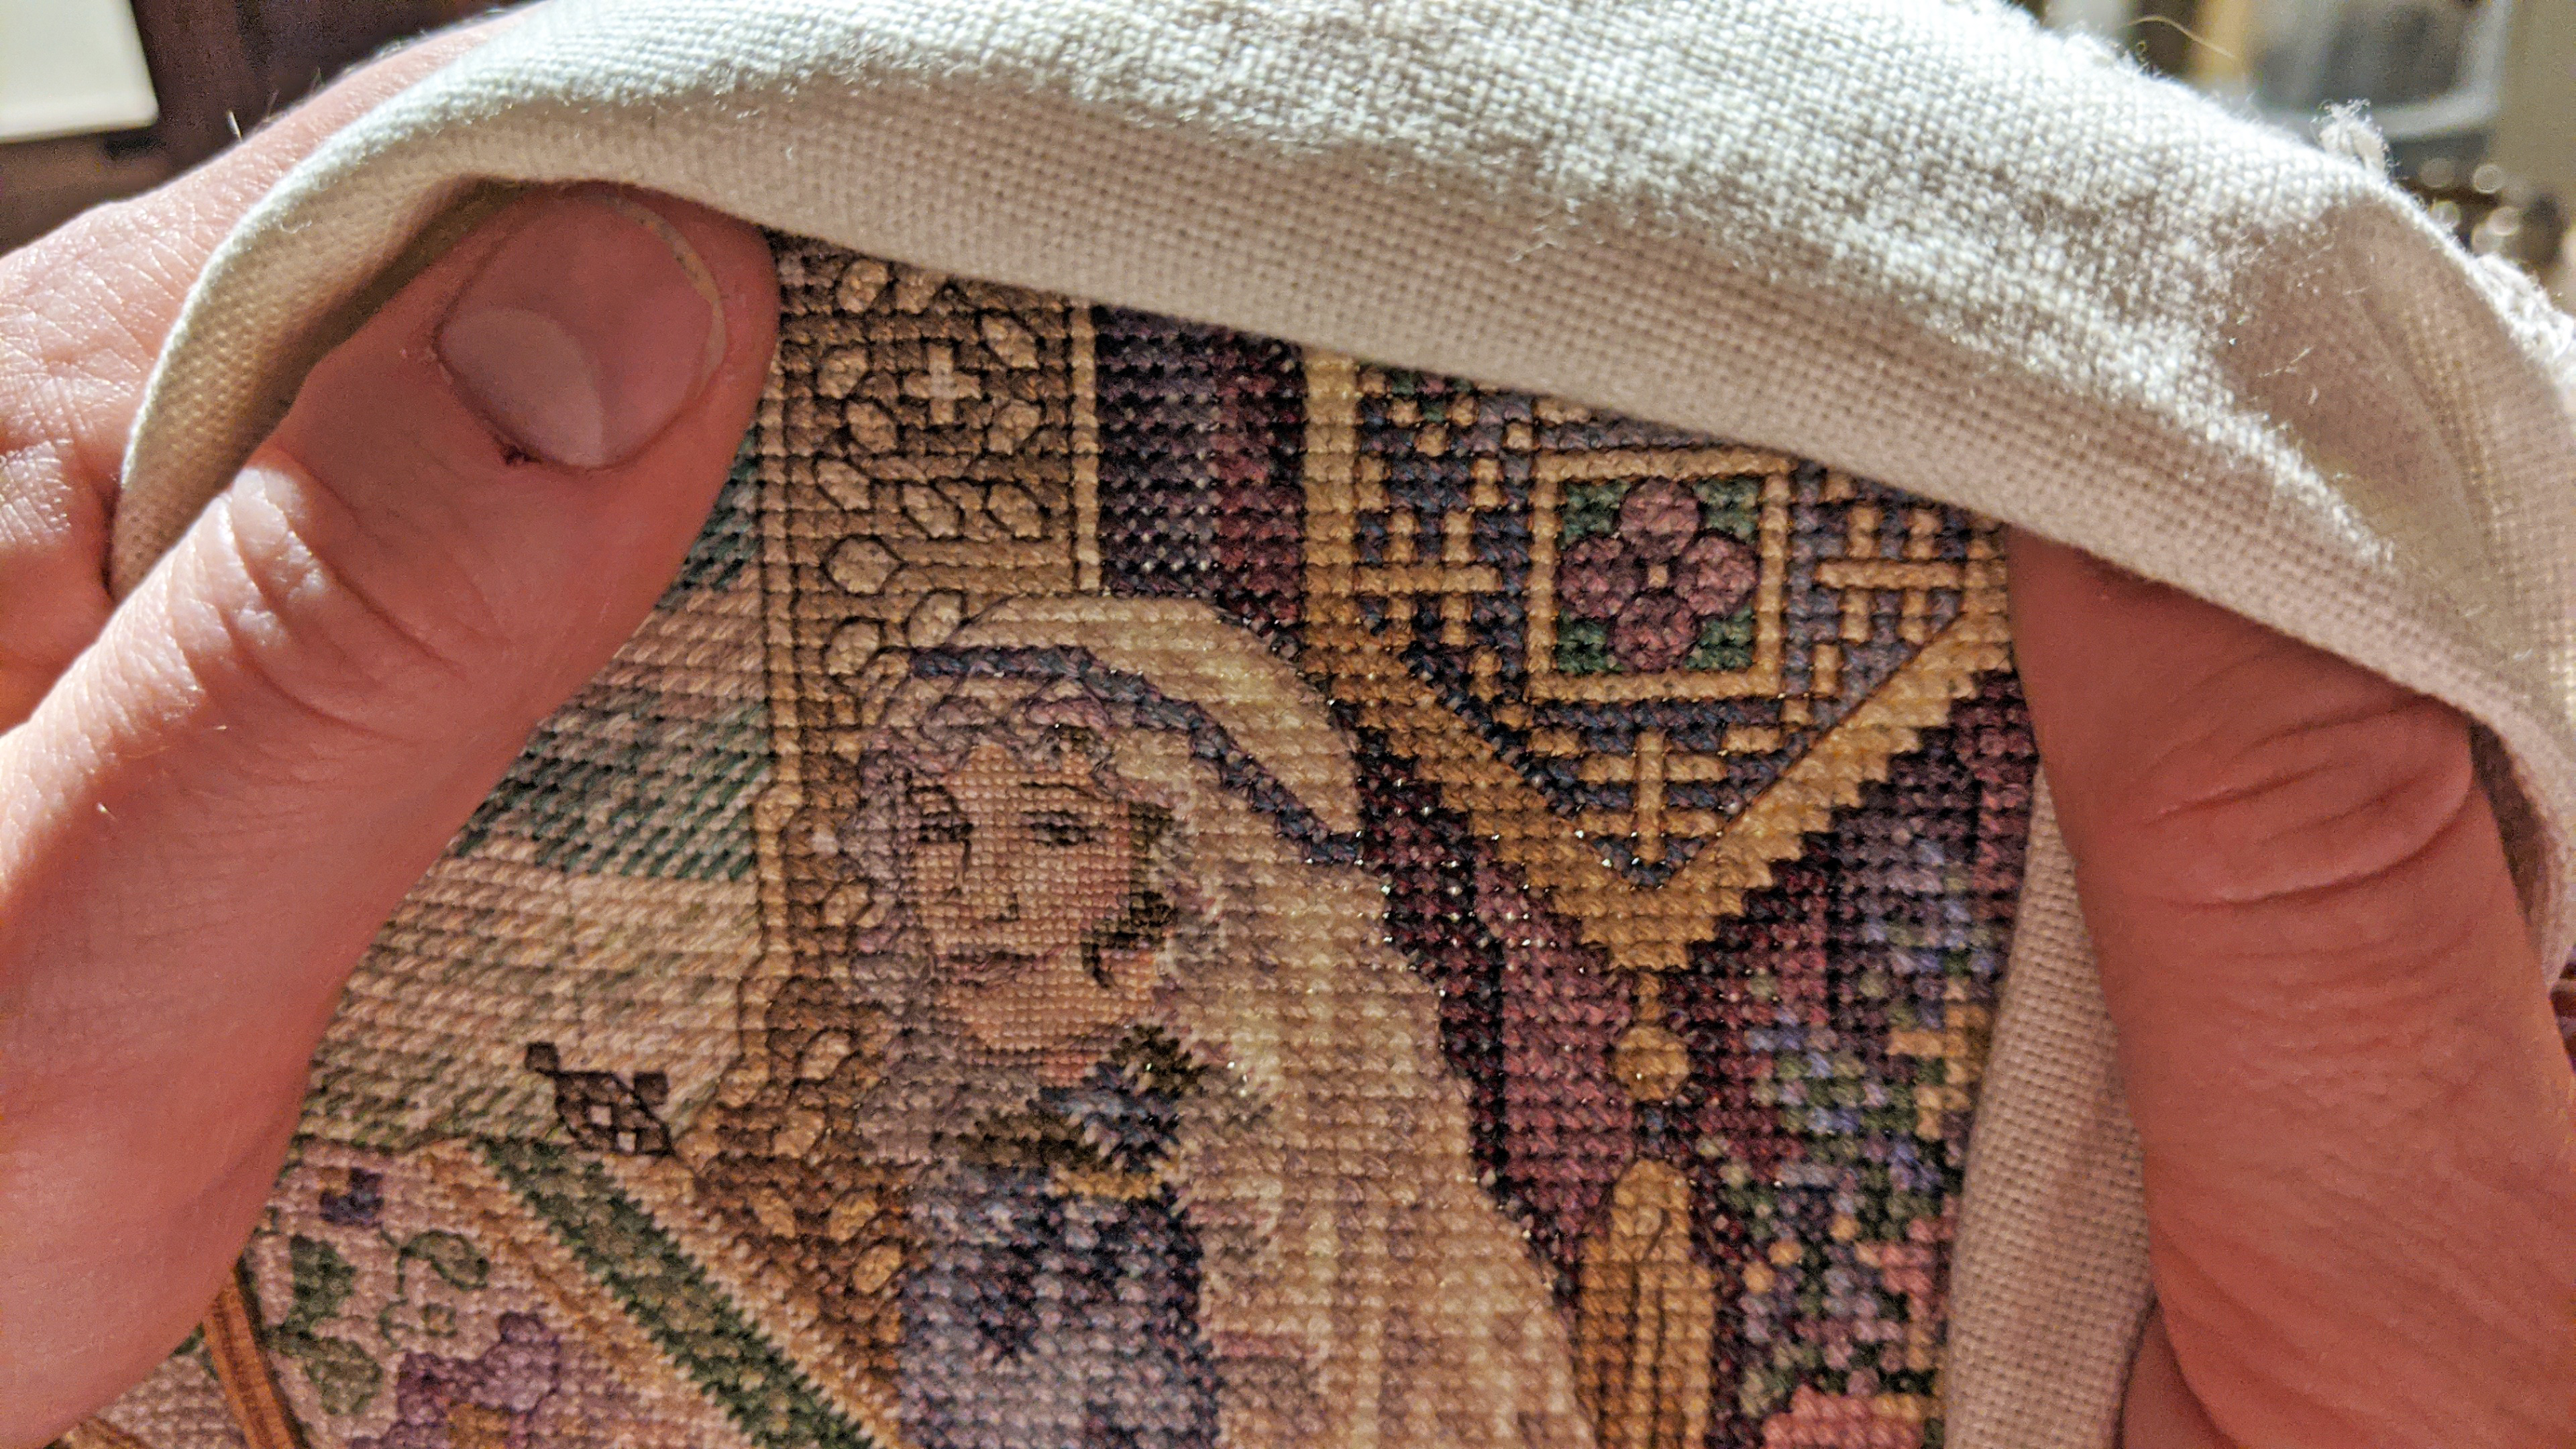
There’s often a really big difference between doing cross stitching, and doing the finishing work of backstitching. The tininess of the stitches in this piece means the contrast isn’t as great as in some others, but it’s still pretty spectacular to see it outlined in high relief.
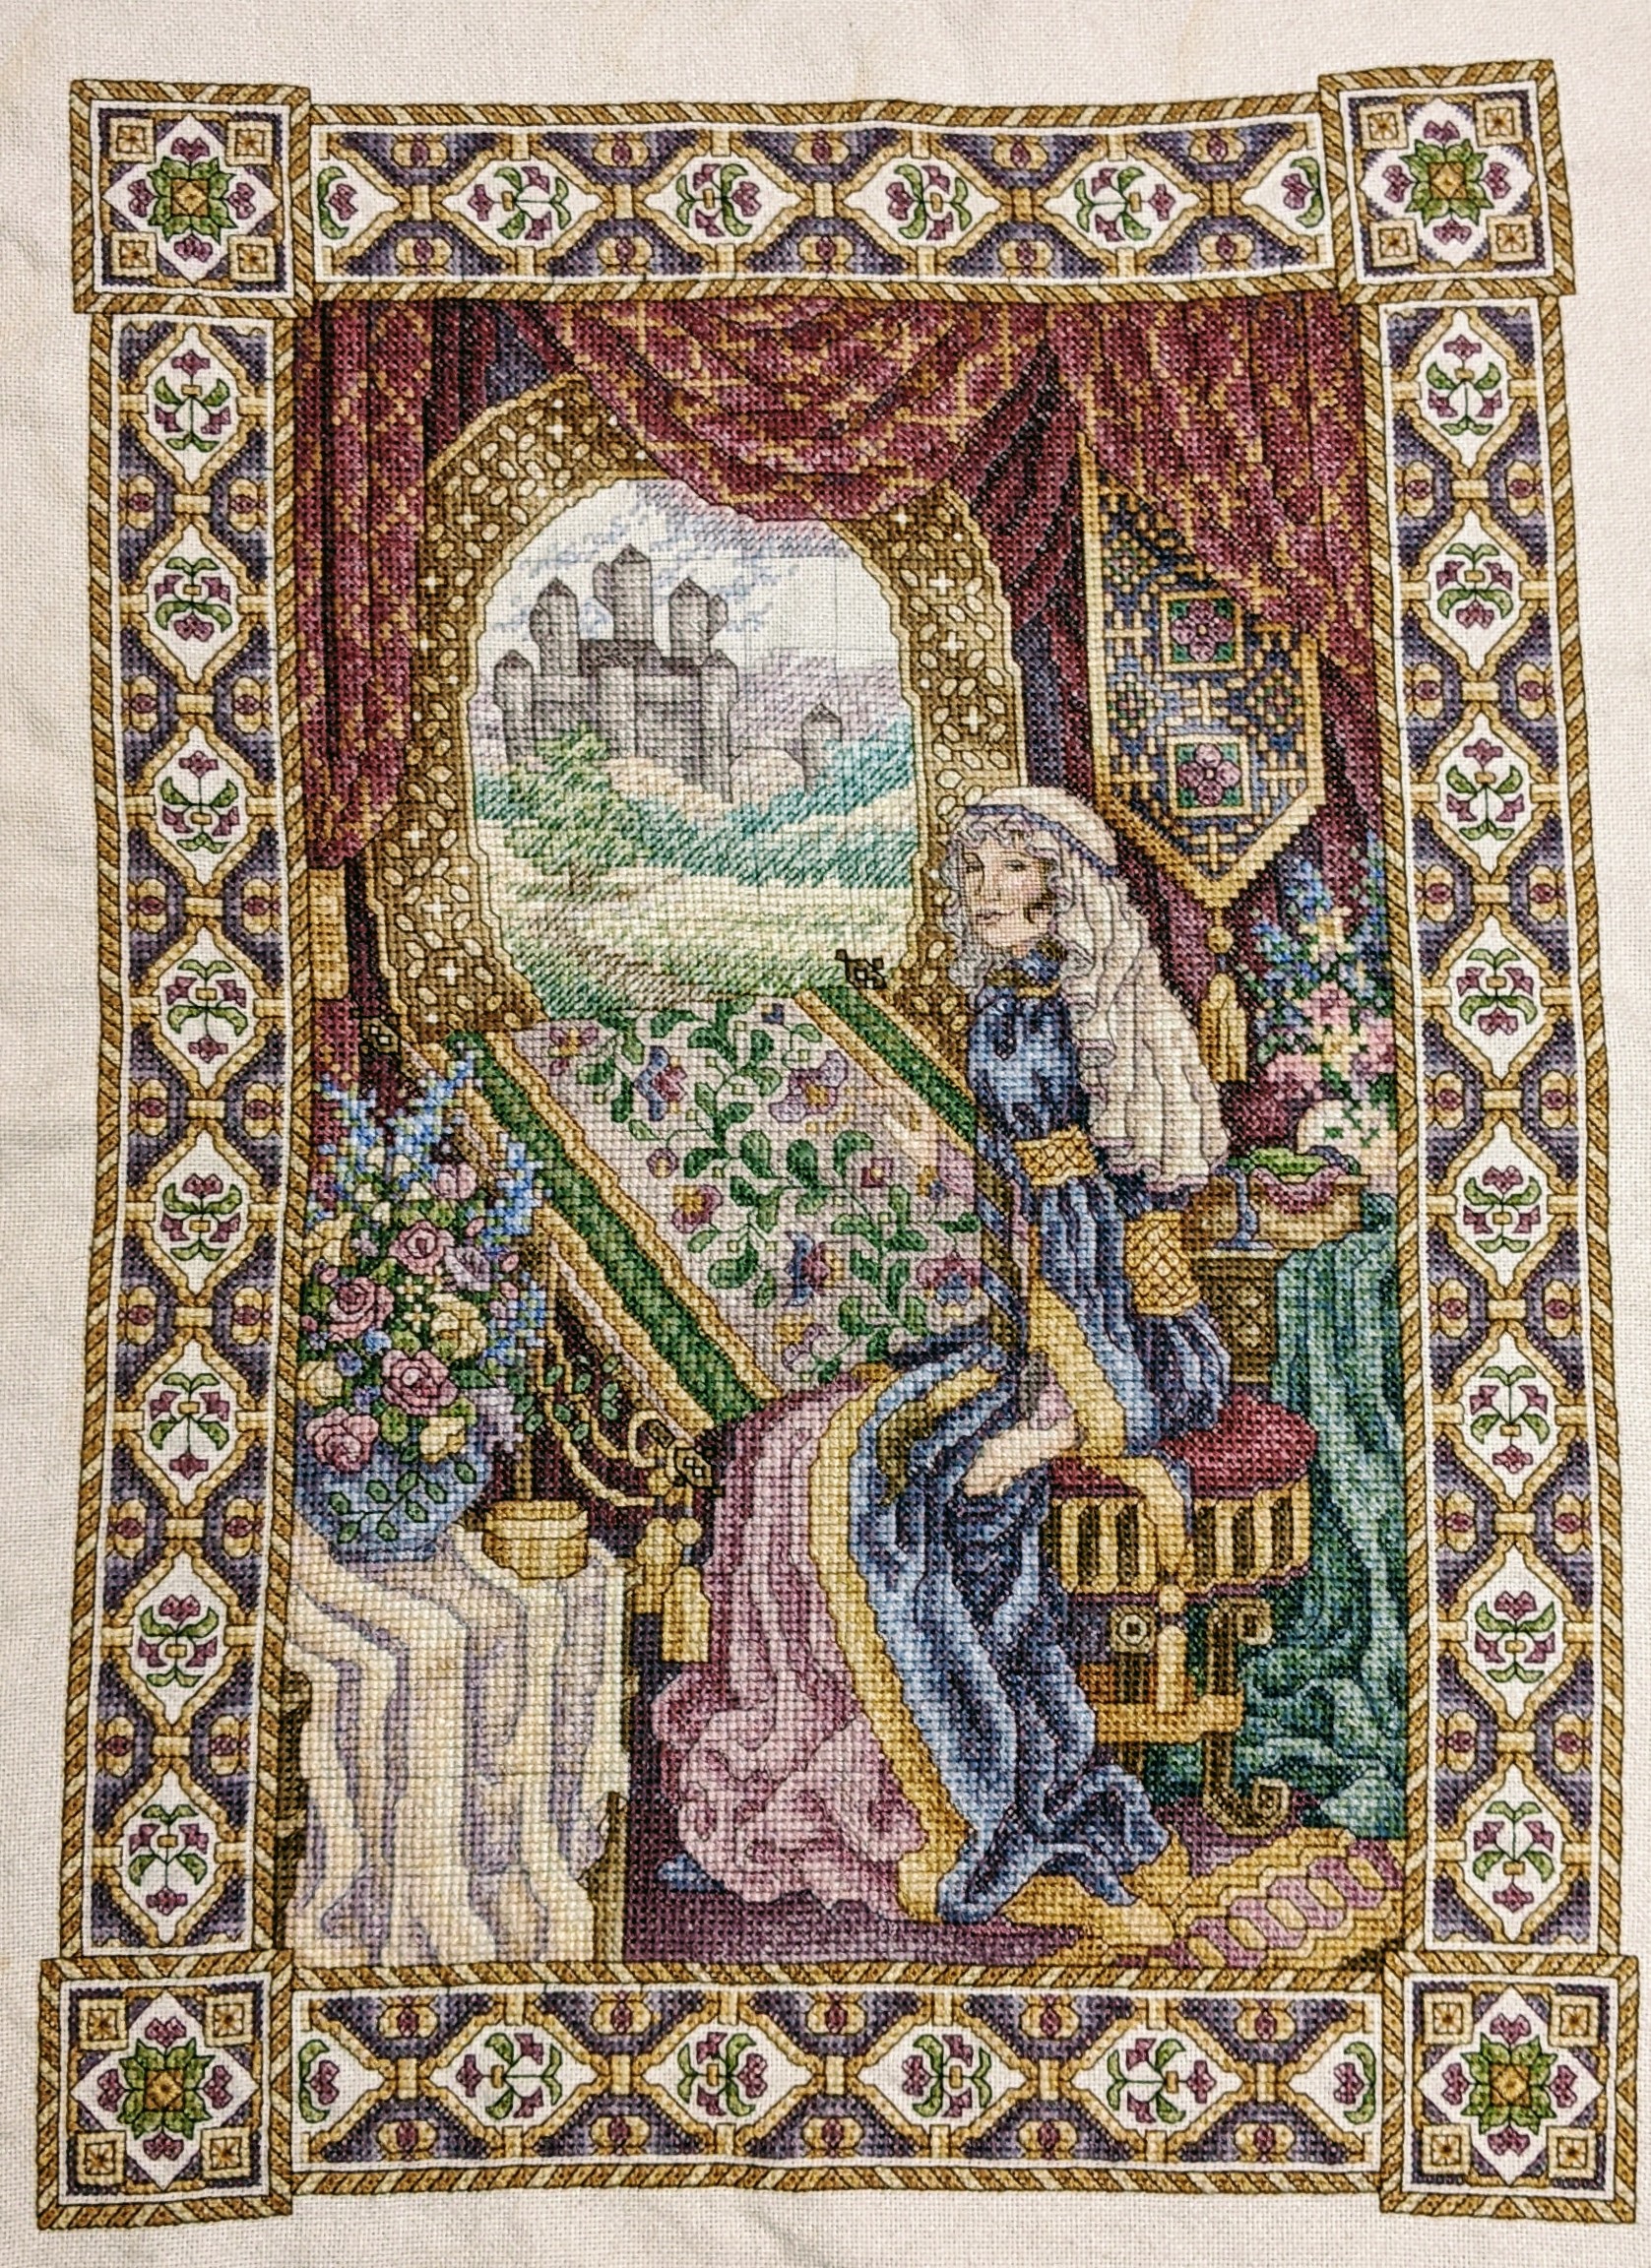
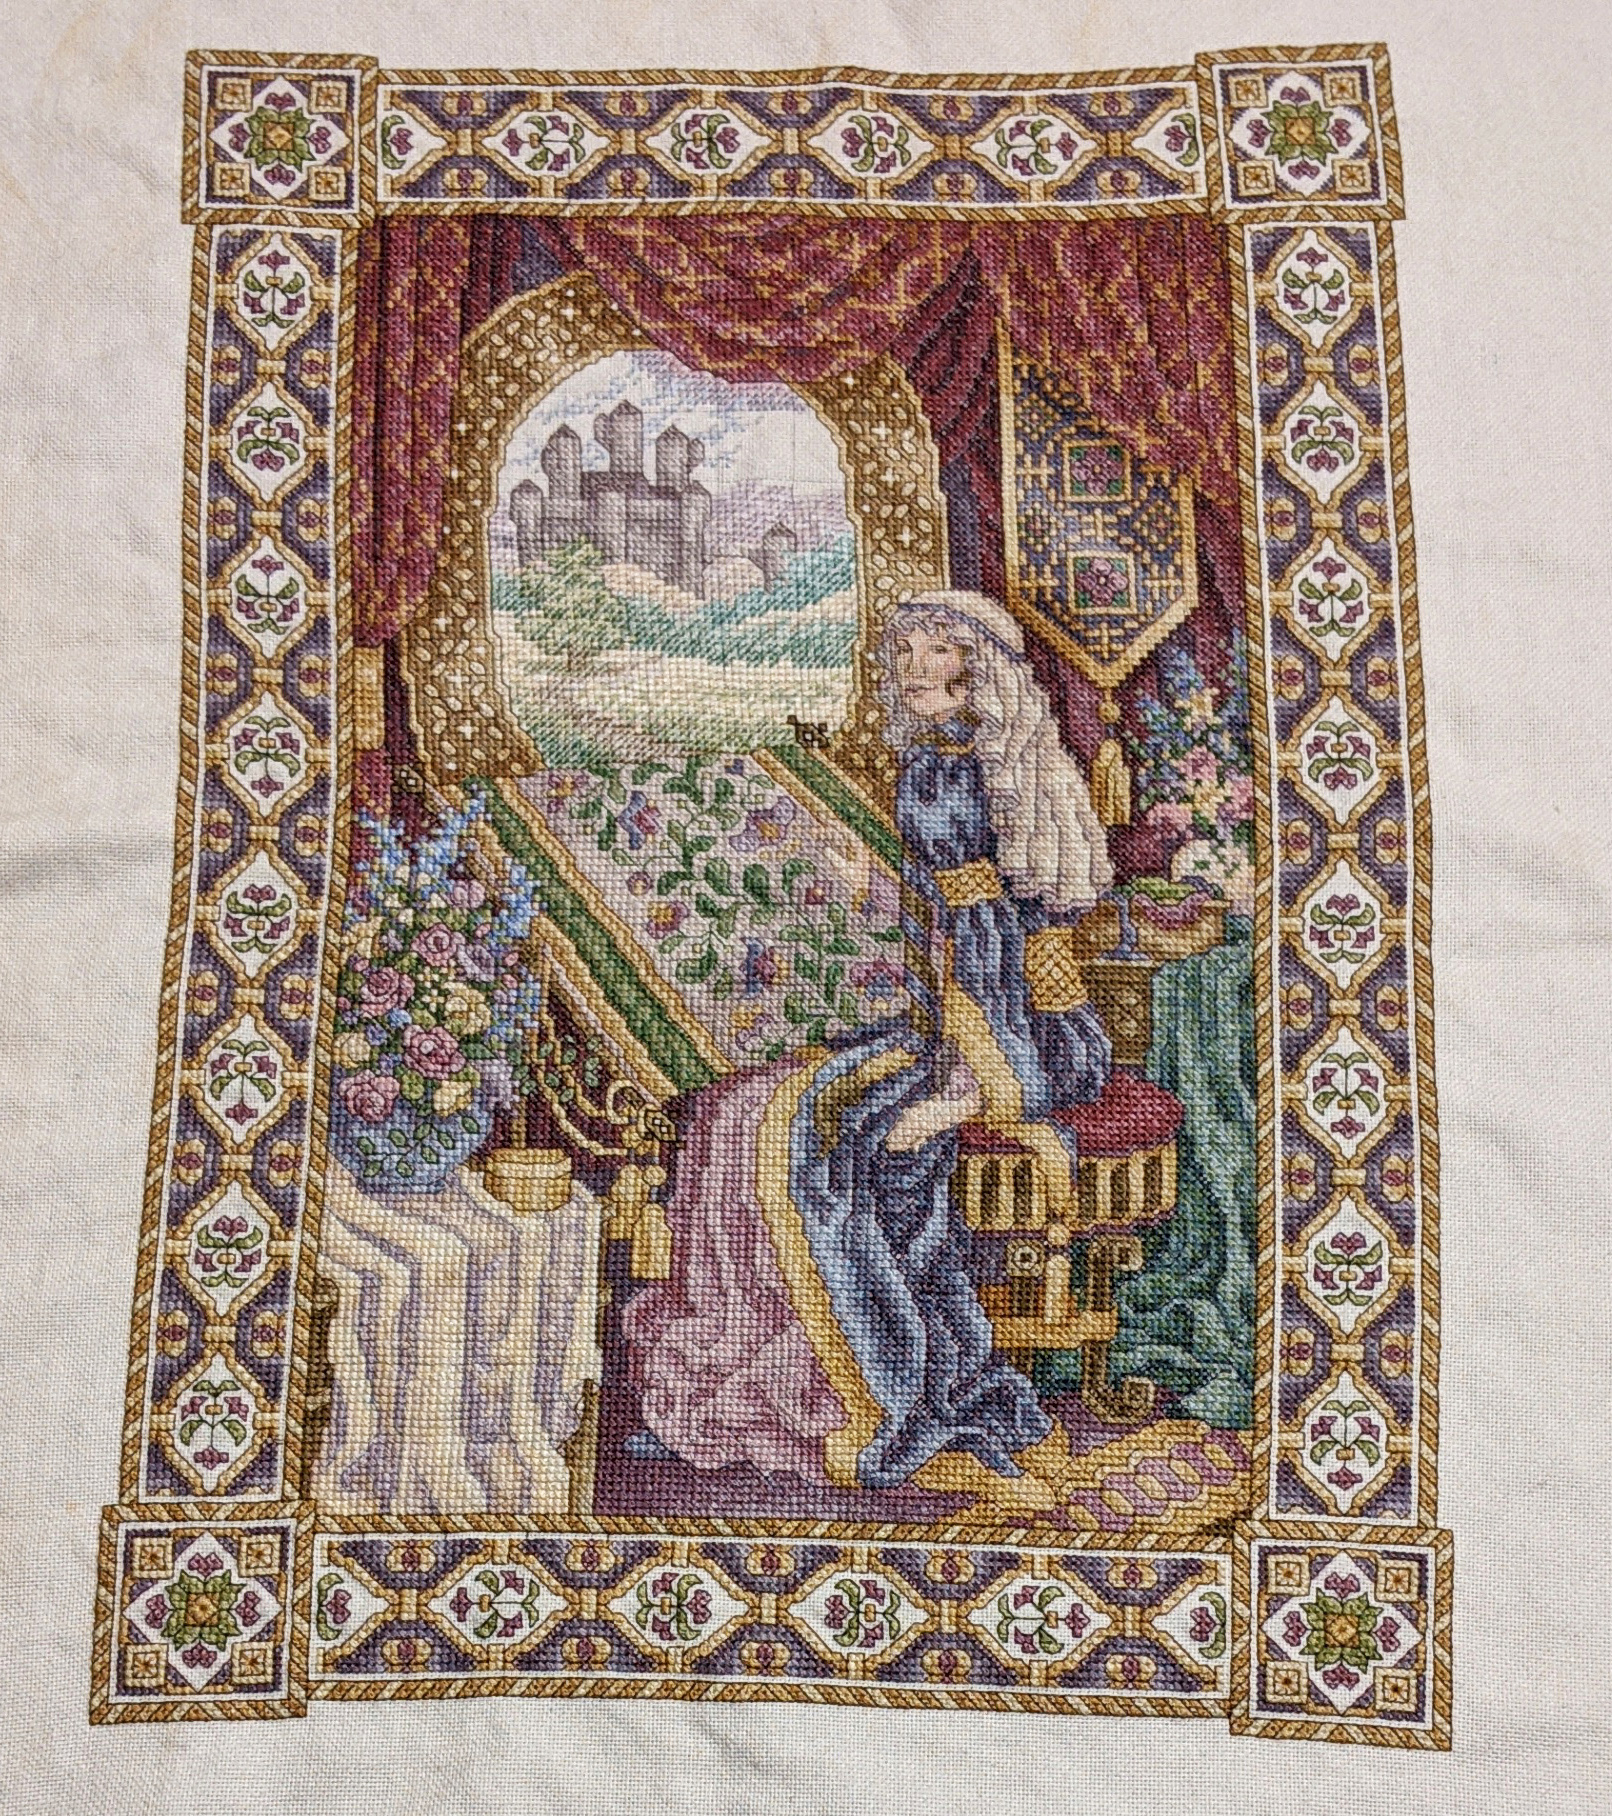
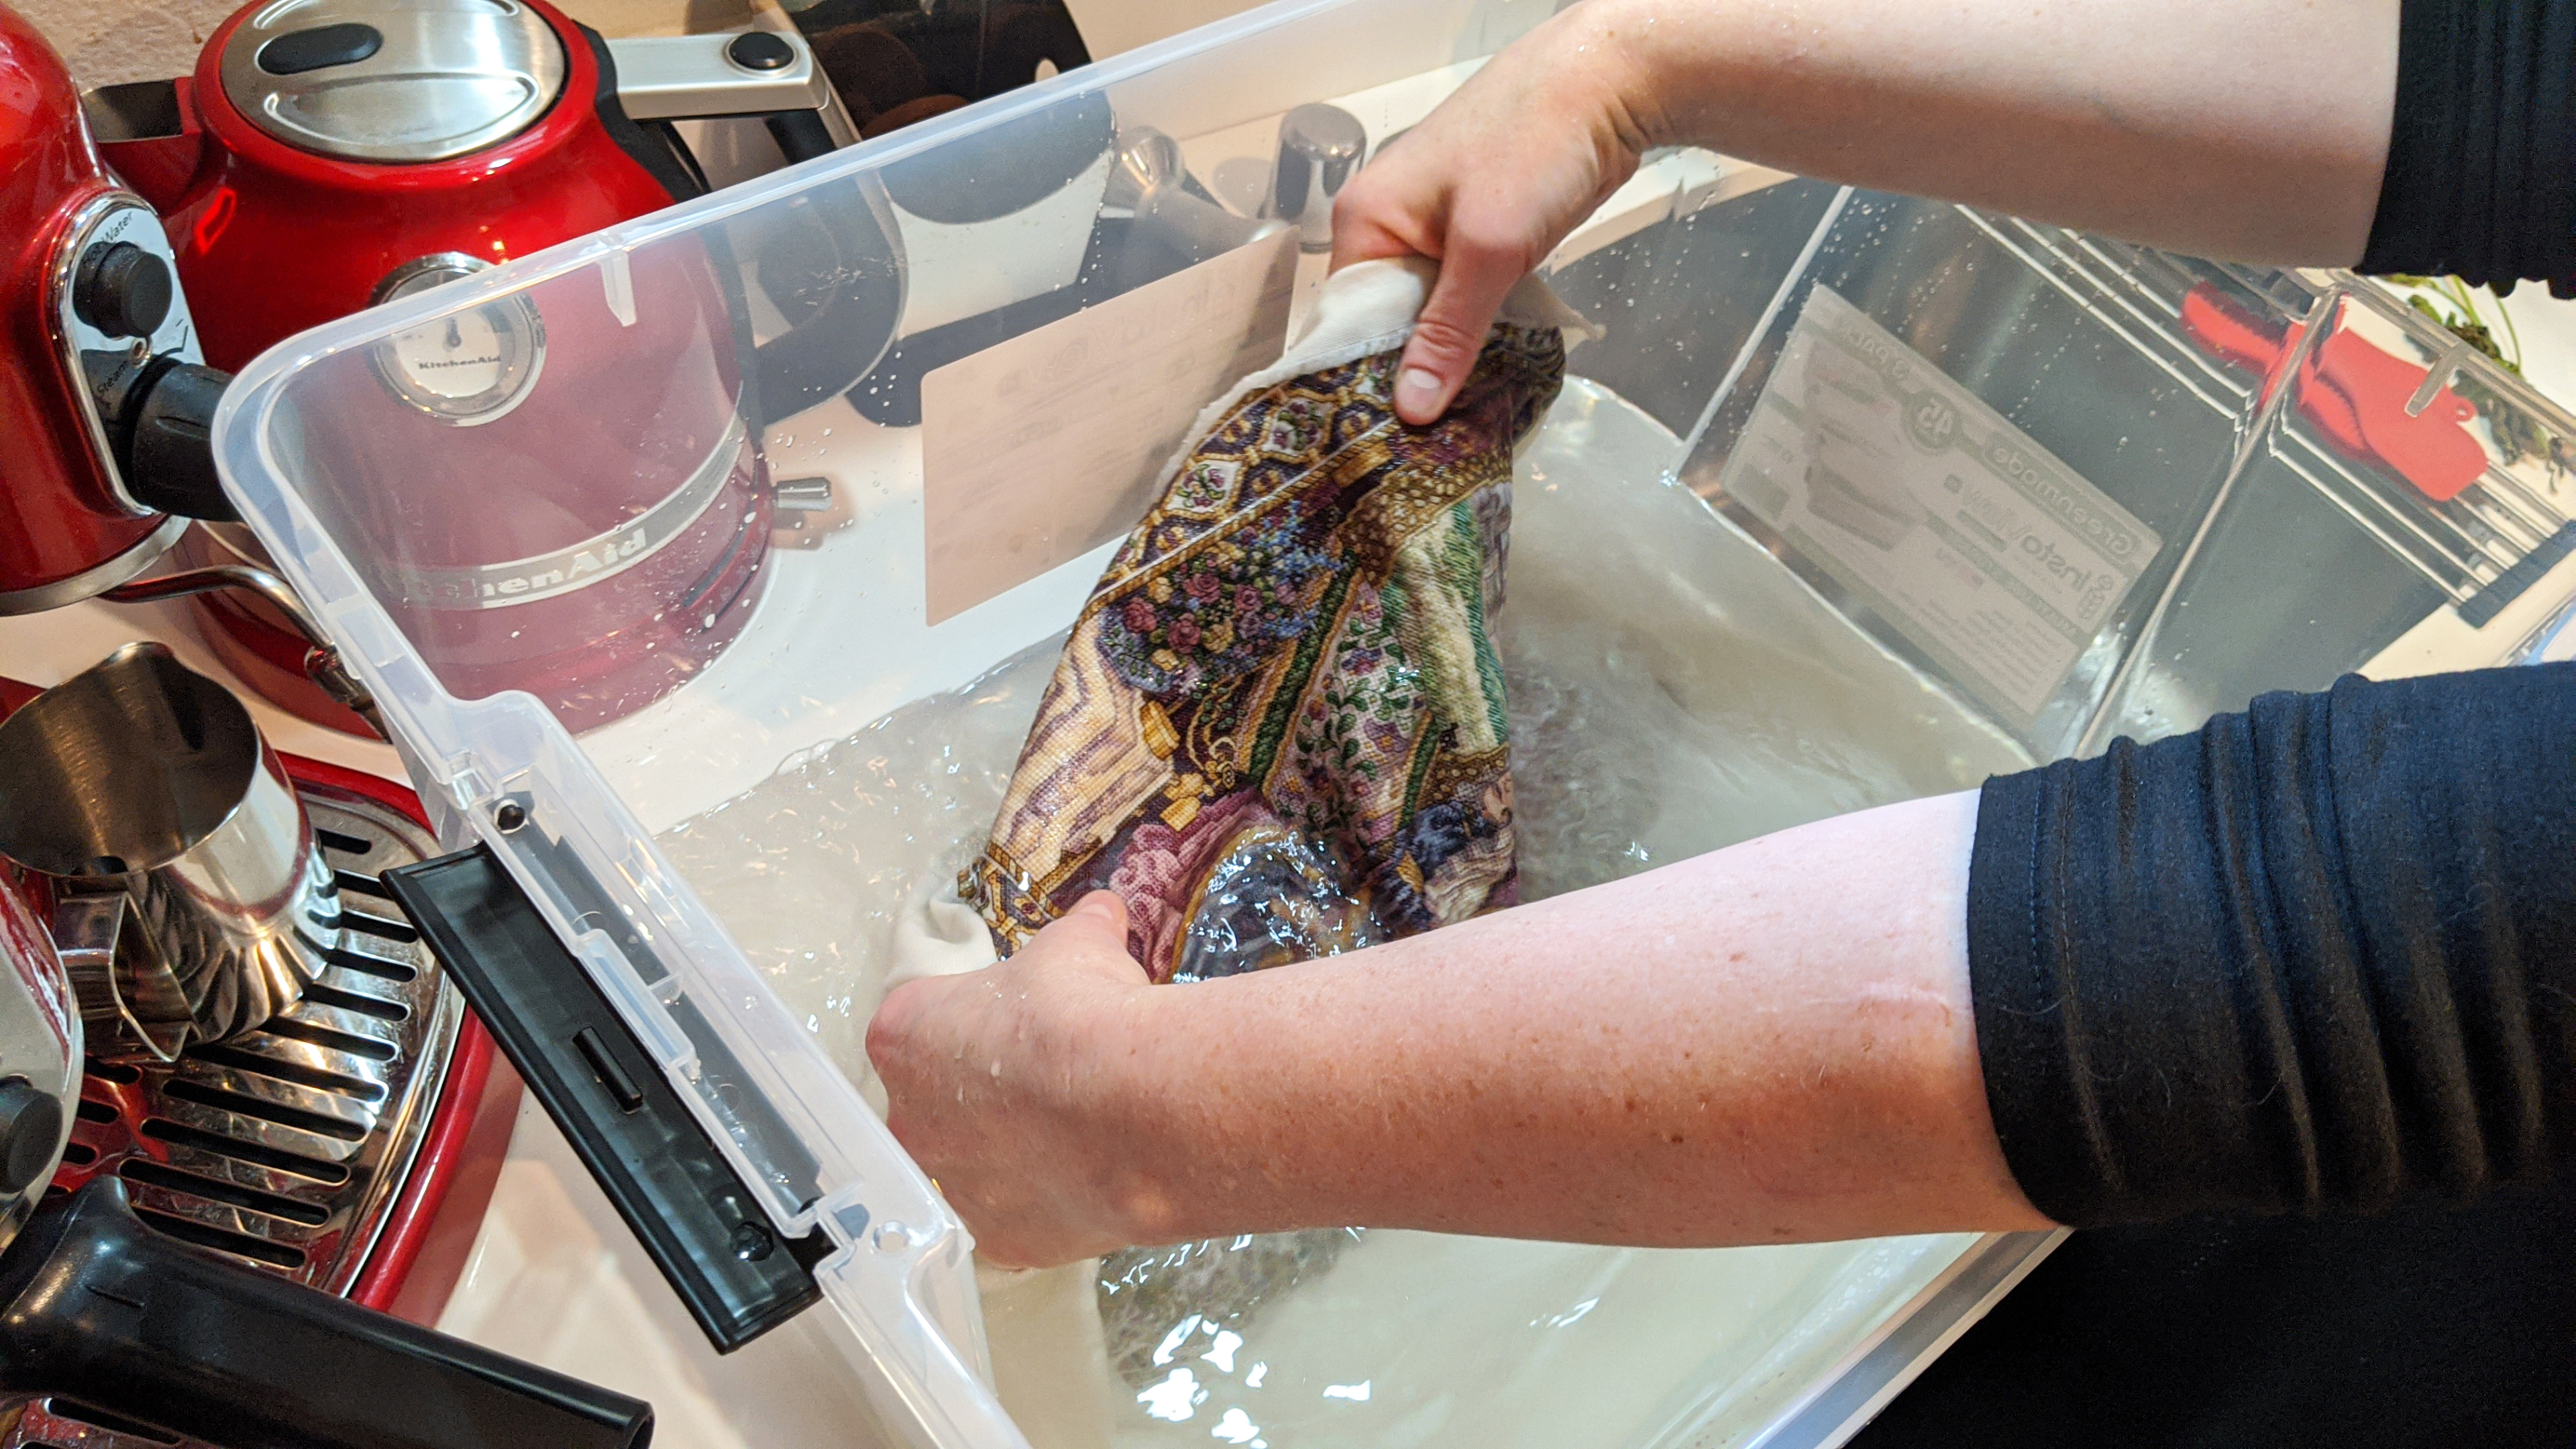
After 22 years, I was a little afraid that it might just fall apart in the washing solution, but it worked just fine. Probably because it’s all natural fiber. I used The Laundress natural fiber shampoo.
This is the video I watched to make sure my technique, temperatures, and towels were correct before pressing this.
There’s a section in here where I panicked a bit, because I’d used graphite for some of the grid lines.
Here is a totally true reenactment of my feels upon believing I had totally wrecked this project it had taken me 22 years to finish:
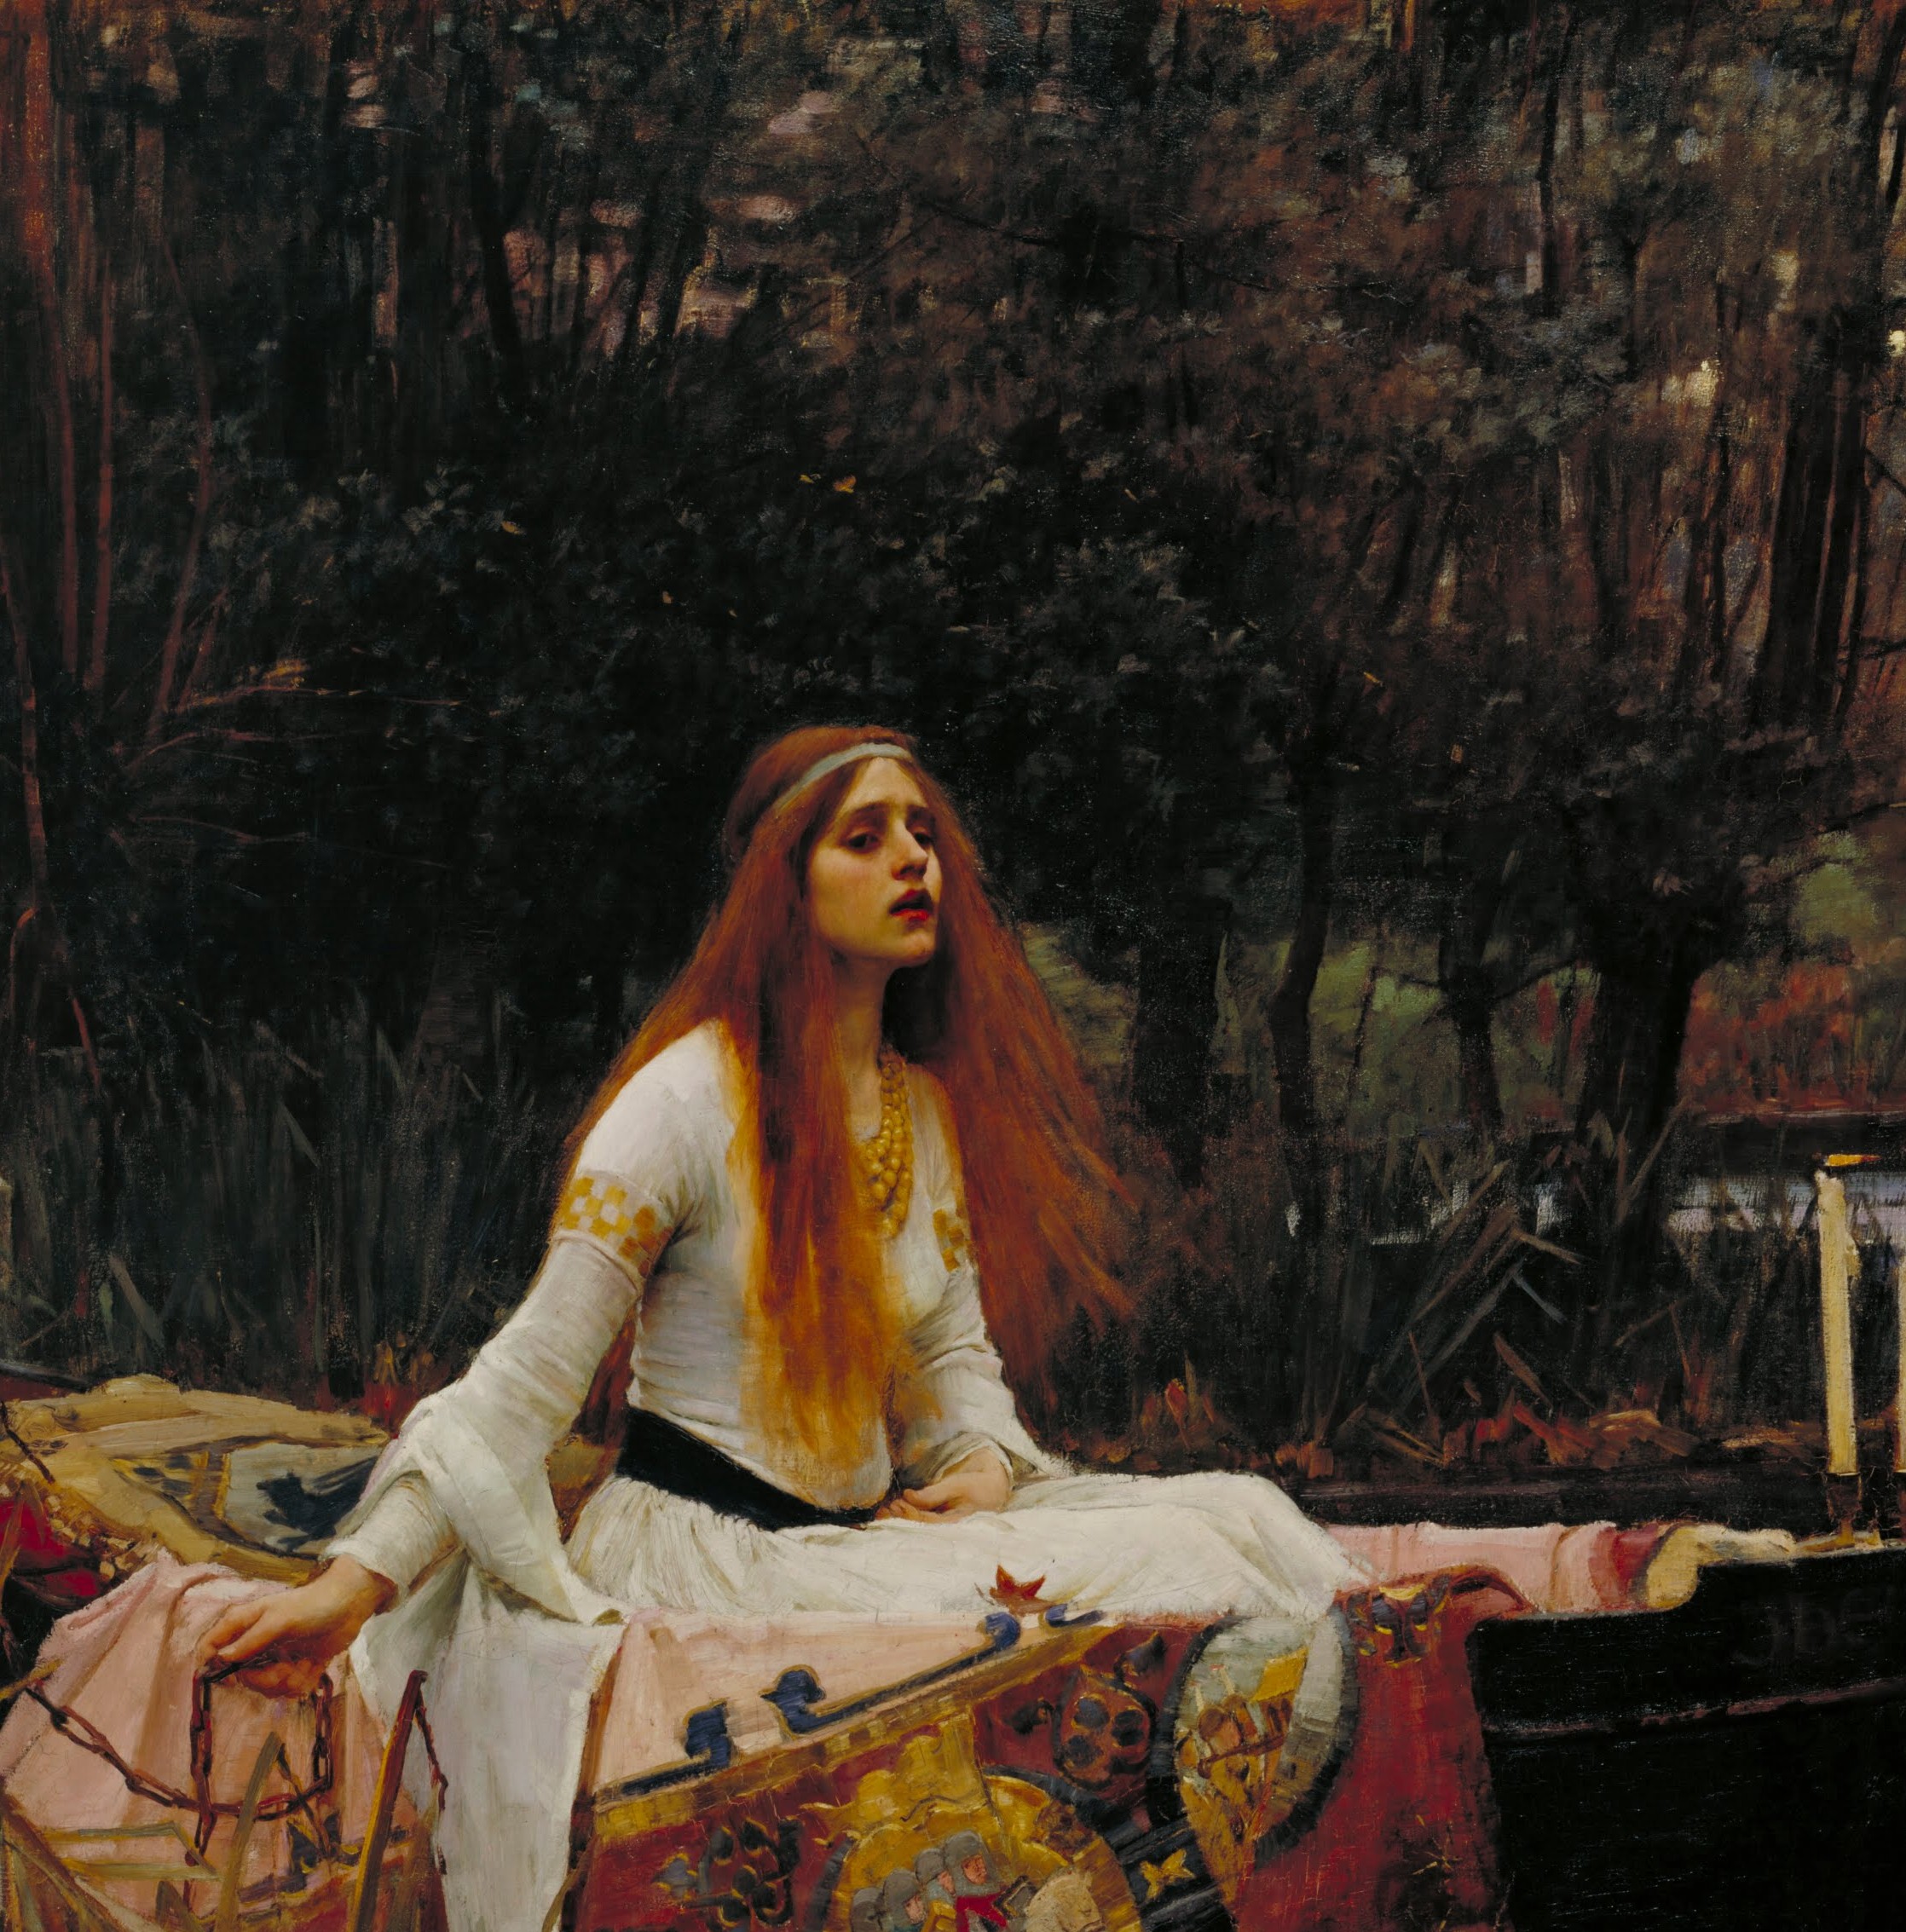
This is Monaco fabric, and I spent several days googling techniques to remove graphite when I realized a simple wash wouldn’t do it. I tried several techniques like erasing it with a craft cushion full of rubber shavings, a pencil eraser, and so forth. I found that trying to erase the graphite gently simply pilled the fabric without actually removing much of the graphite. There are several solutions out there, and they seem to be replicated from site to site, possibly without anyone actually testing them. I’m here to say: the Windex + toothbrush solution is what worked without harming any of the fabric or thread. I was concerned about applying the blue chemical to my fabric, but the soft toothbrush plus 50/50 Windex/water solution worked better than anything without pilling the fabric. Remember: don’t iron your project dry until you’re happy with the level of stain and grid mark removal, or you’ll seal those stains in with heat and steam!
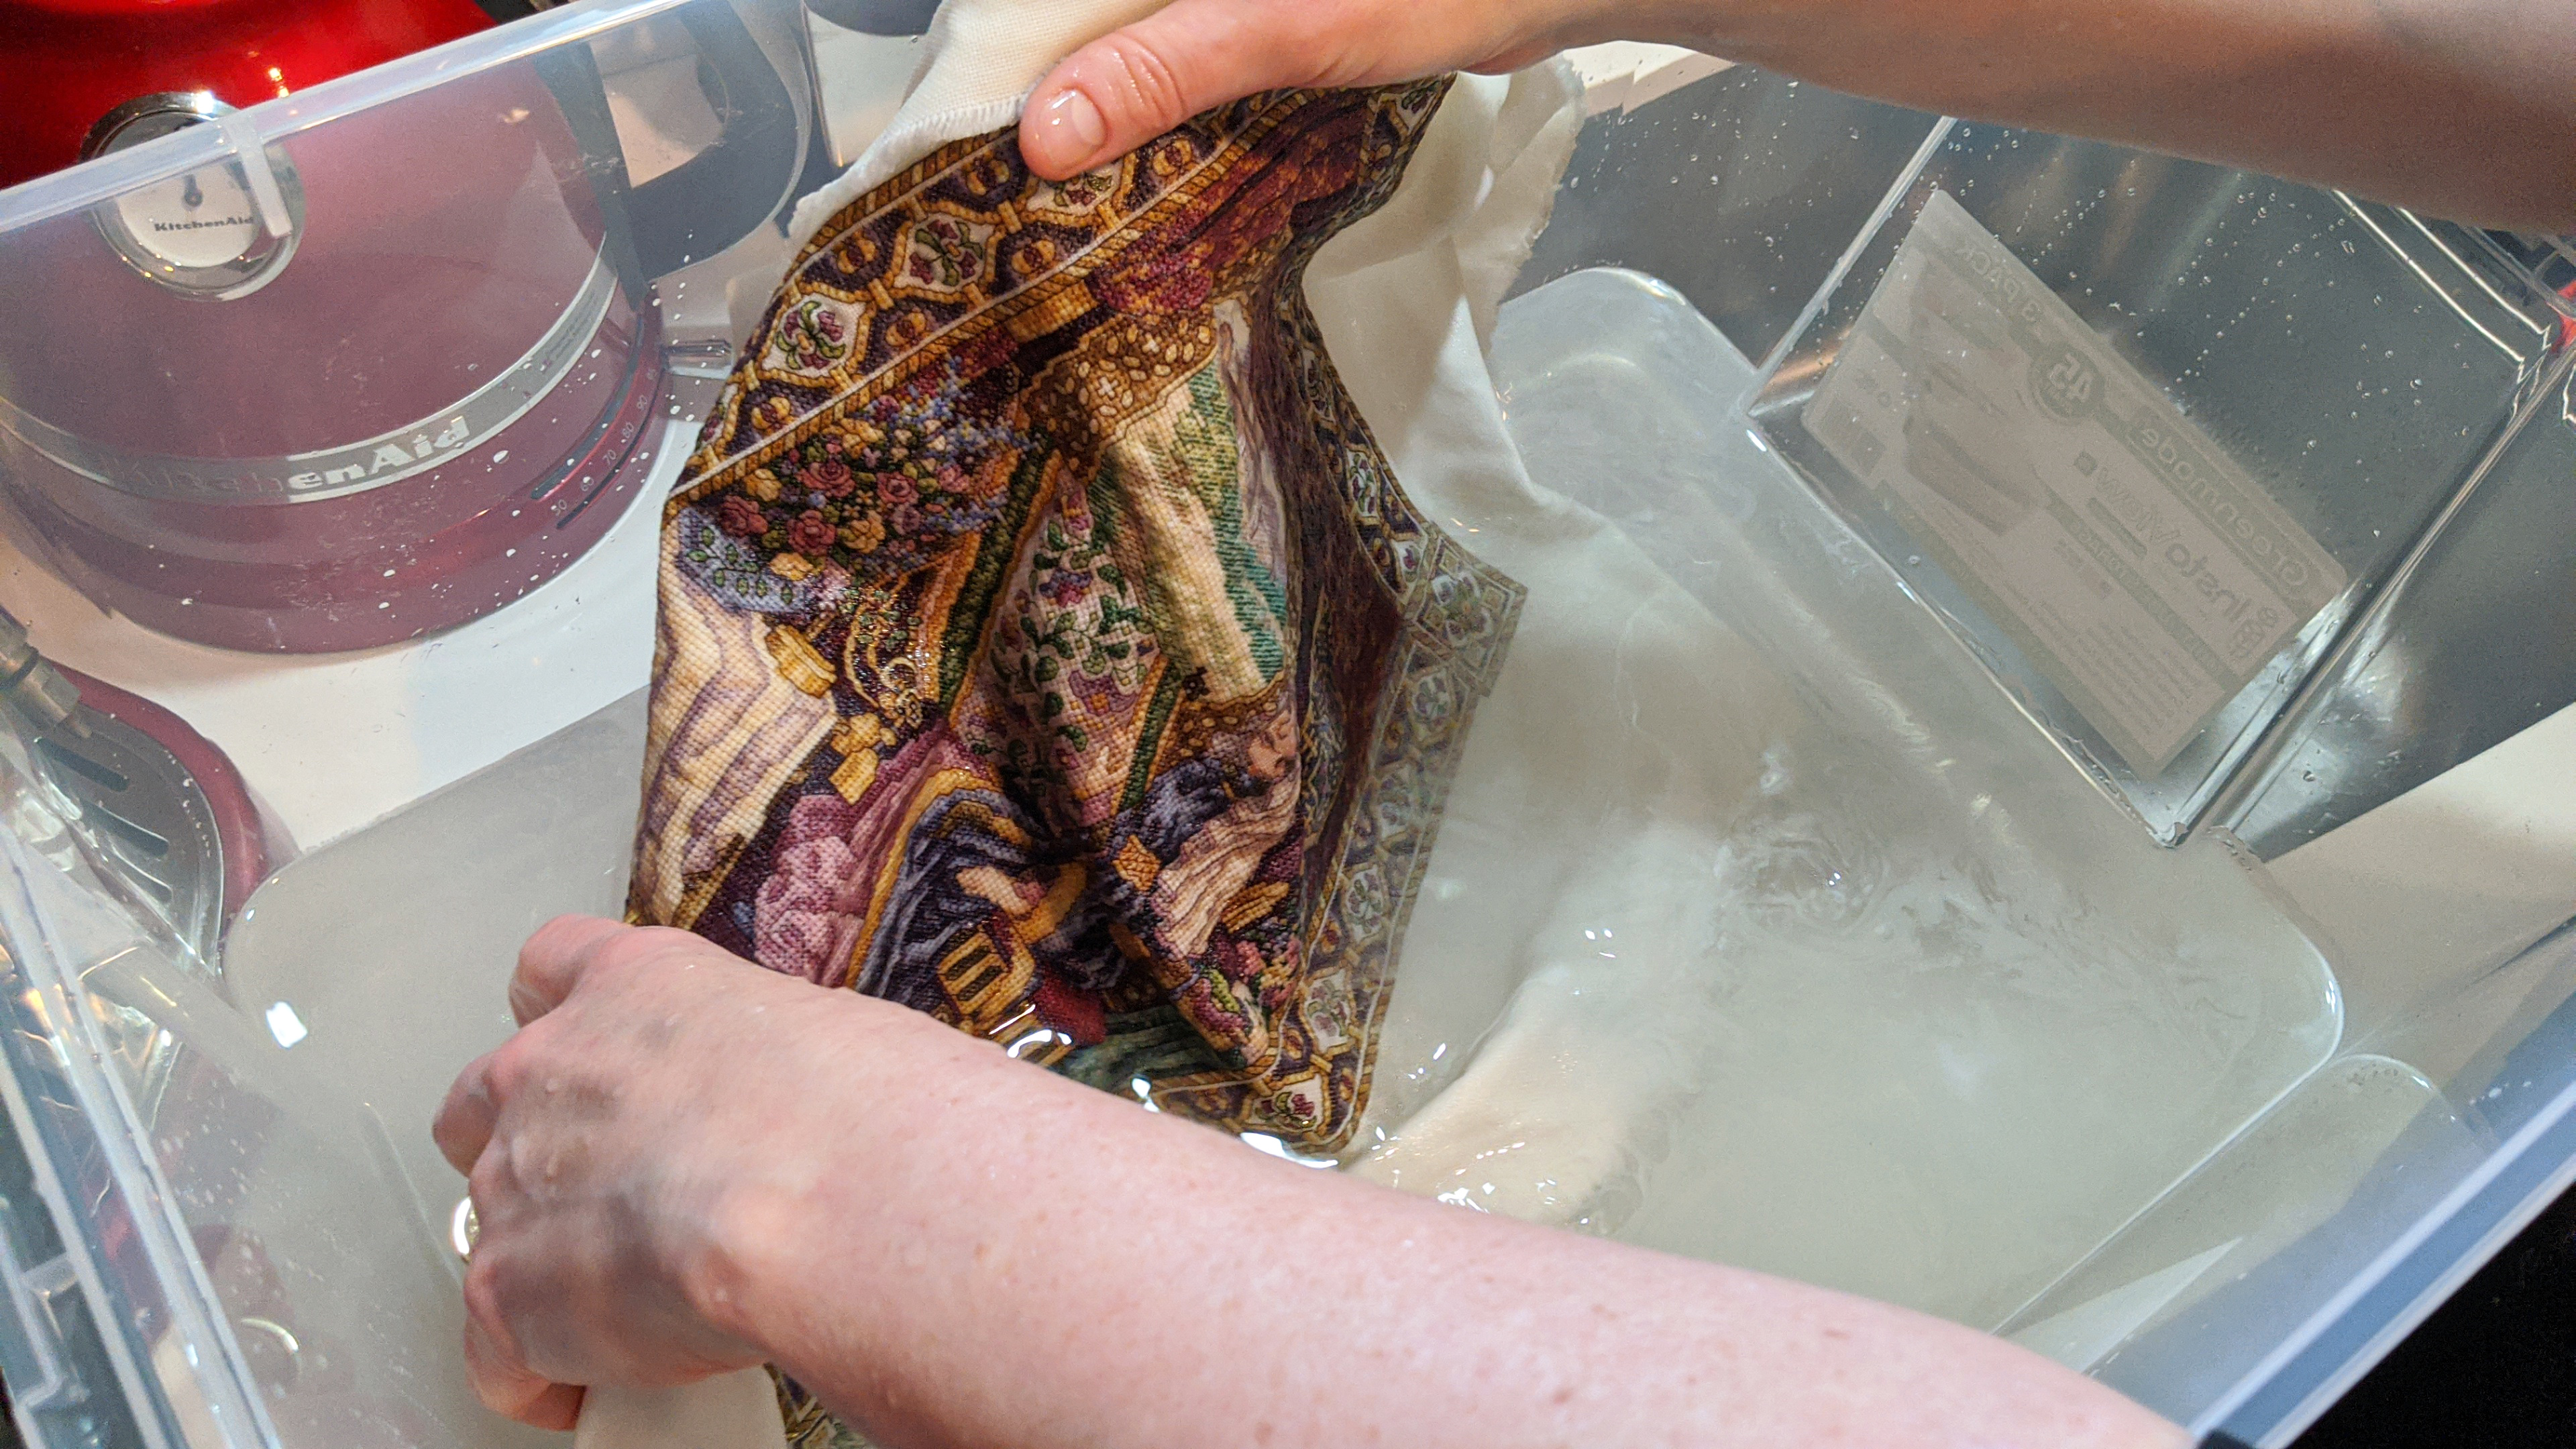
I pressed it before adding the Mill Hill beads, since it’s hard to iron over those glass metallic bits.
Washing done–time for stretching: I pressed it gently dry with an iron on low heat over towels like in the video above. When about halfway dry, I started stretching it gently to get it even and shaped correctly, then ironed it fully dry.
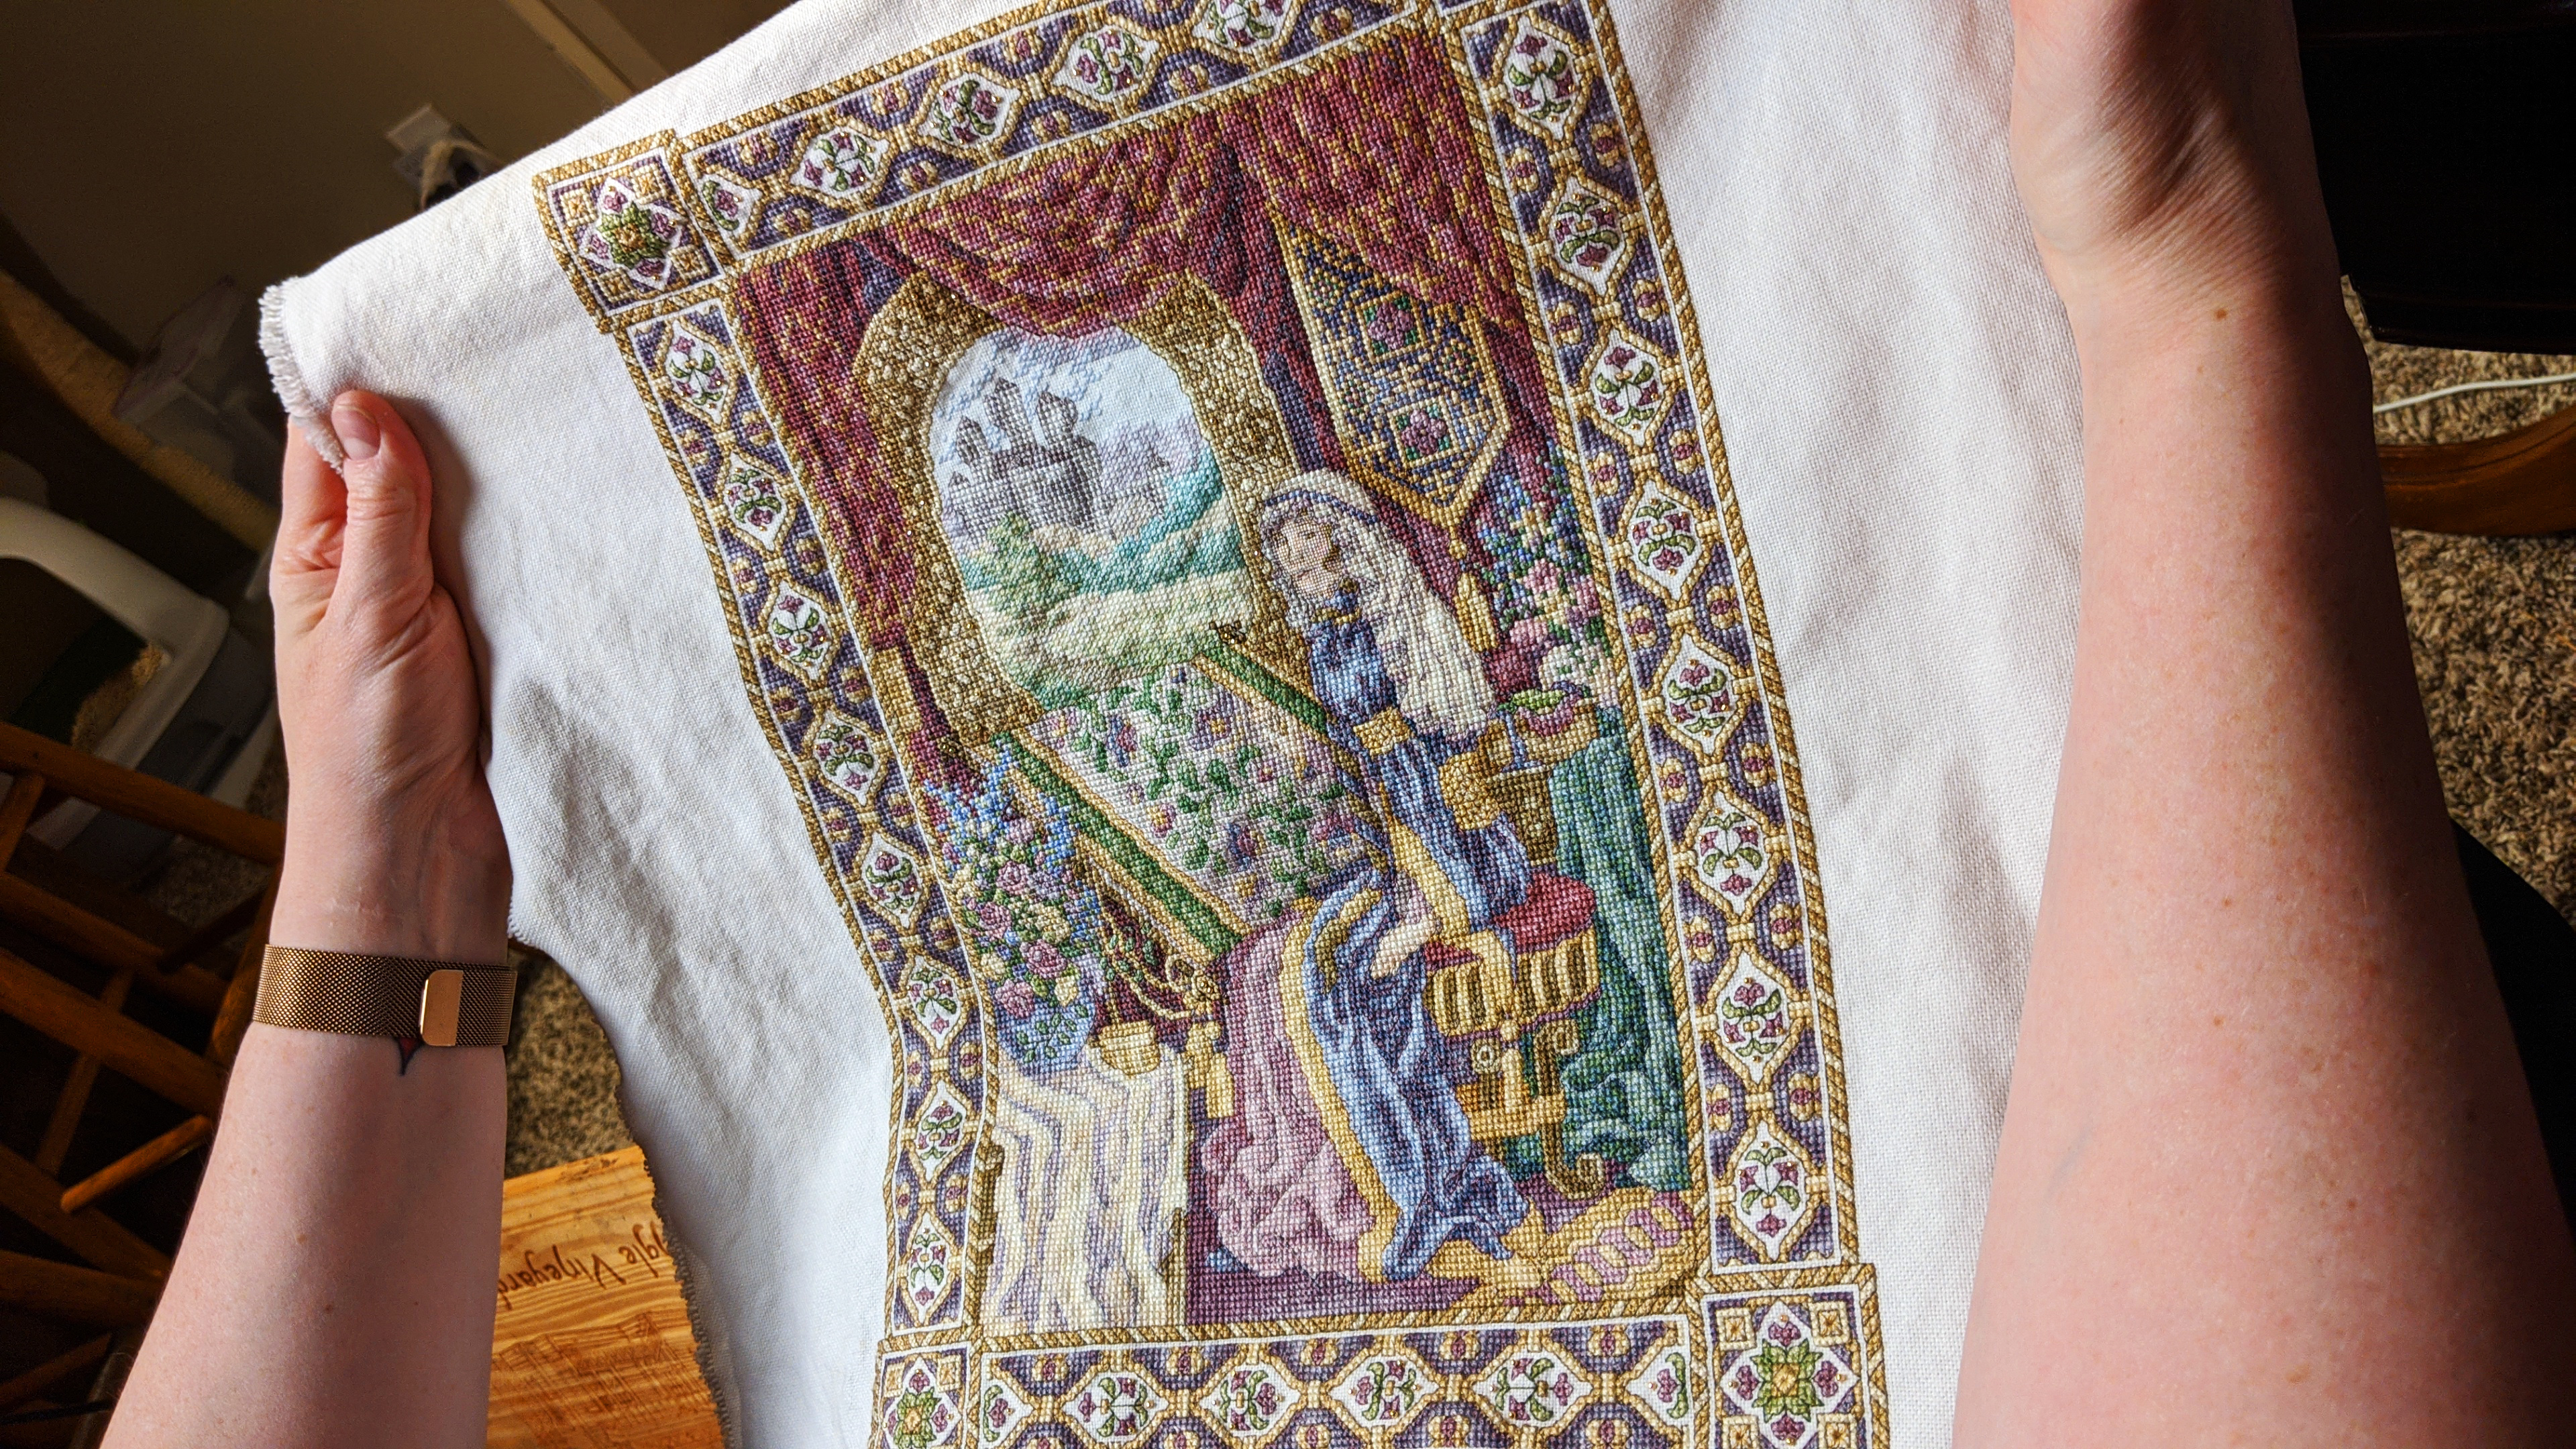
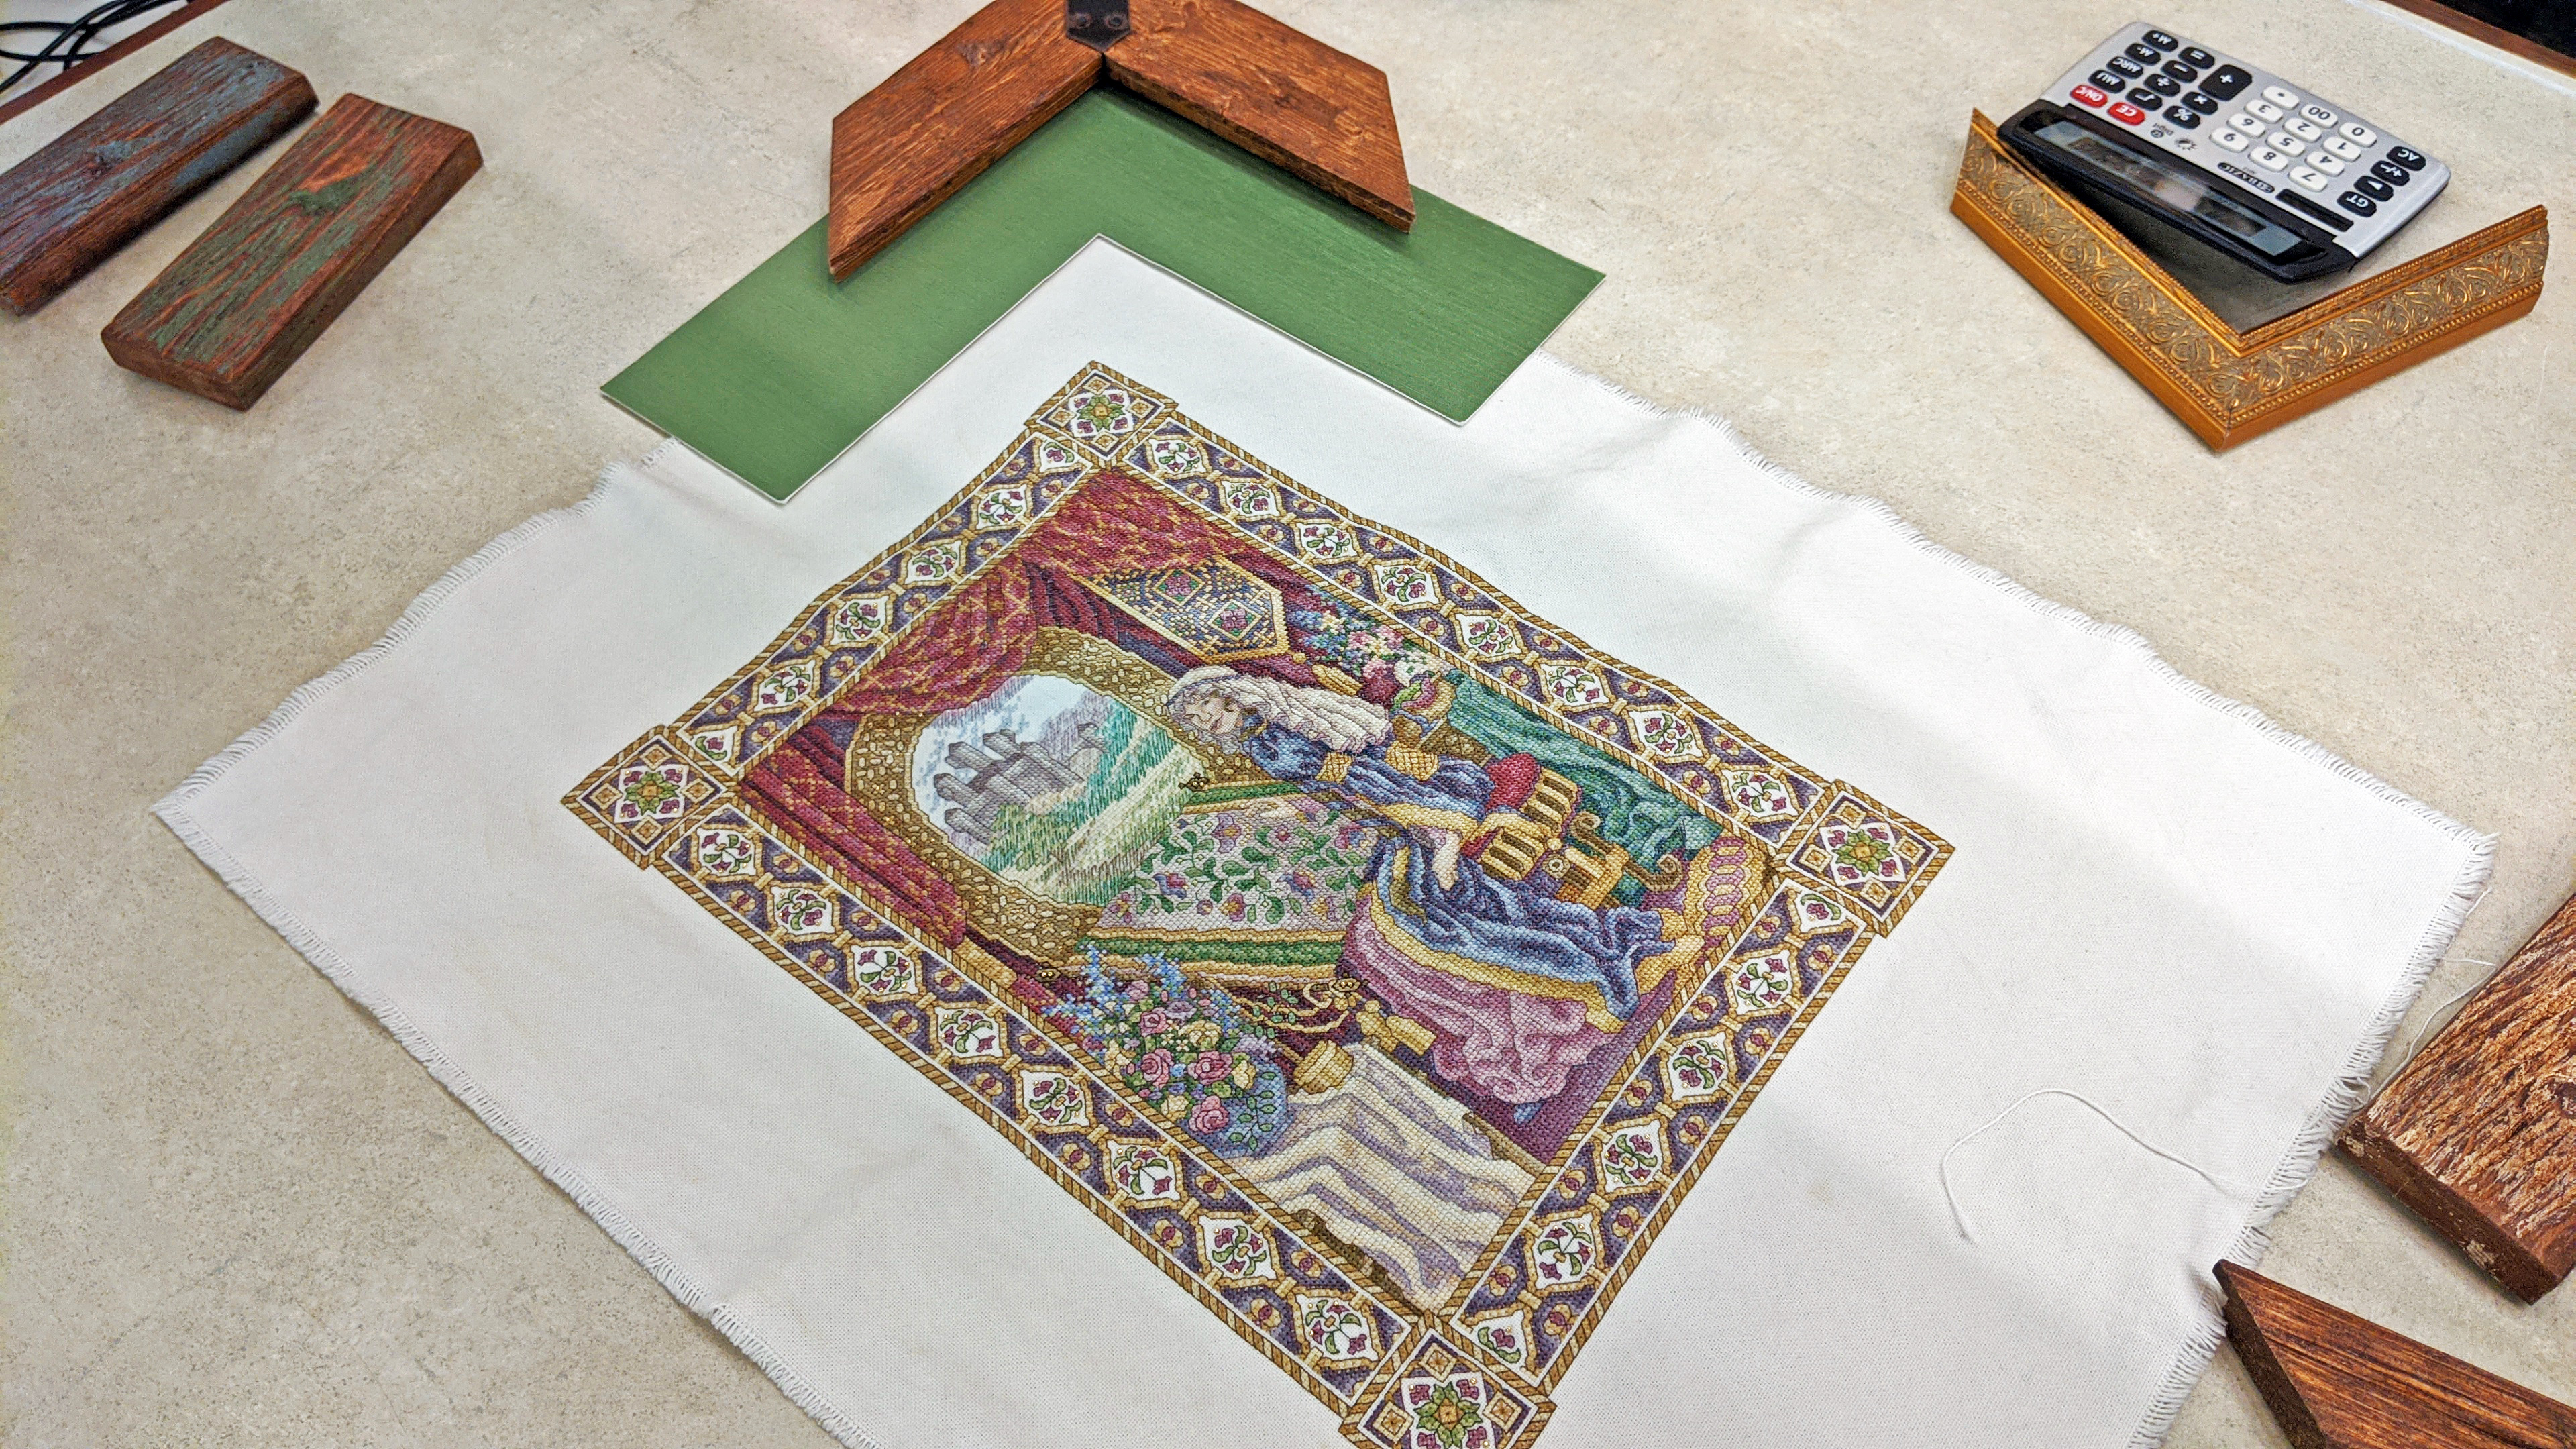
Time to decide on framing choices. At first it seemed that something this intricate and painstaking deserved extremely elaborate gold leaf framing of some kind.
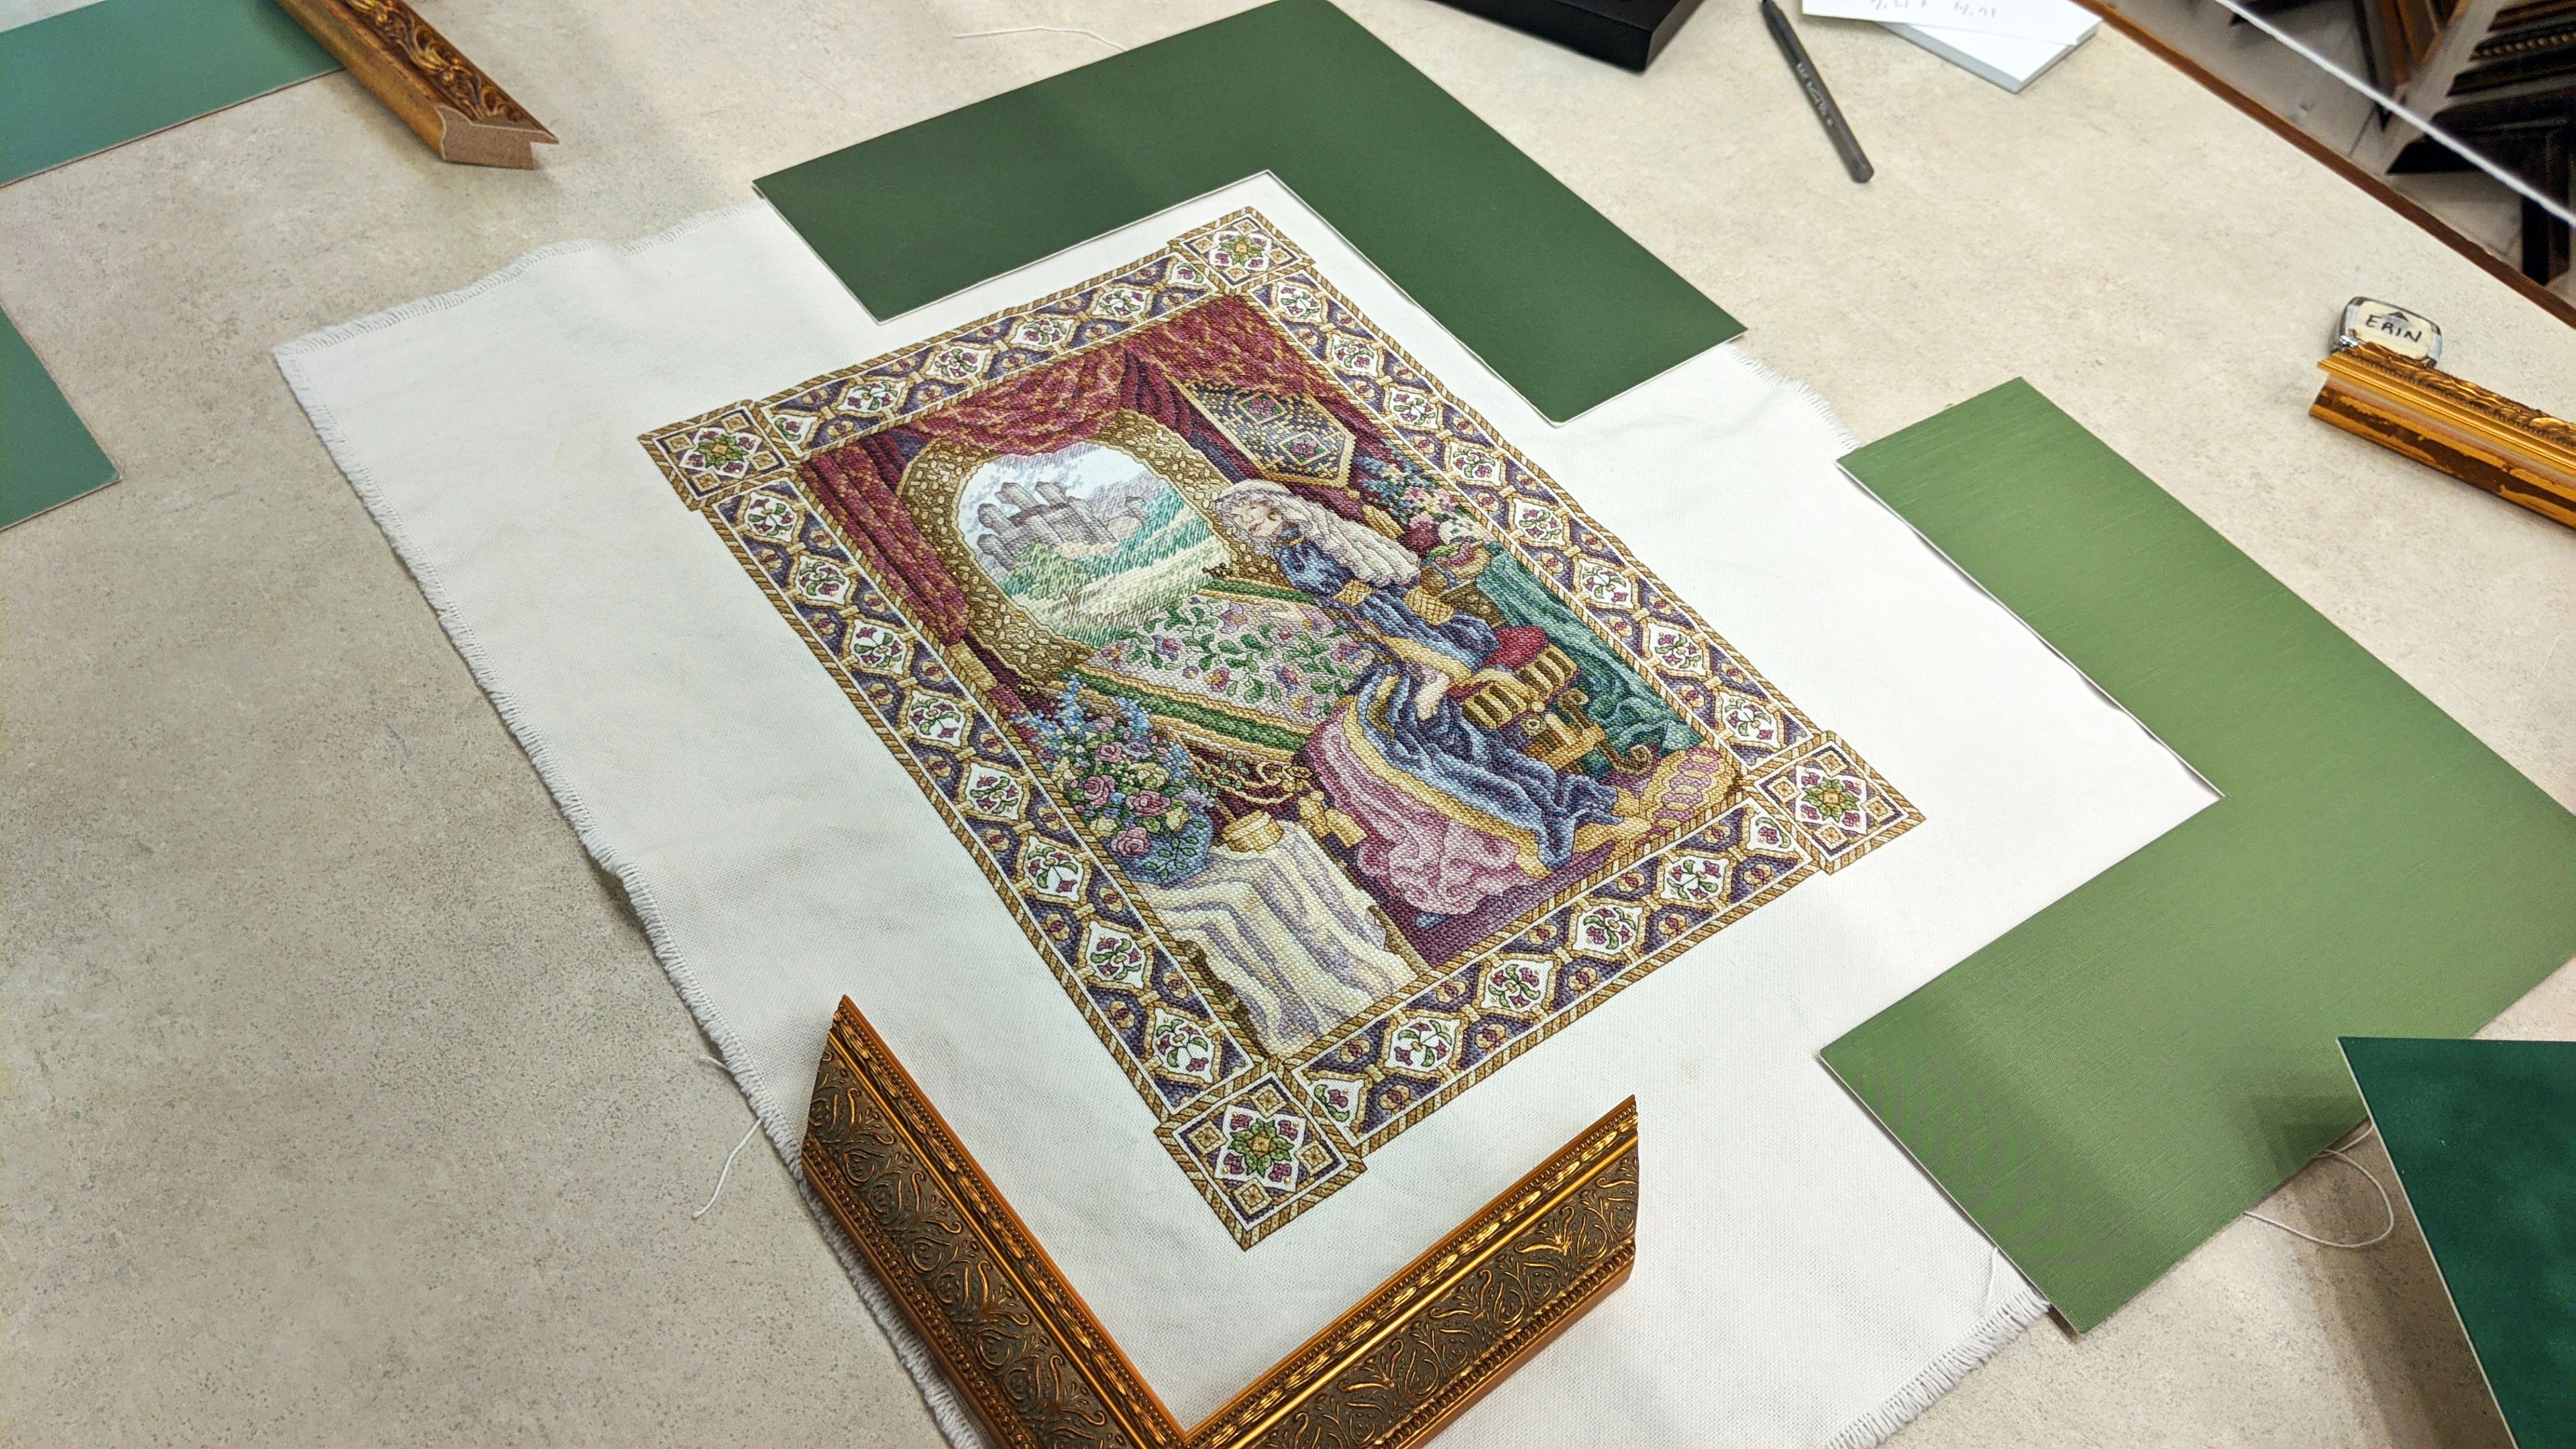
It was fun to select matting that had a linen effect, to correlate with this being stitchwork done on a piece of fabric. But that frame wood was wrong. Instead of going overly elaborate with the wood, I explored a more rustic, plain, distressed wood frame.
This didn’t steal focus from the embroidery and also serves to possibly better reflect the kind of framing that might be done long ago when tapestries hung in castles and manor houses…
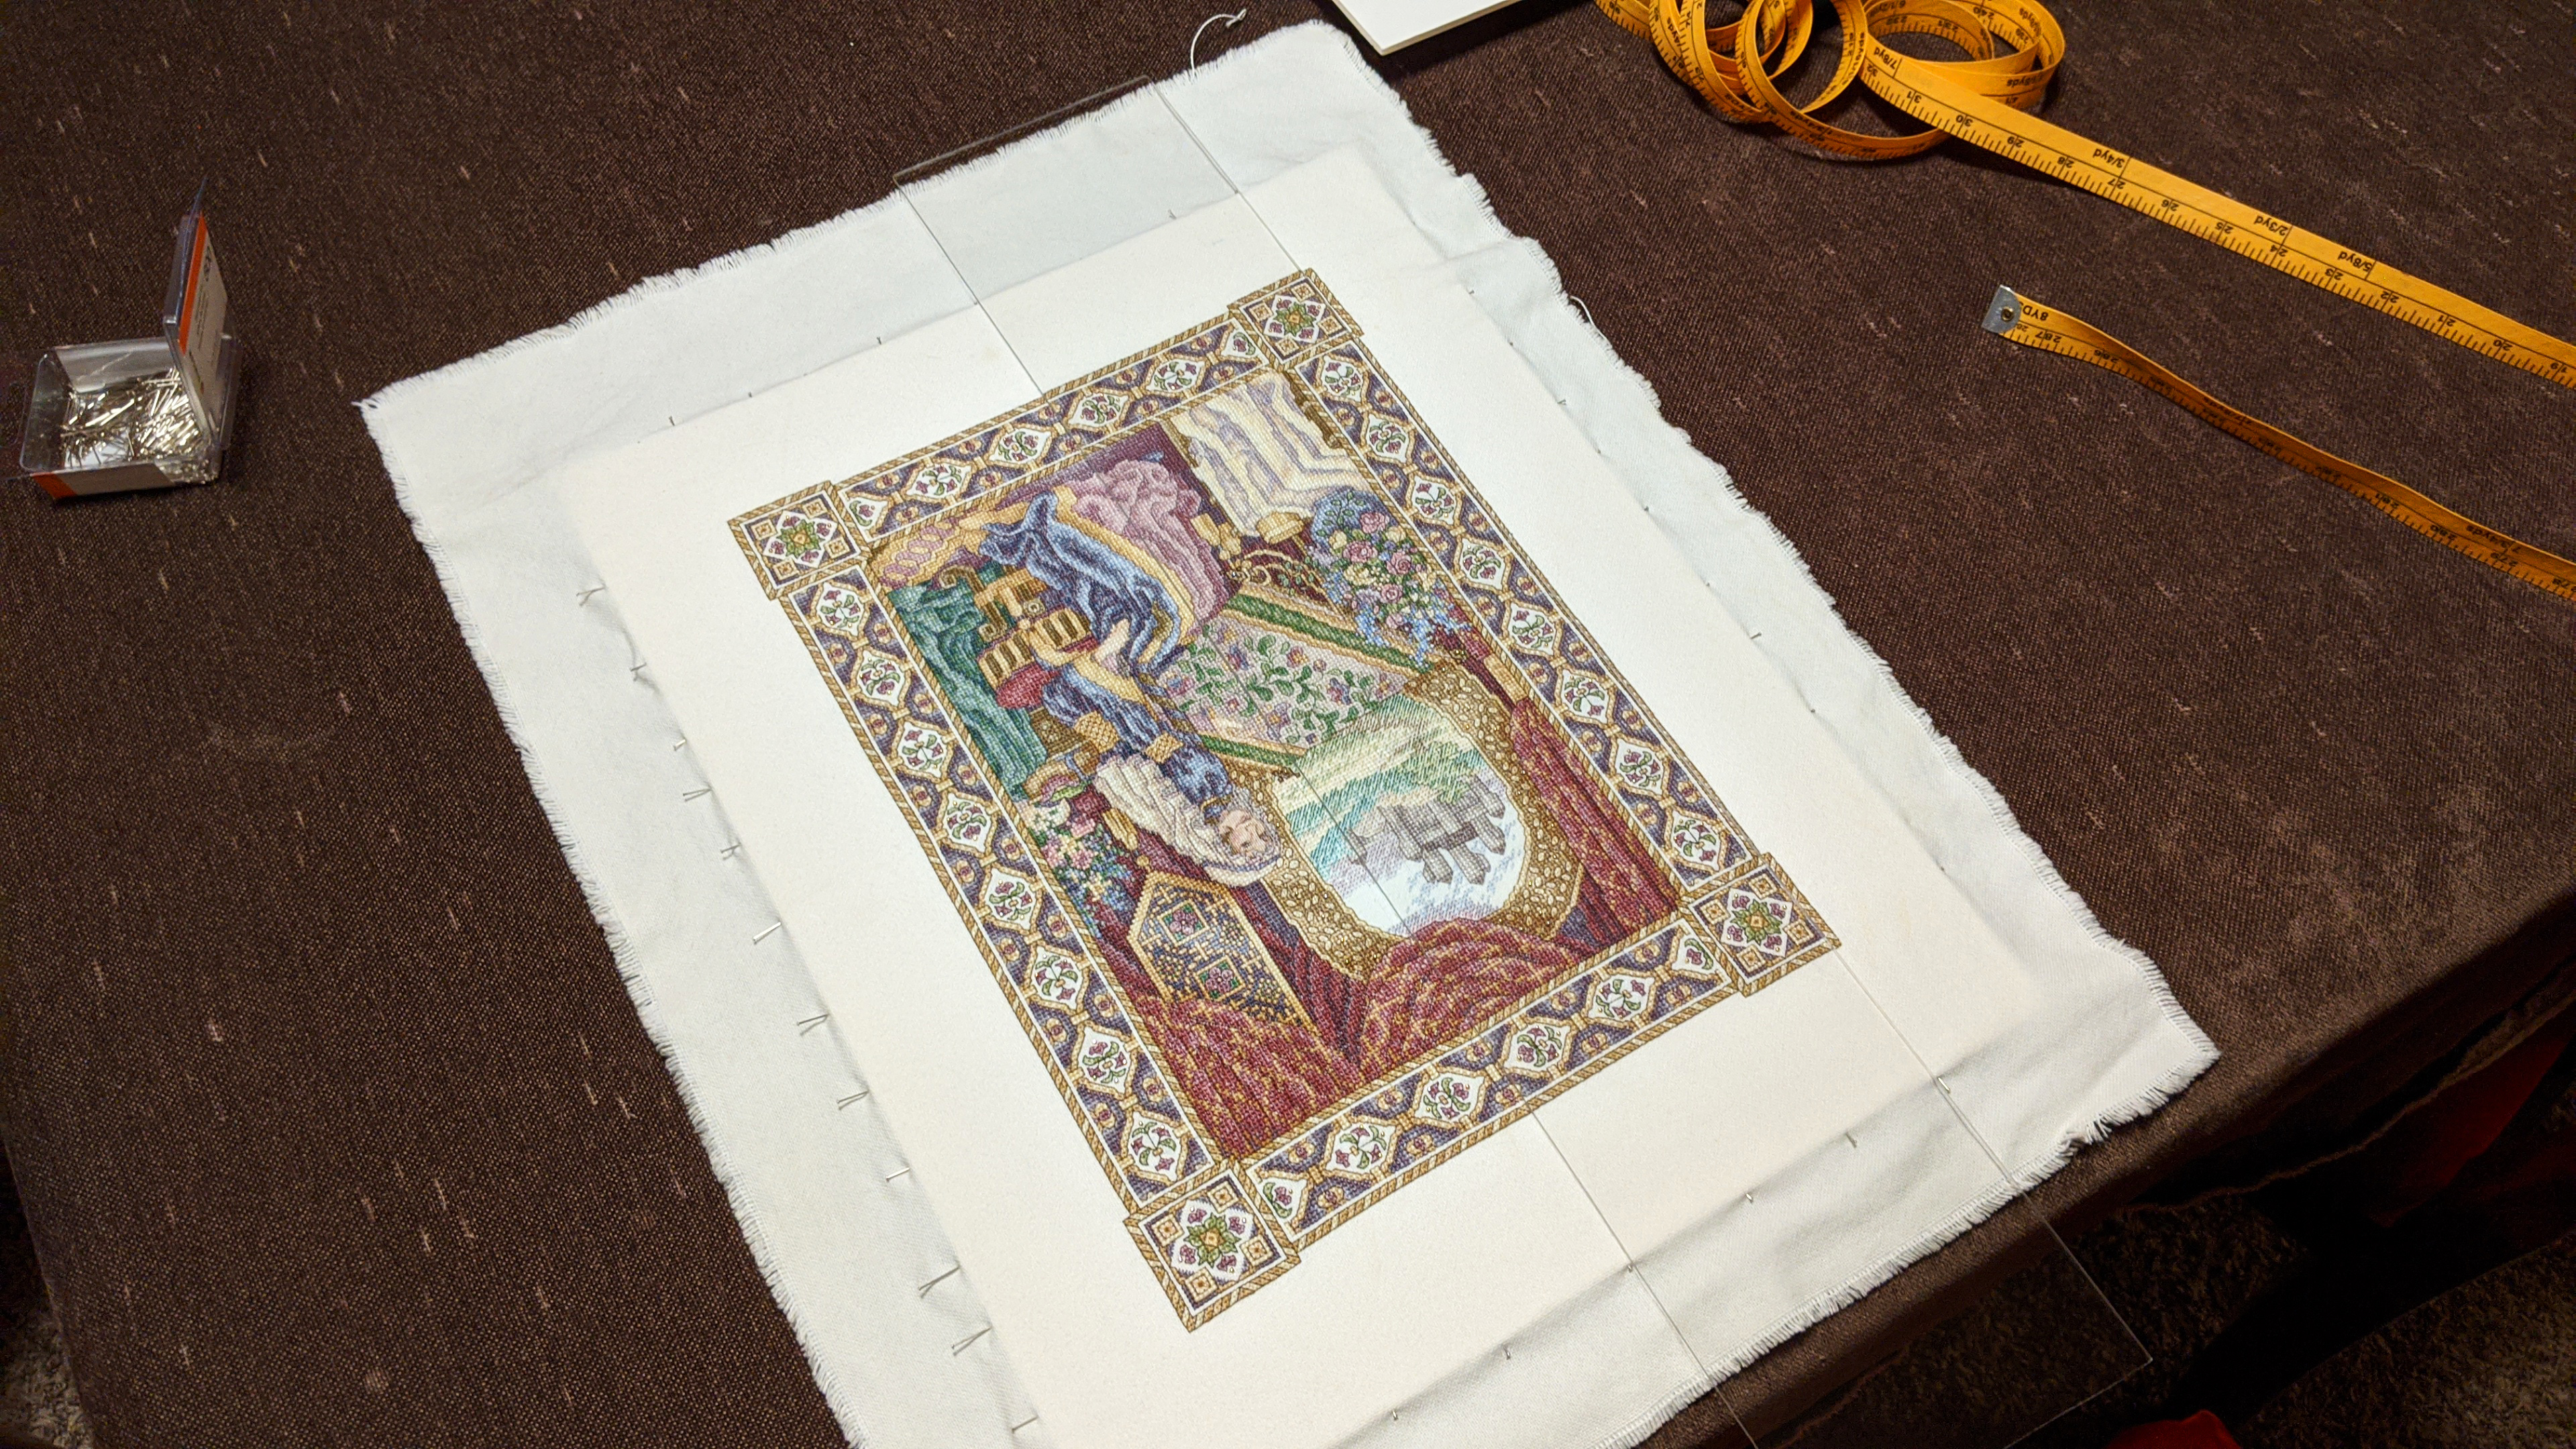
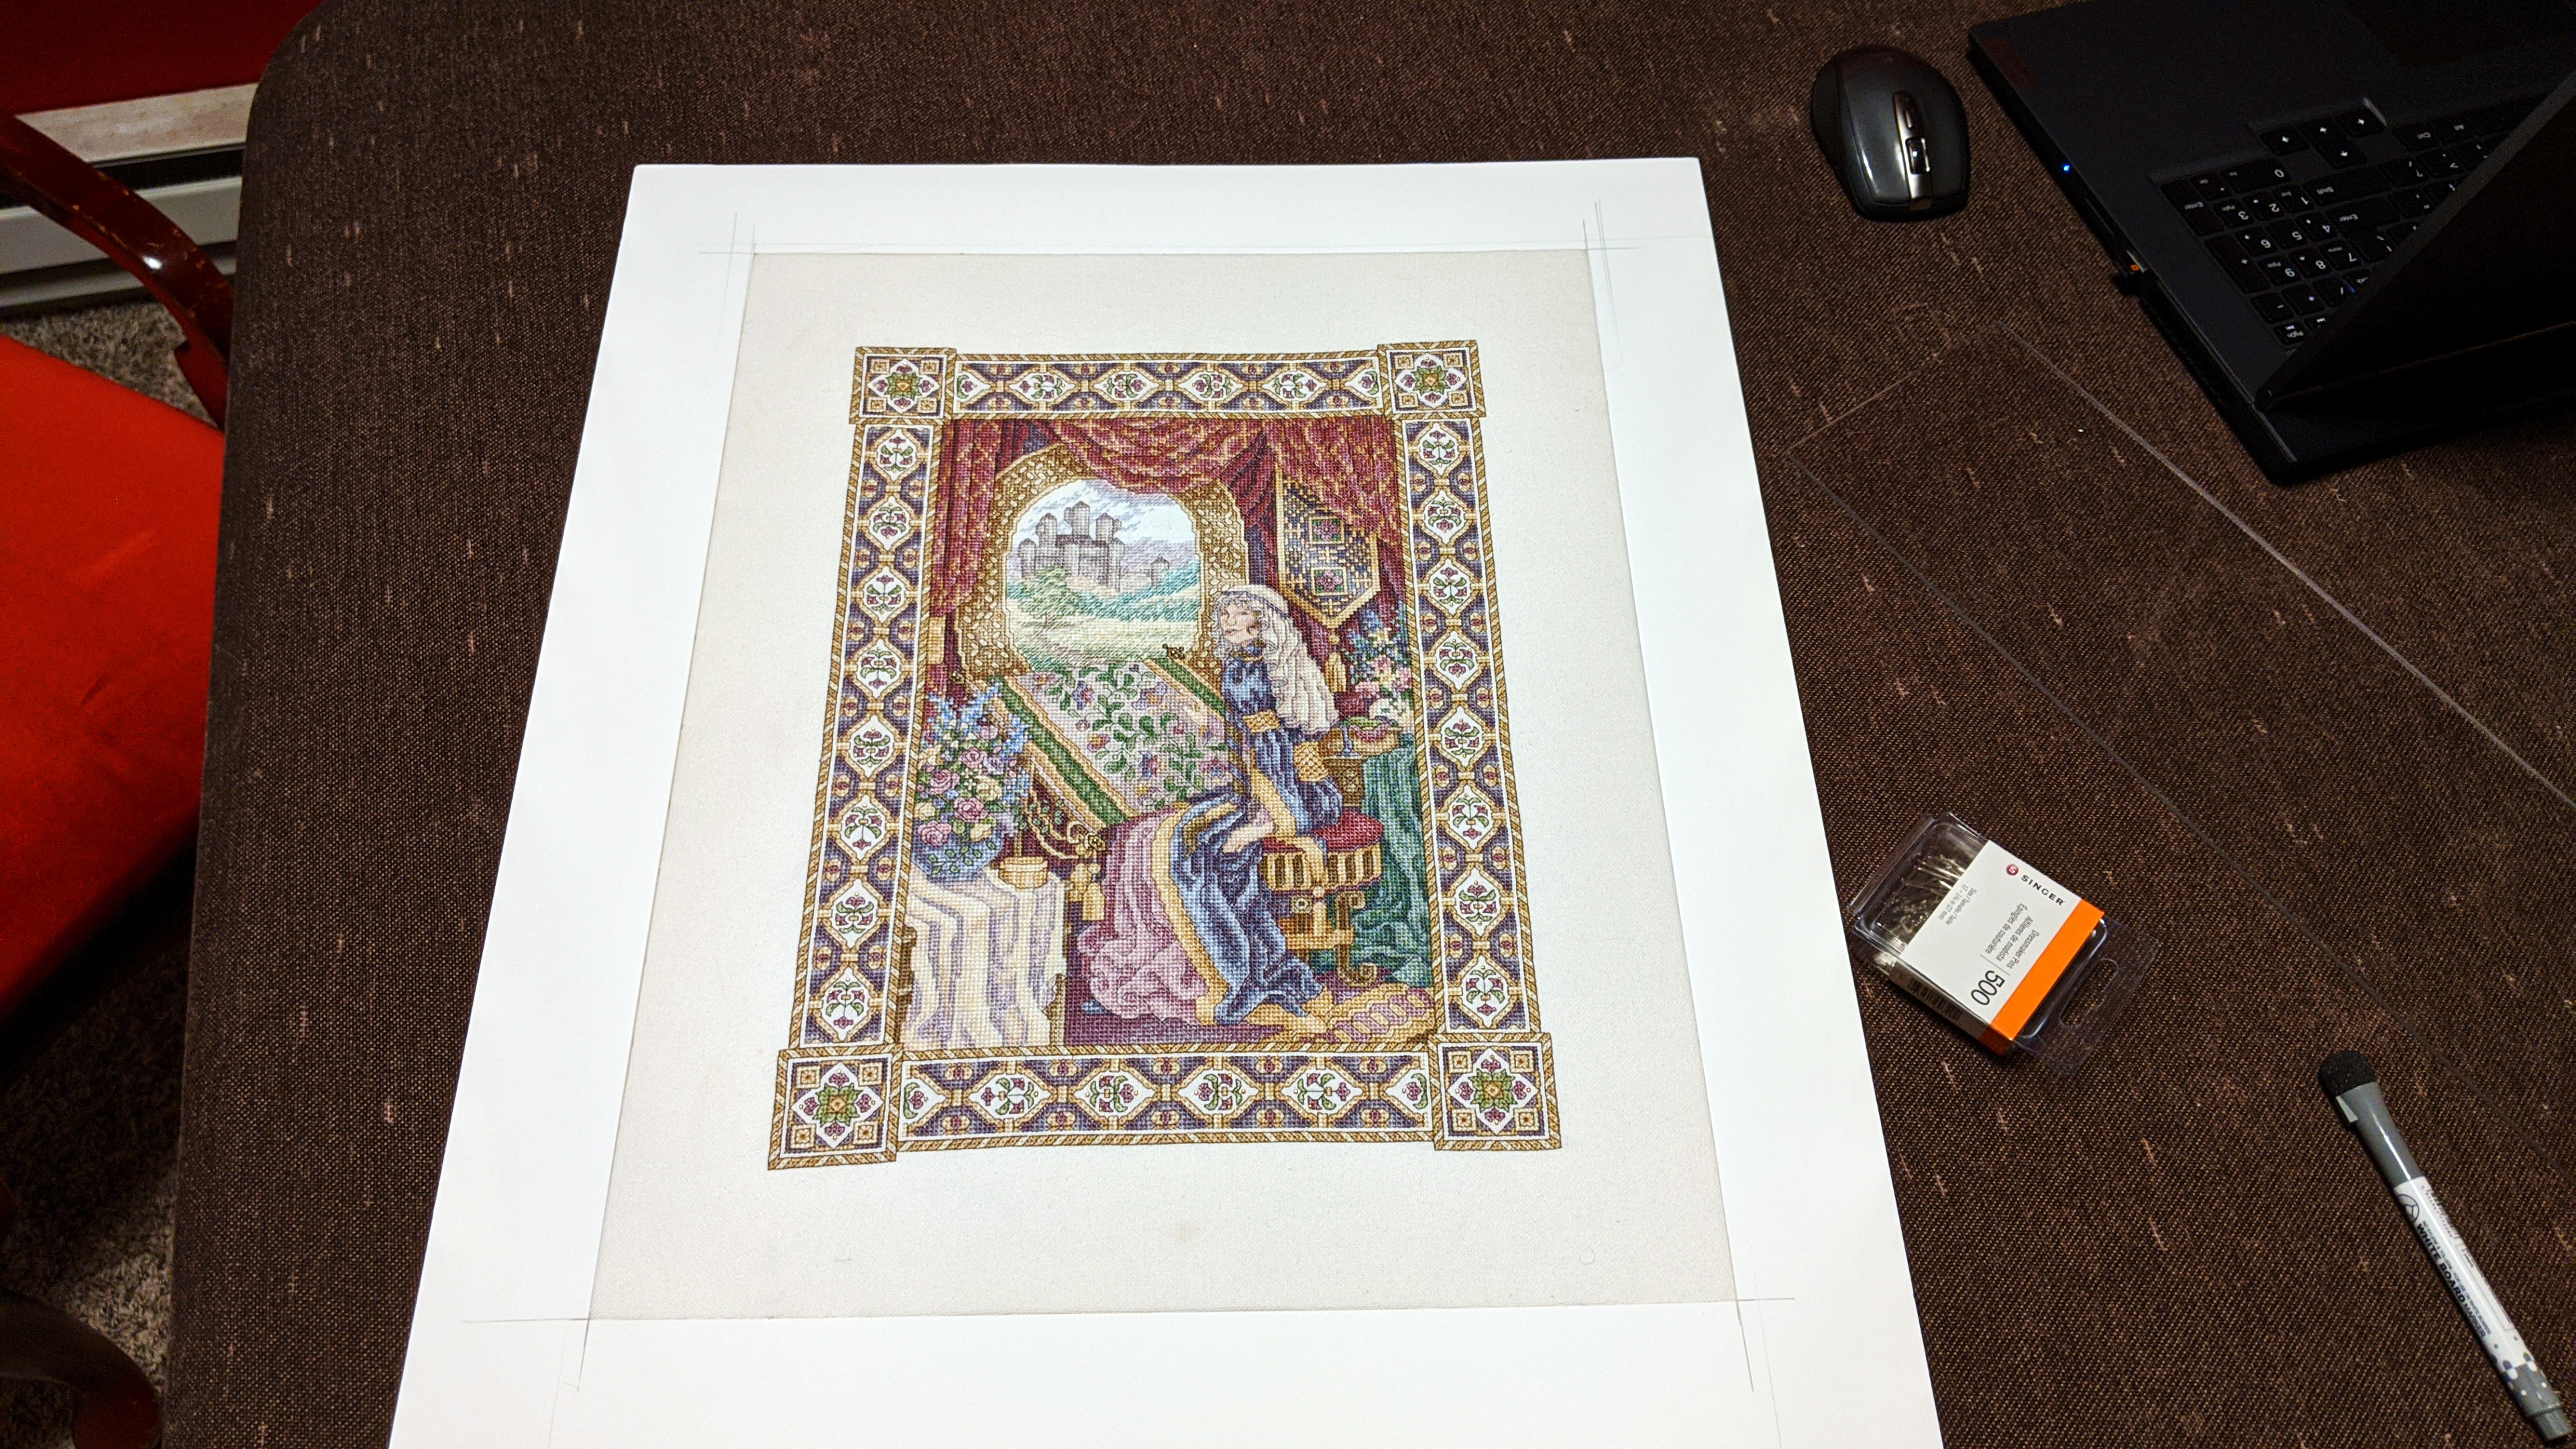
I like to have the frame shop cut a piece of foam core with a square cut out of it so that I can use dressmaker’s straight pins to pin over the square, then press it down into the larger piece of foamcore.
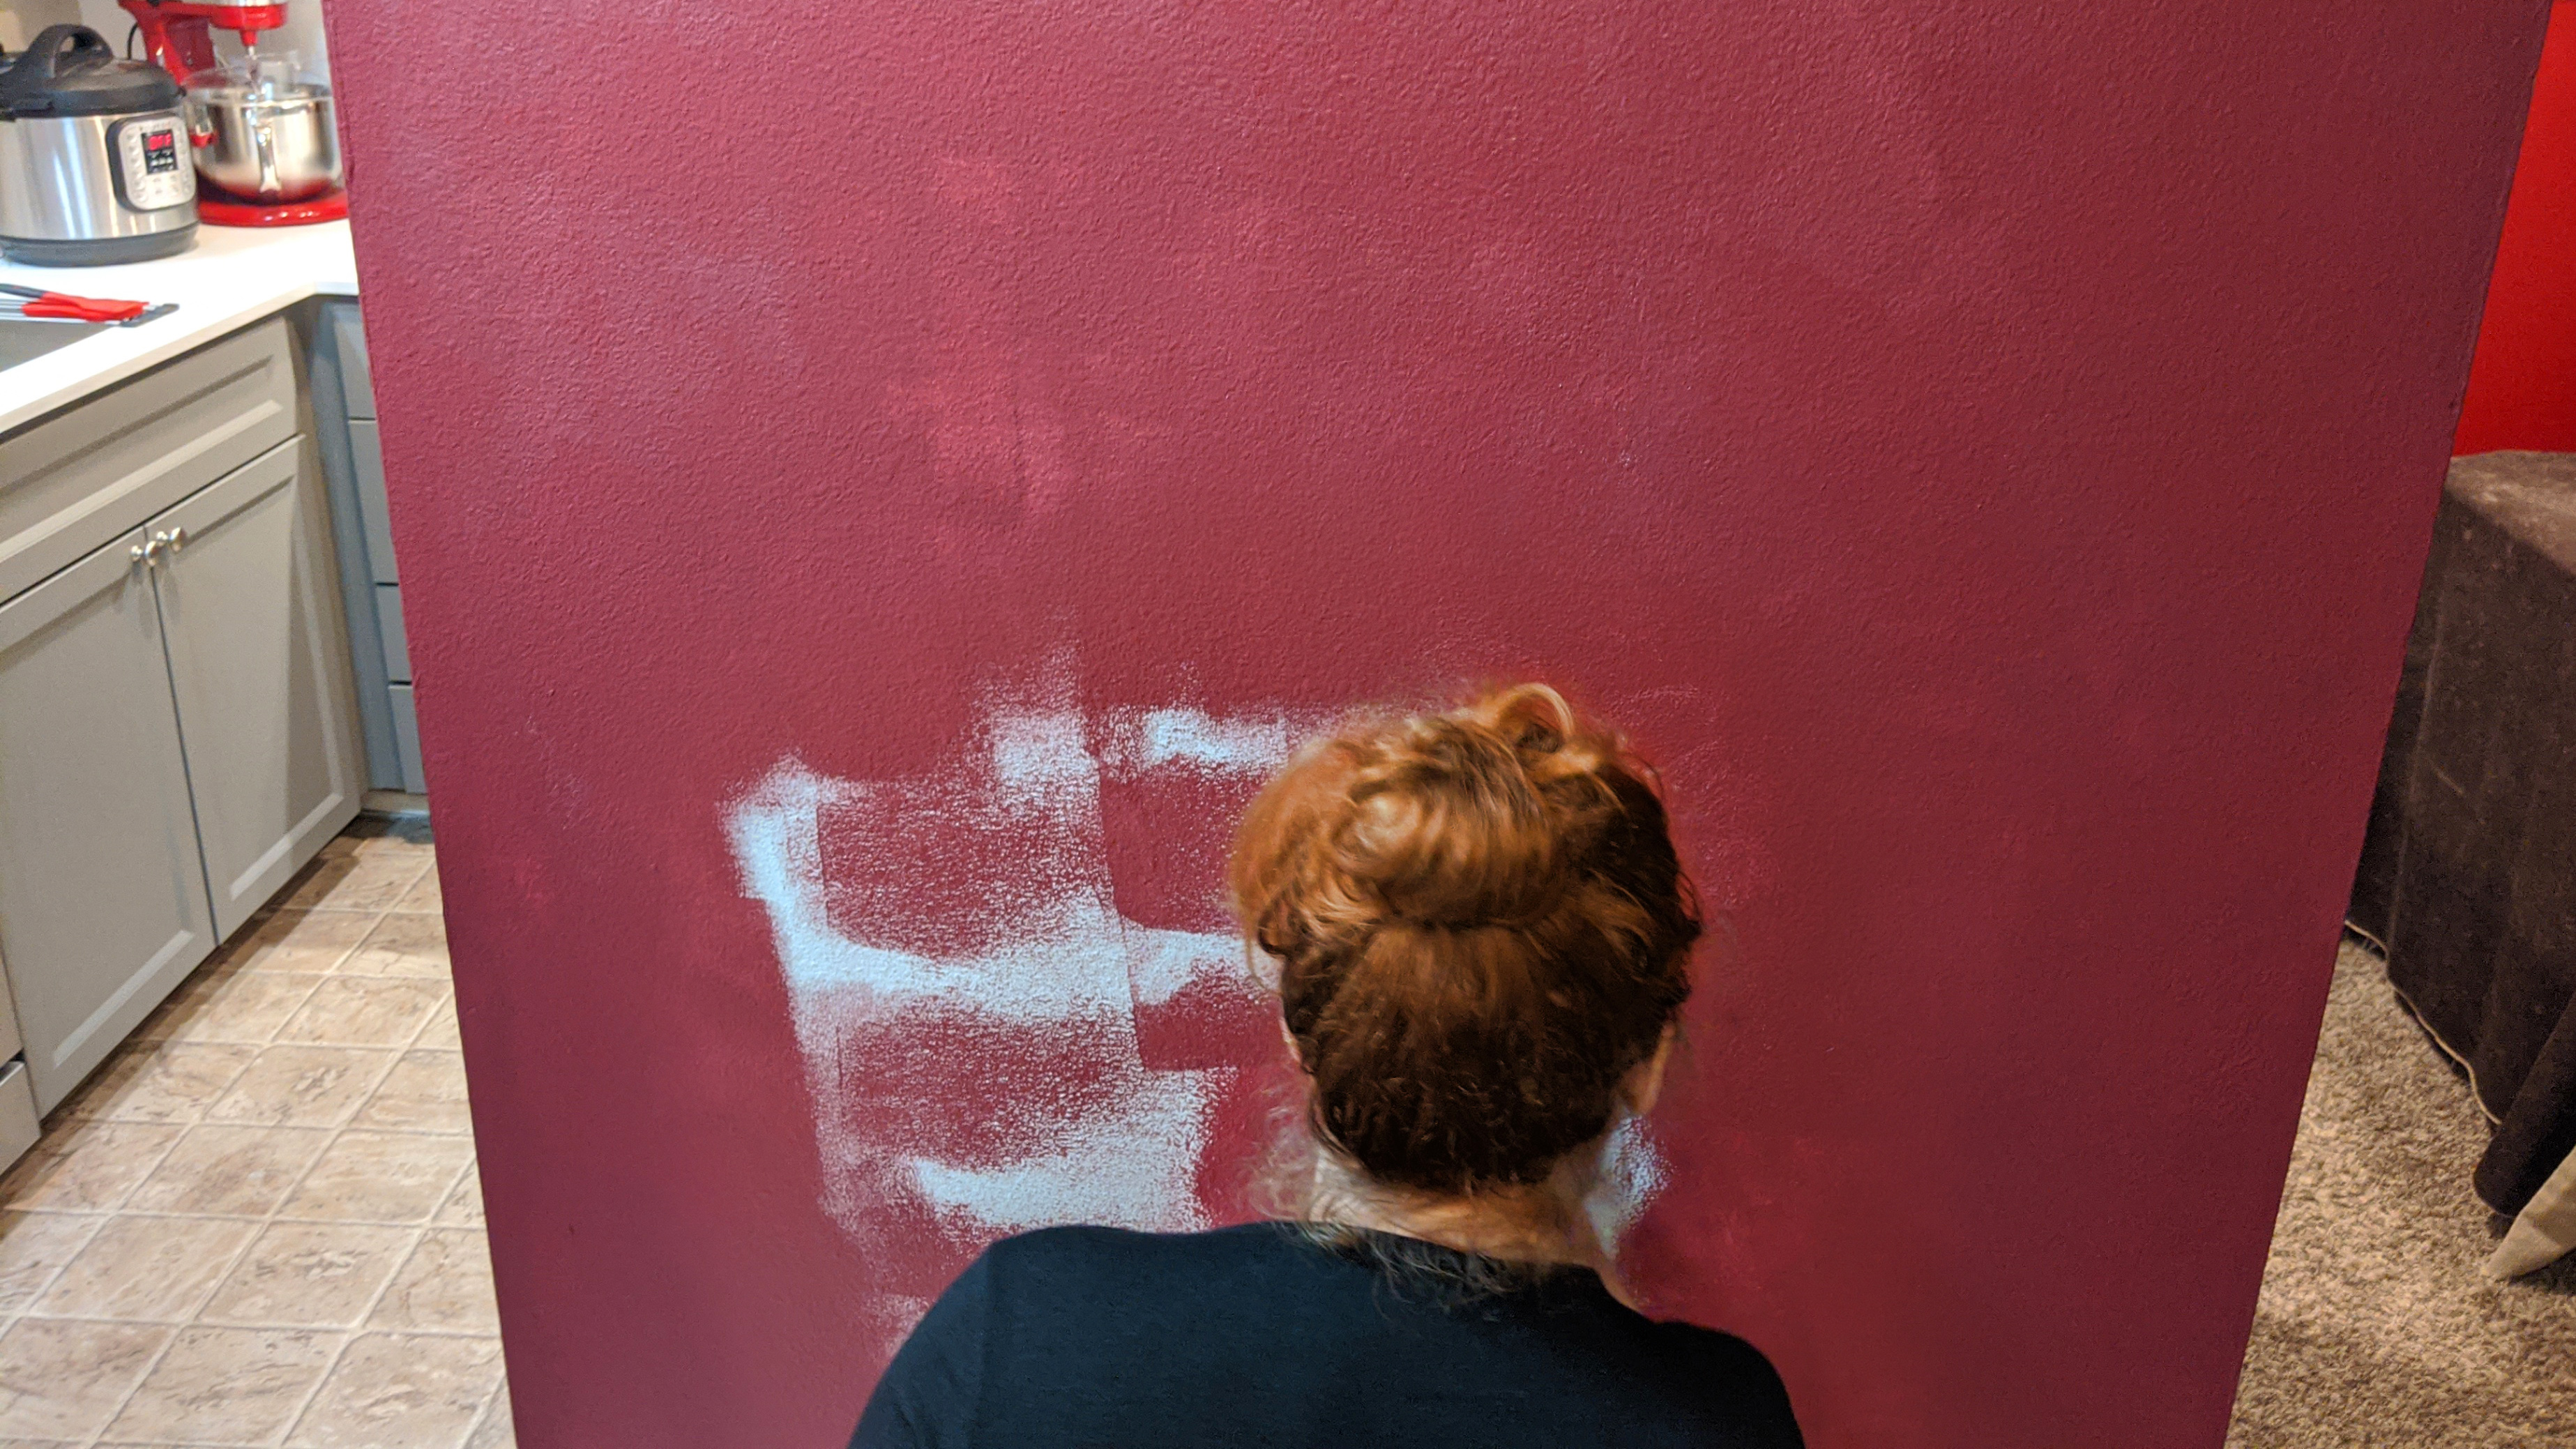
We’re going to hang it here in the entryway of our home. I picked an accent wall color that would act as the next outward framing of the piece, and this is me painting it.
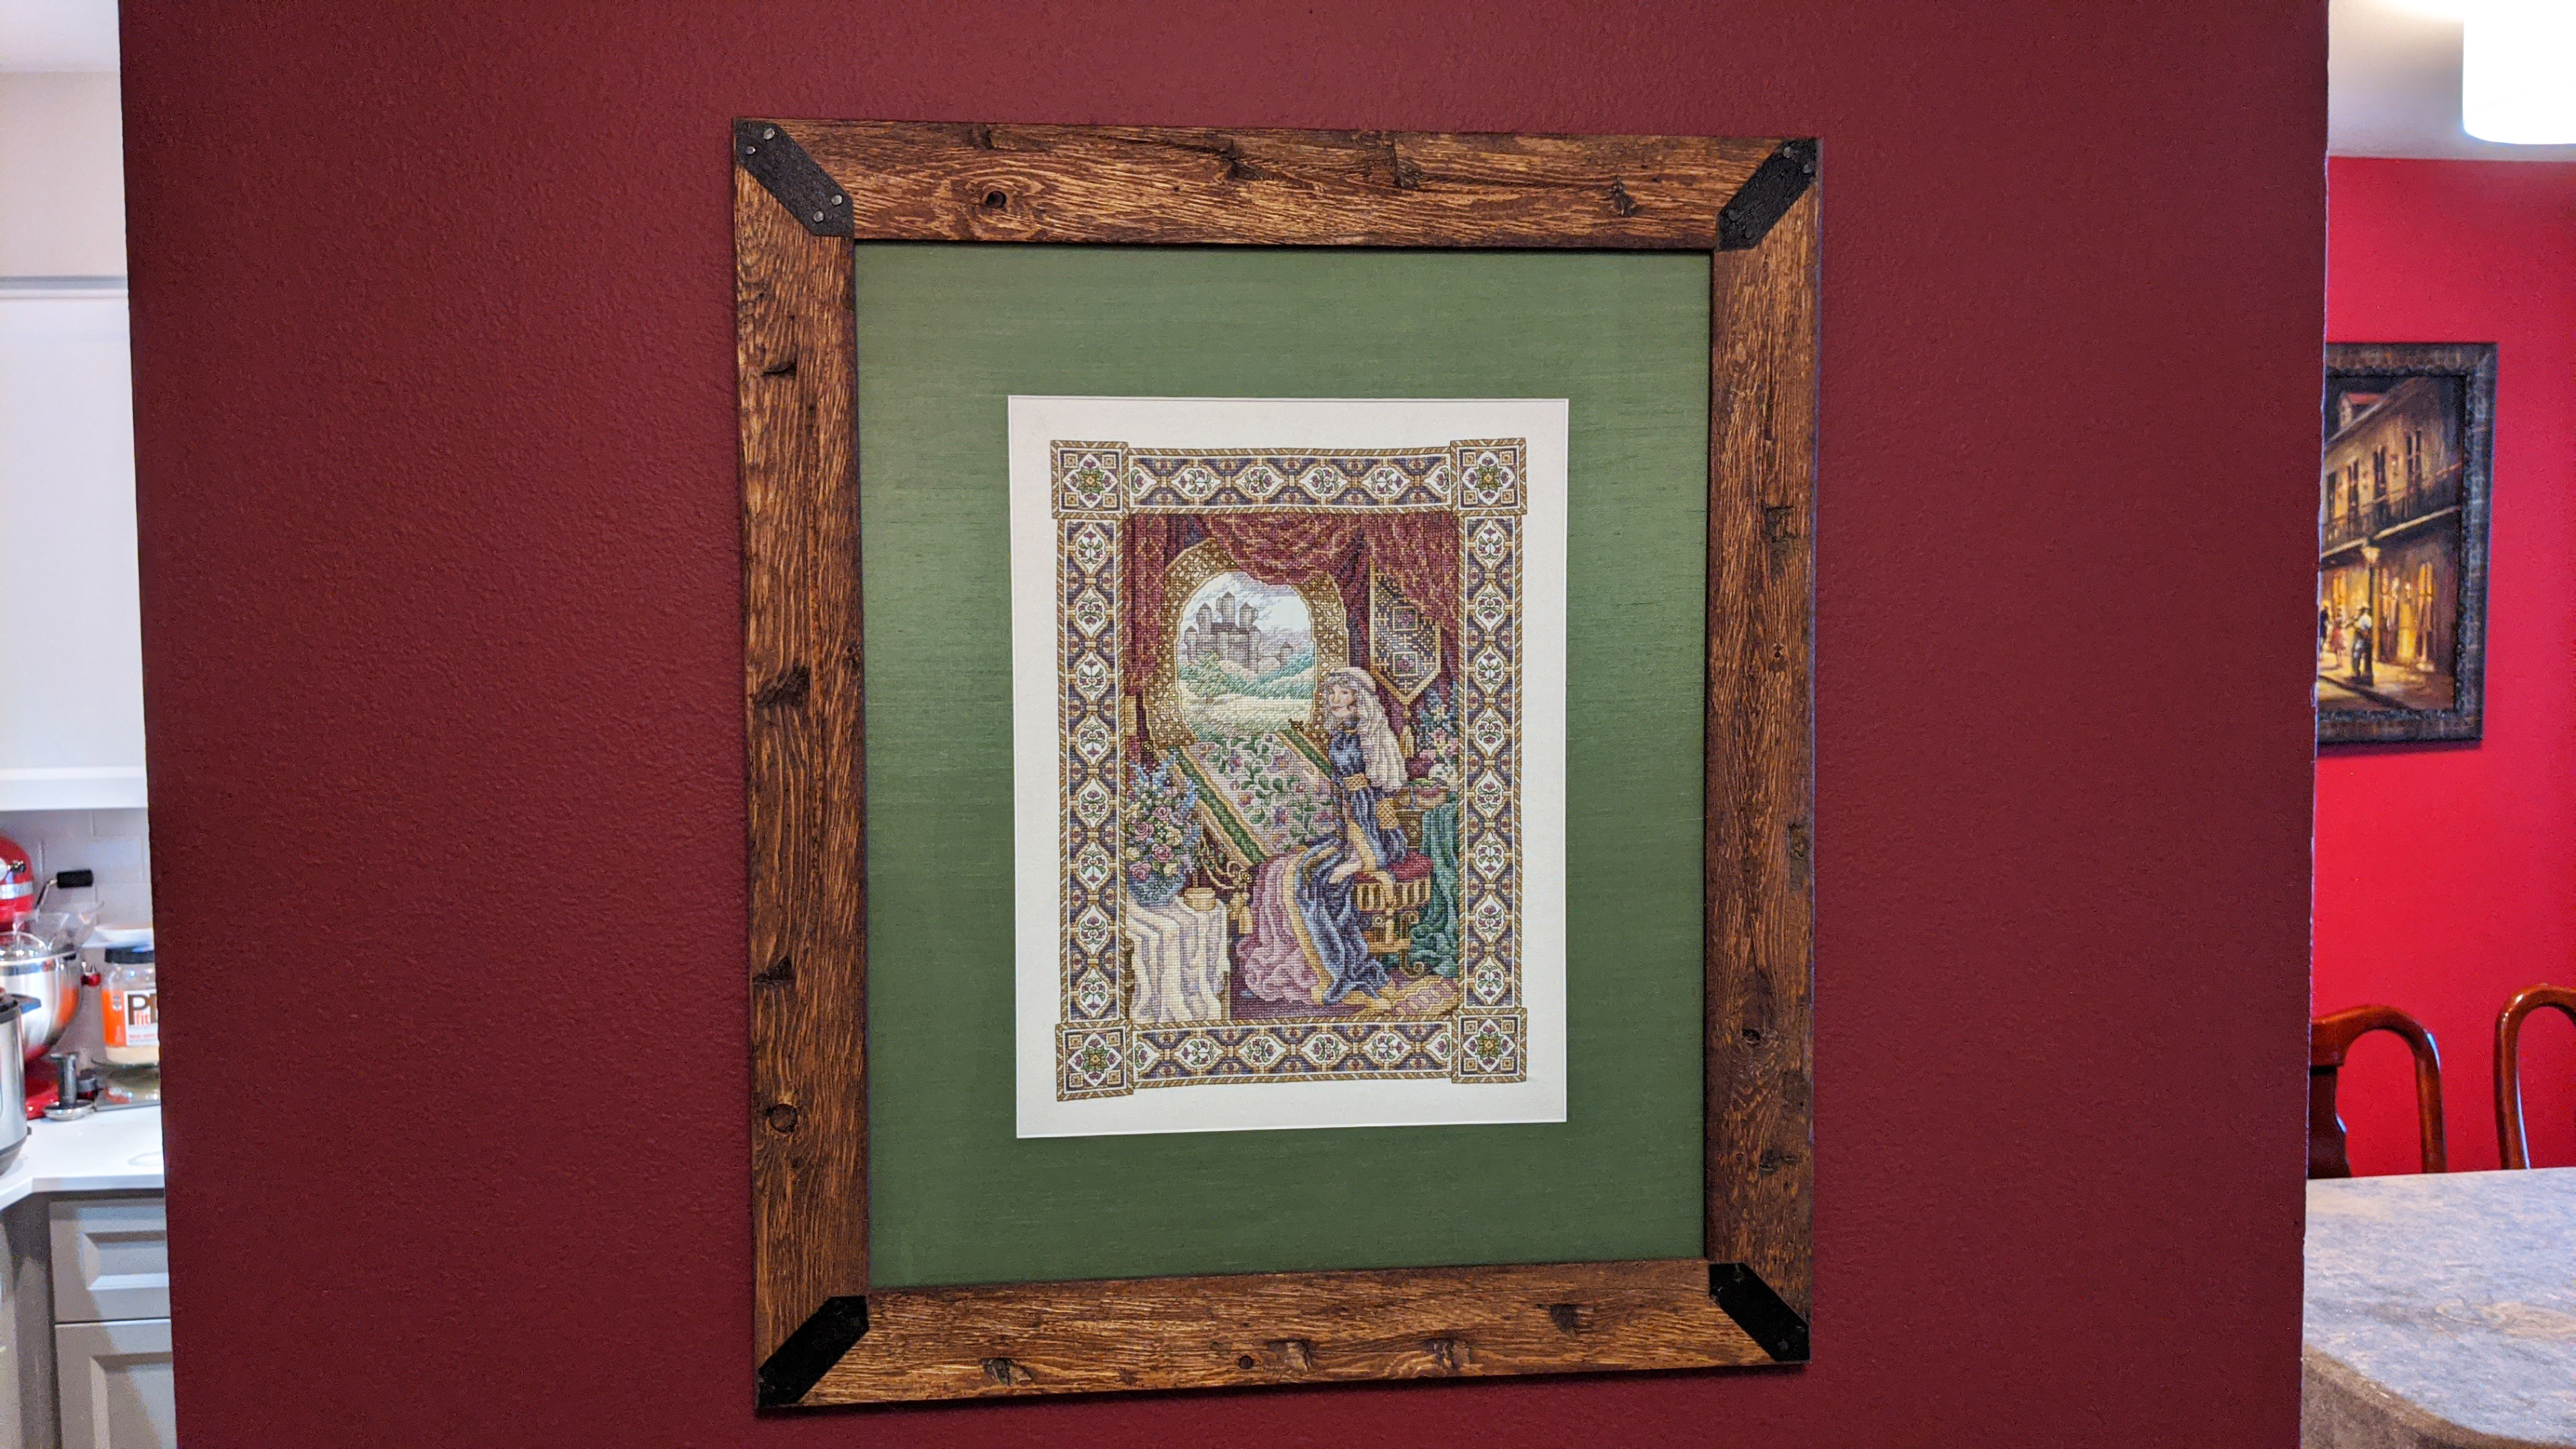
And here it is, framed and hung!
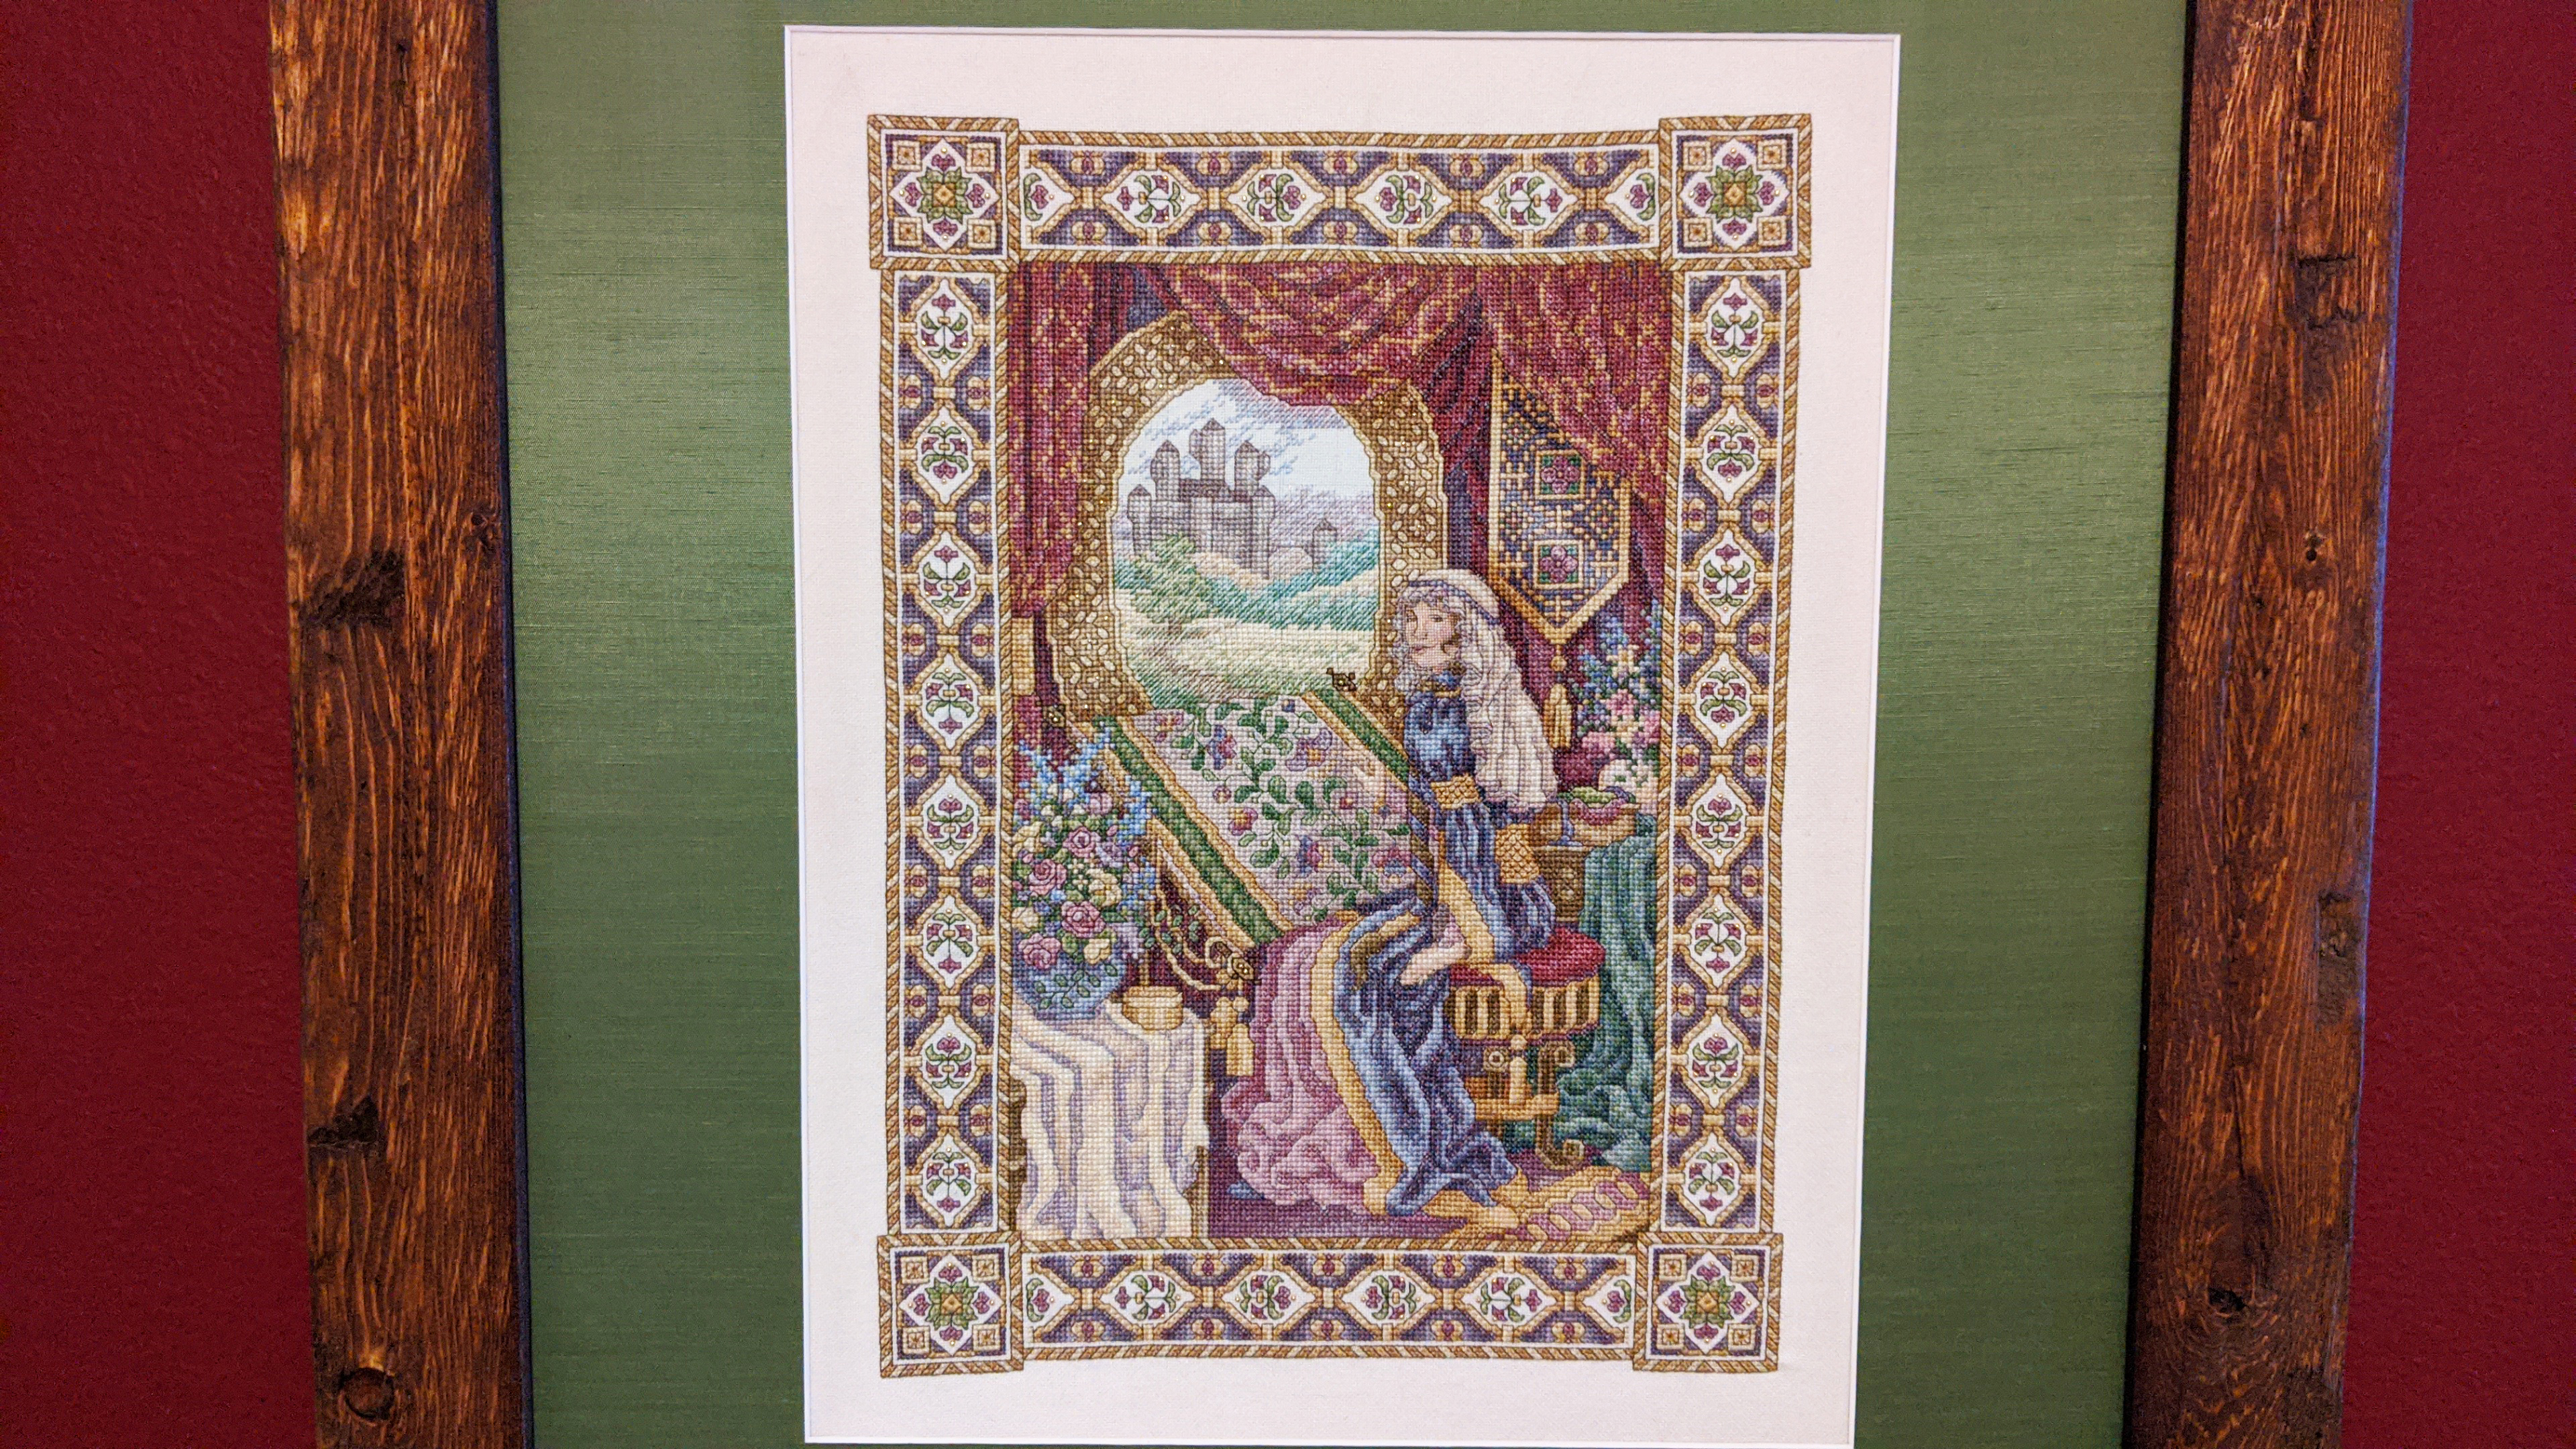
But when my husband got a beat up brass lamp on eBay and restored it, and used it to light the piece and the wall, it became spectacular.
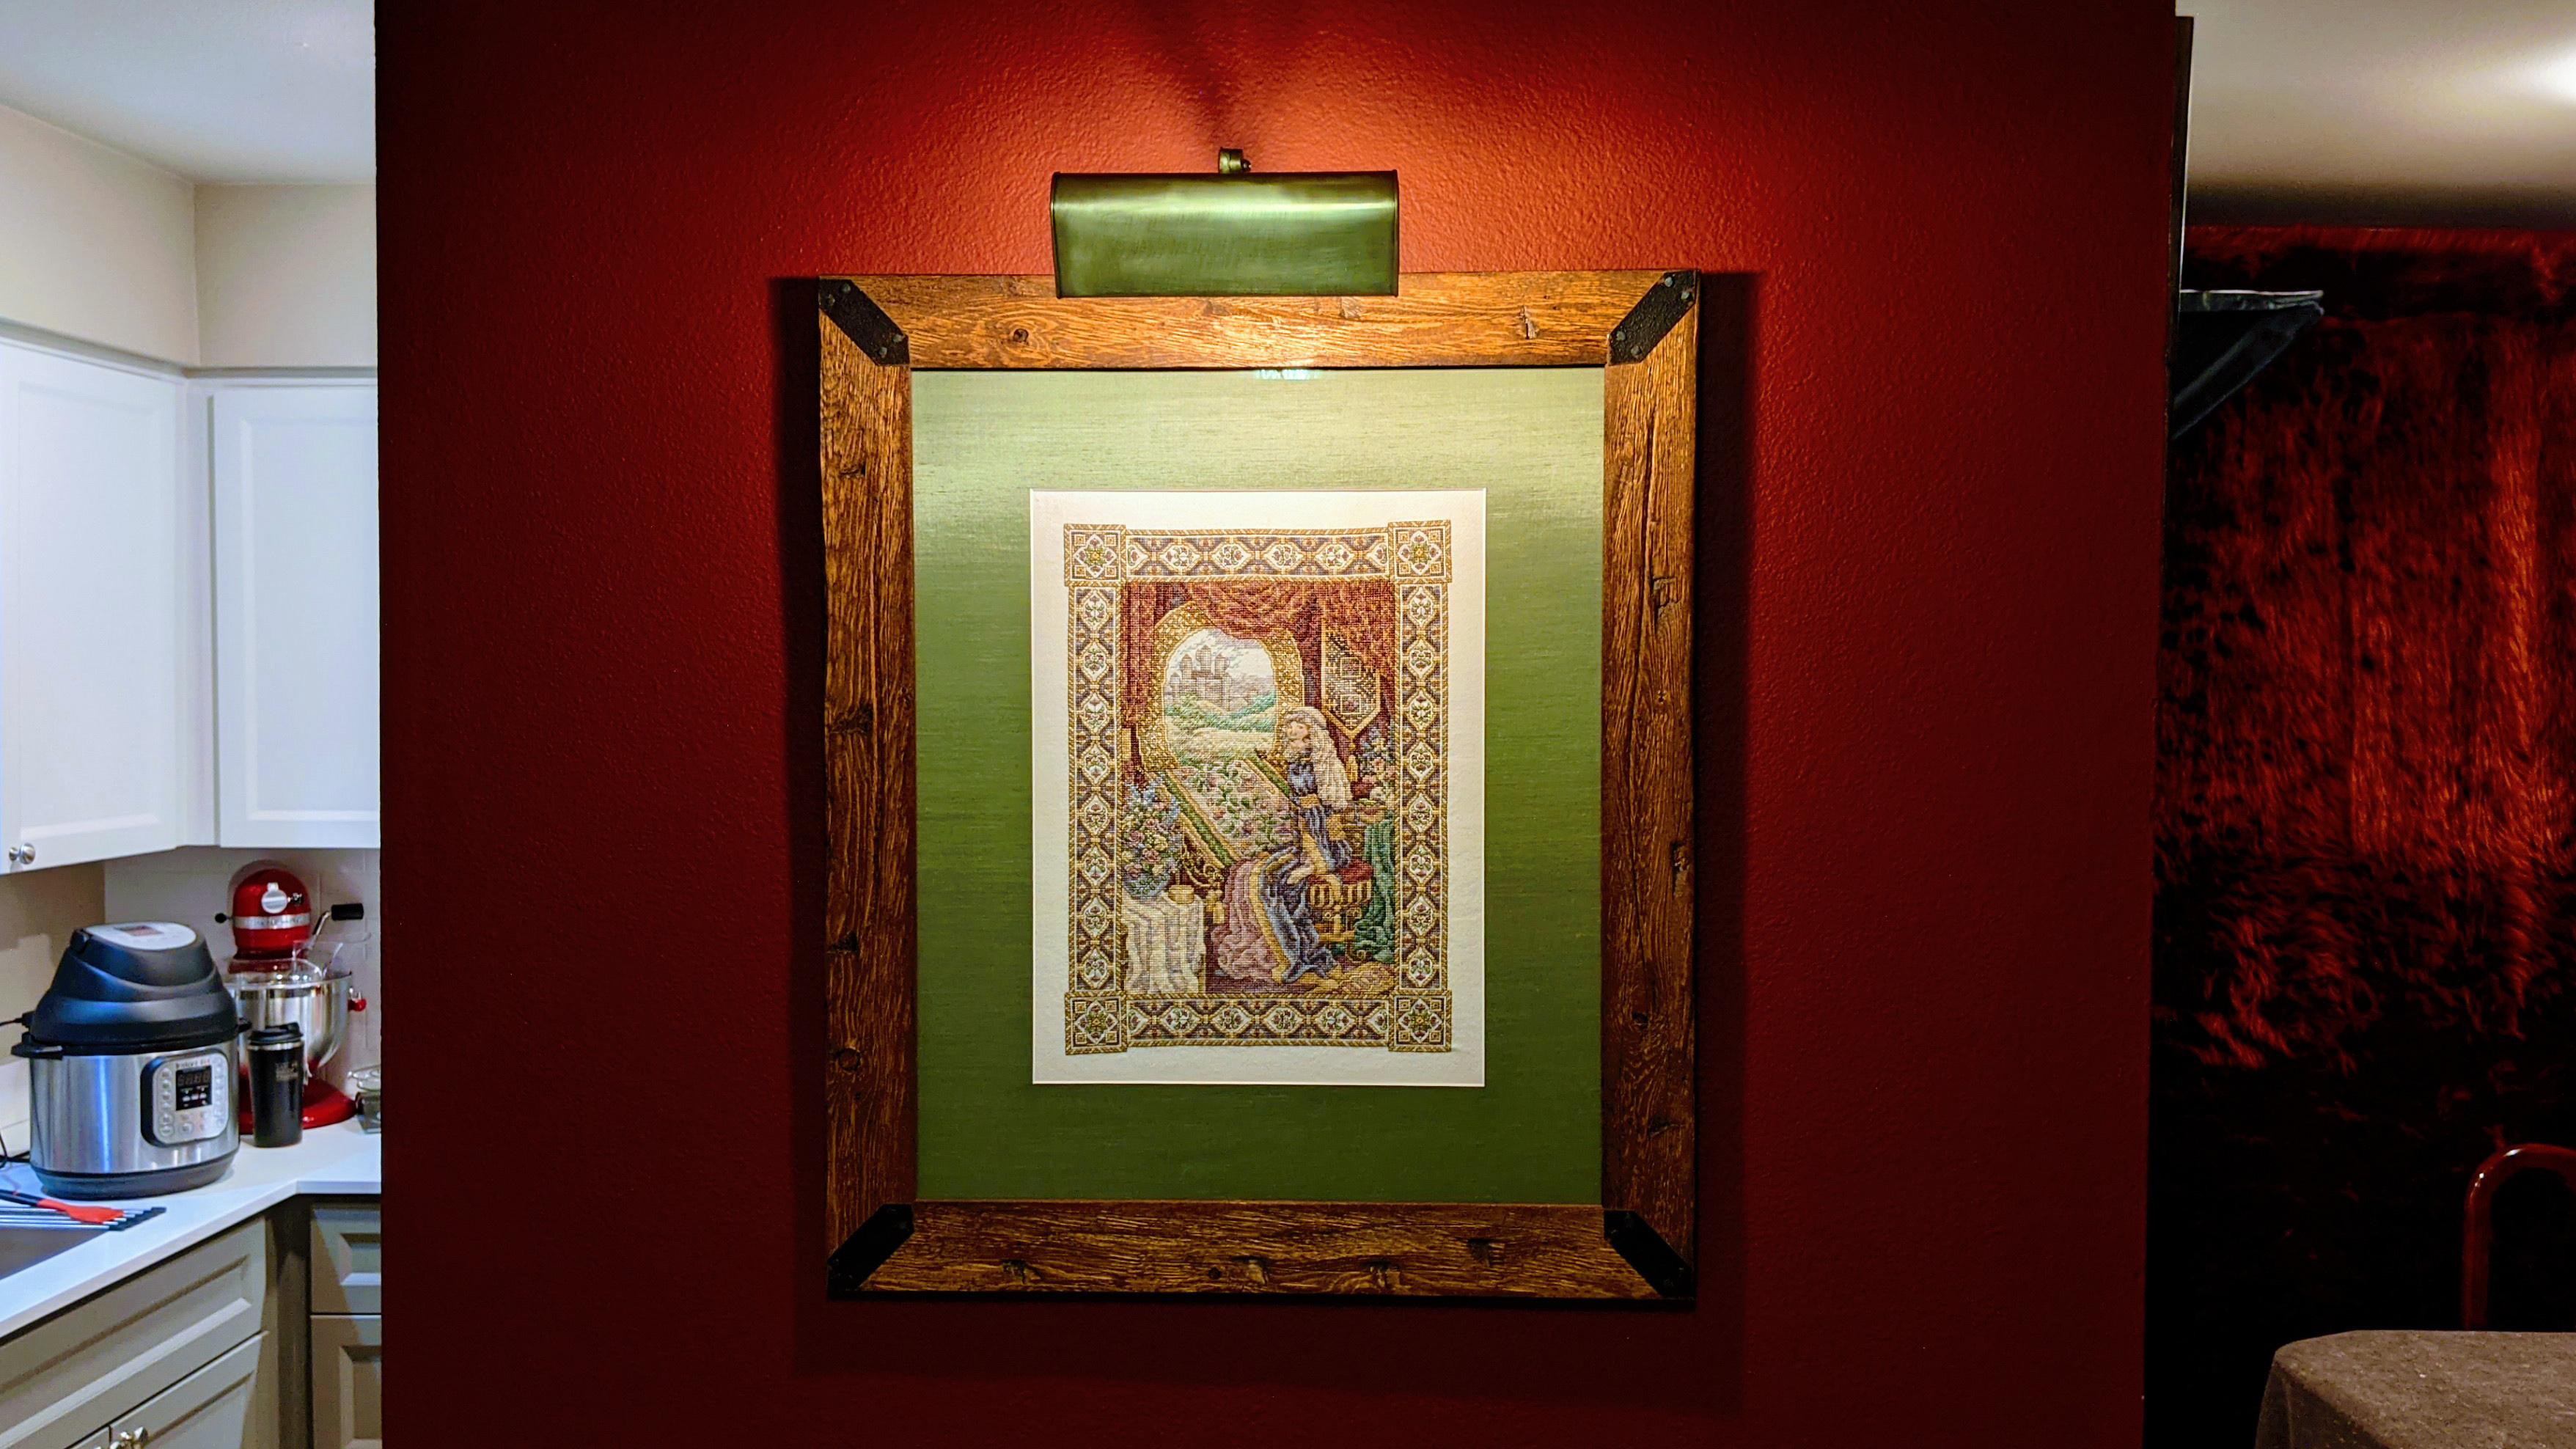
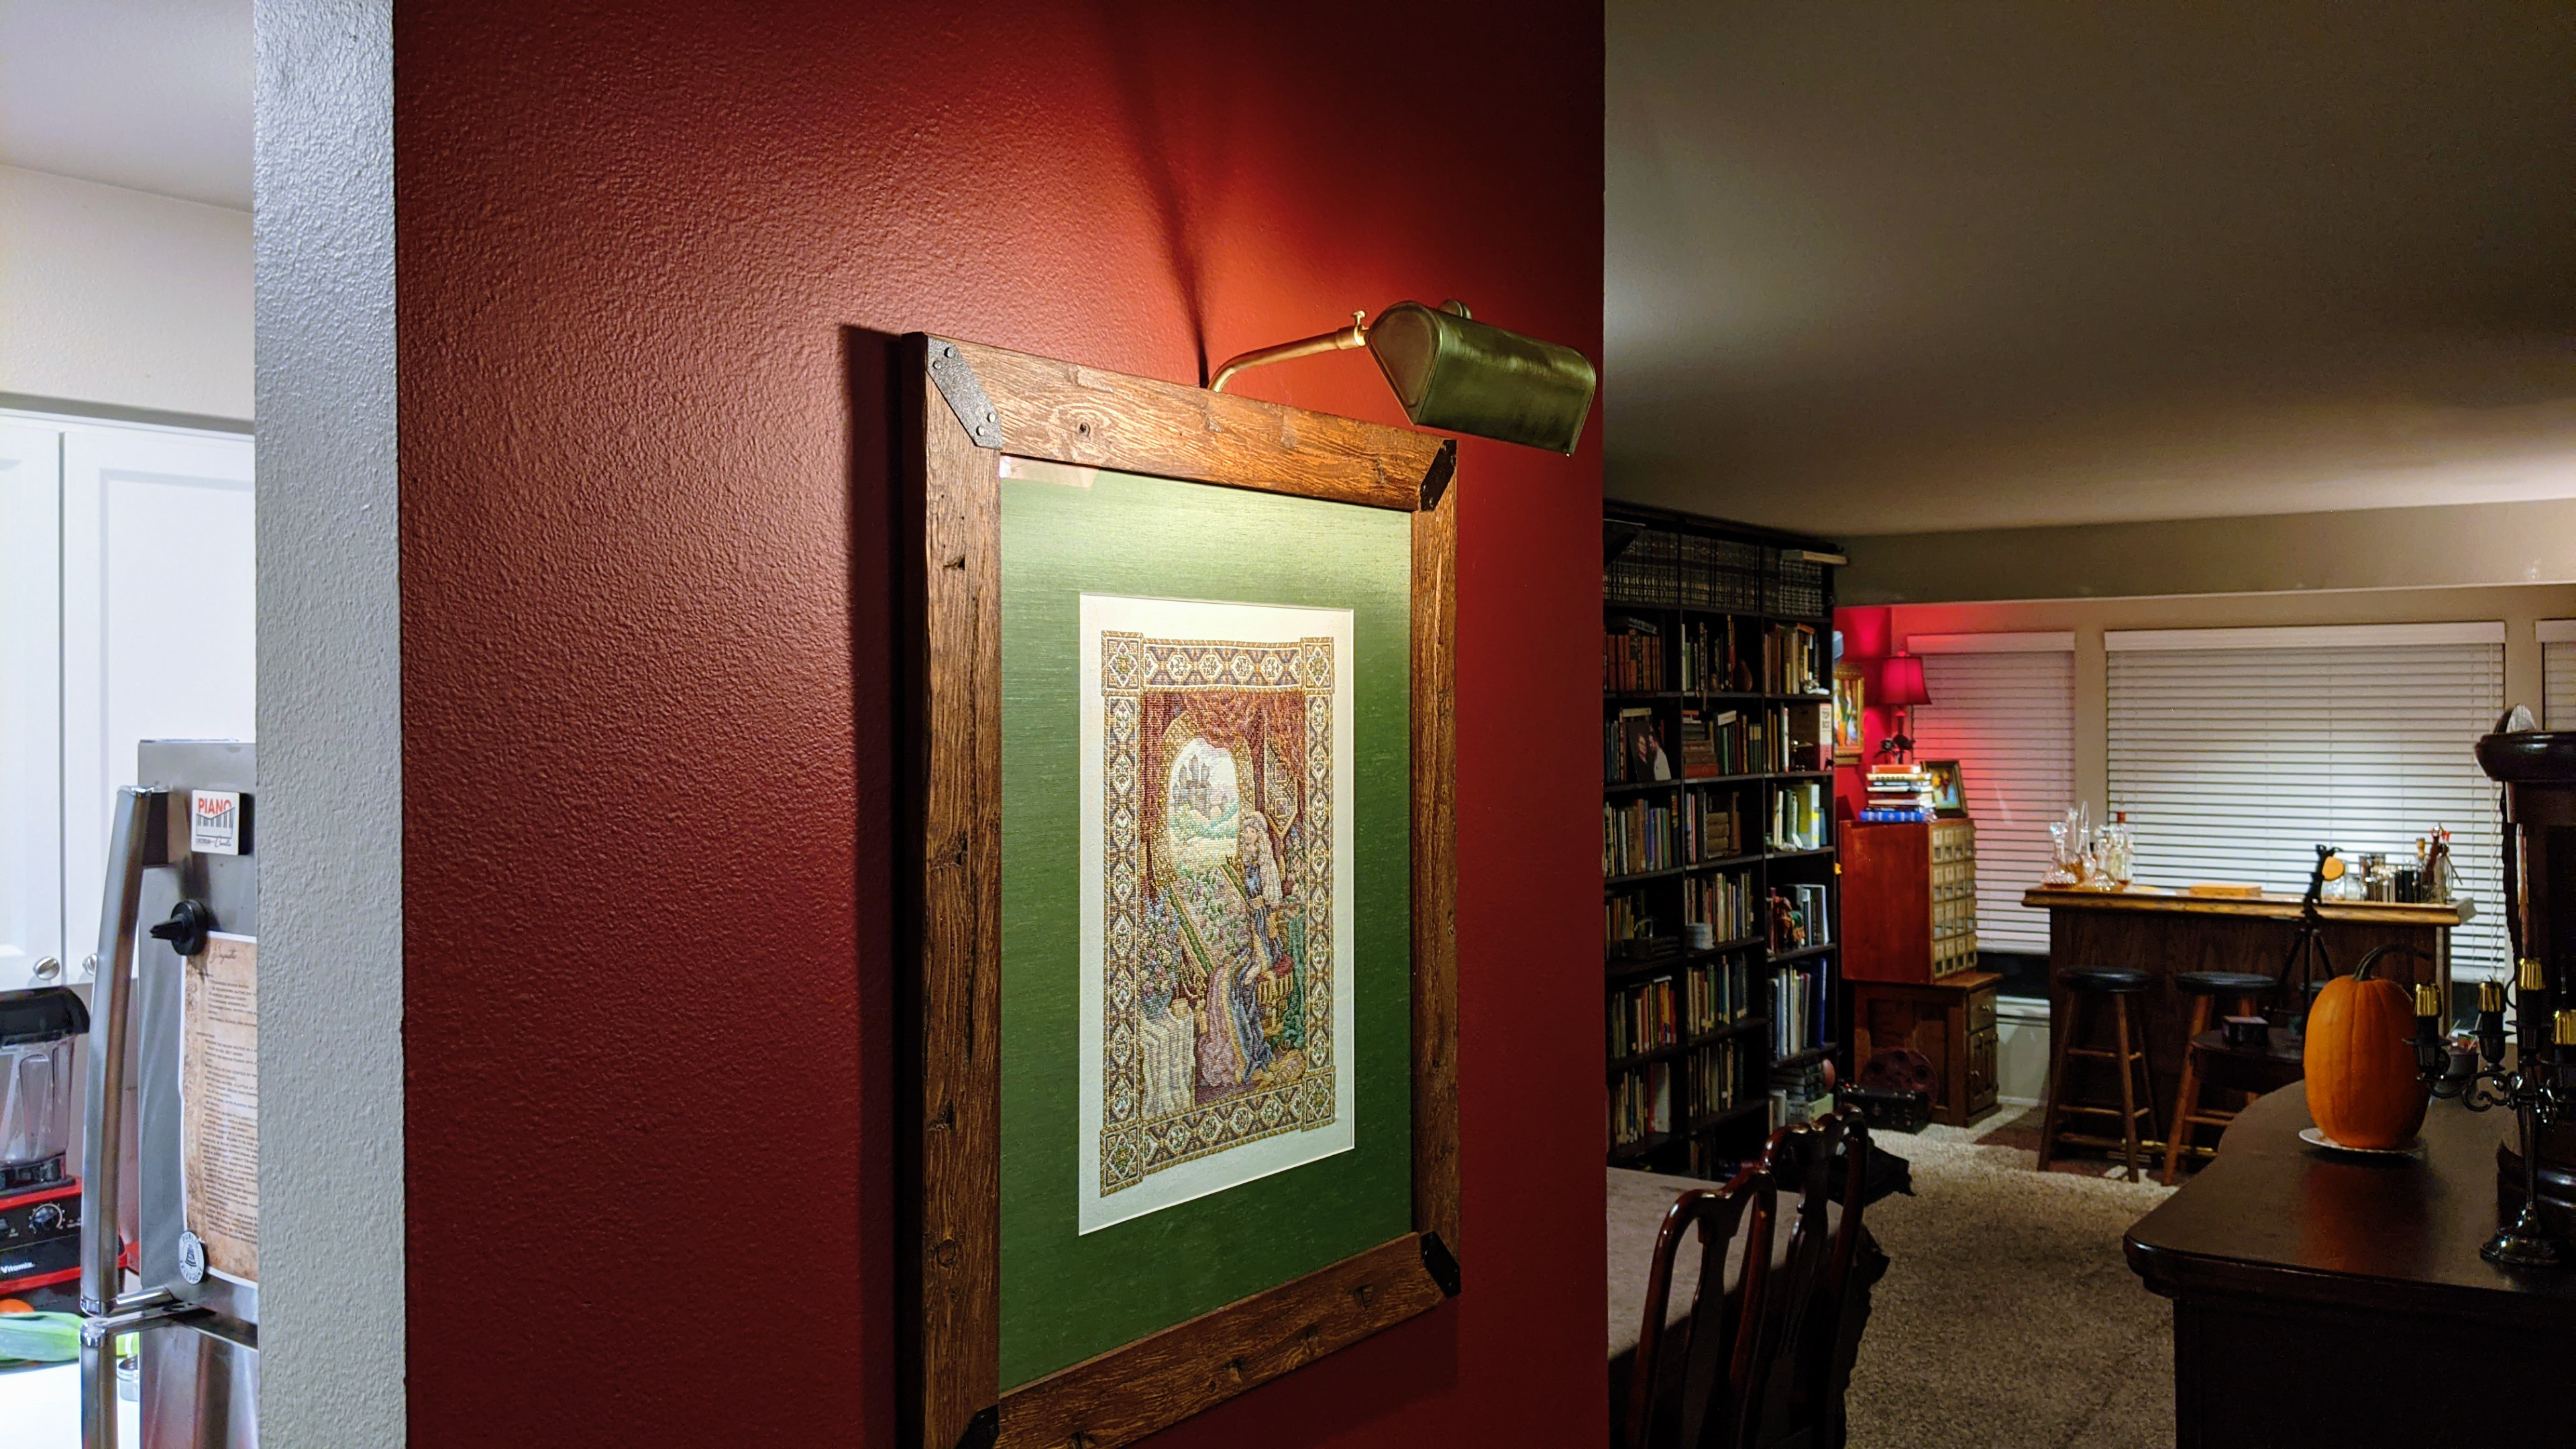
Thank you so much to my lovely spouse Deviant Ollam for the work grinding, polishing, restoring, and adding a dimmer function to this old brass lamp to light this piece perfectly!
If you’re interested in the original pattern, it’s by Teresa Wentzler here.
